
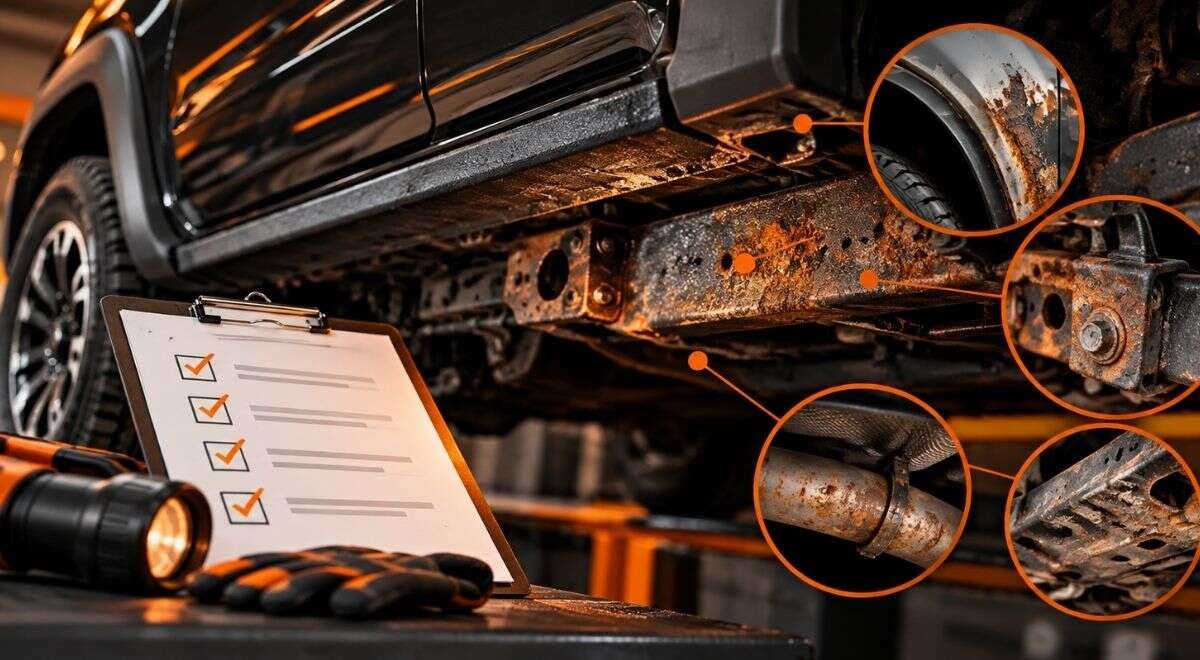
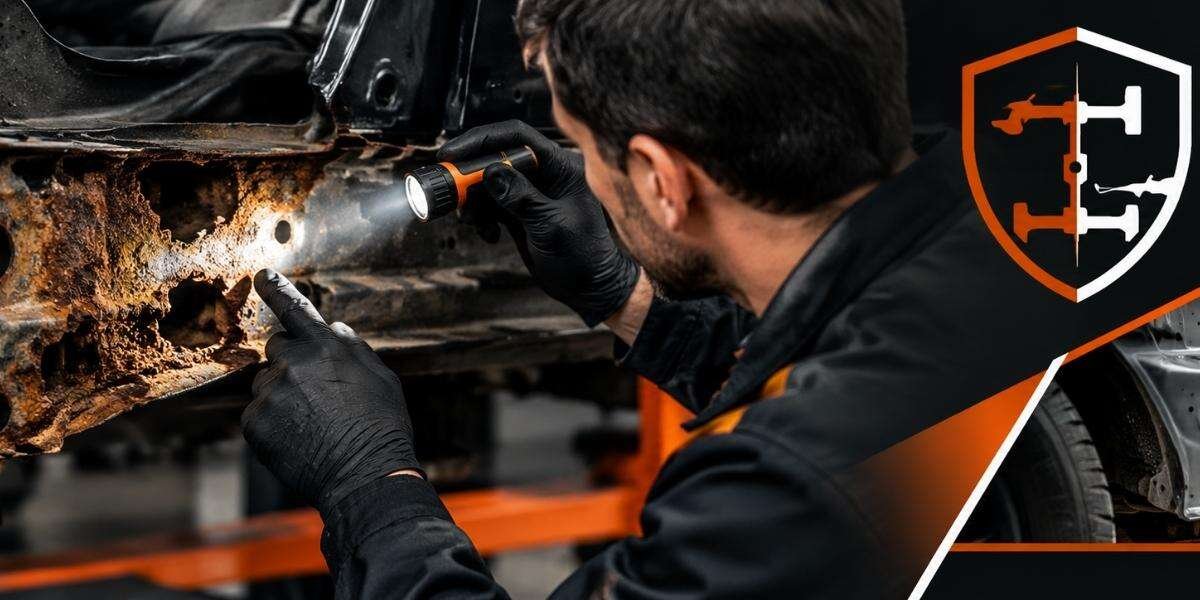

A vehicle corrosion assessment checklist worcester should help you spot where salt and trapped moisture are attacking, separate surface rust from possible structural damage, and decide what to do next. Start with a clean, dry vehicle; inspect the body, underbody, frame, brake and fuel lines, and drainage points; photograph concerns; then arrange a professional assessment for any flaking, perforation, or damage near a suspension or mounting point.
Set up a safe, useful inspection
Choose the right conditions and access
Look at the vehicle in daylight after it has dried. A recent wash can help reveal paint damage, but wet mud and fresh undercoating can hide the condition of metal. Gather a flashlight, gloves, a phone or camera, and a way to record each location. You can inspect visible areas from the ground; do not crawl beneath a vehicle supported only by a jack. If a frame or underbody inspection requires a lift, have a qualified shop raise it safely.
Worcester-area drivers should give the underside particular attention. Massachusetts uses deicing materials during winter operations, and road spray can carry them onto underbody surfaces; the state describes its snow-and-ice control practices at Mass.gov’s snow and ice control page. That makes seams, ledges, and areas where dirt stays damp useful inspection targets—not proof that a particular vehicle has structural damage.
- Park on firm, level ground and let hot components cool.
- Note recent repairs, undercoating, collision work, and any areas you cannot see.
- Photograph the same locations from consistent angles so changes are easier to compare later.
Start with the body and places that trap moisture
Follow water paths, not just visible panels
Walk around the vehicle and examine wheel arches, rocker panels, door bottoms, tailgate edges, and the lower edges of fenders. Look for bubbling paint, swollen seams, cracked seam sealer, and brown staining around trim. These signs can indicate corrosion beneath a coating, but paint bubbles alone cannot tell you how much metal remains.
Open the doors, tailgate, and fuel-filler door if accessible. Check drain openings and panel edges for packed dirt or blocked debris. Blocked drains matter because standing moisture can remain against metal; clear loose debris only where it is safely reachable, and avoid pushing tools into hidden cavities or damaging wiring and seals.
- Record the location and size of paint bubbles or rust staining.
- Note whether a panel edge feels distorted or a seam is separating.
- Look for a mismatch between the visible outer panel and nearby trim or gaps that could suggest prior repair.
For a new or leased vehicle, record existing chips and scratches early and follow the manufacturer’s care guidance. For a used-car buyer, do not treat a clean exterior as evidence that the frame is sound.
Inspect the underbody and structural areas
Separate surface scale from a reason to stop and refer
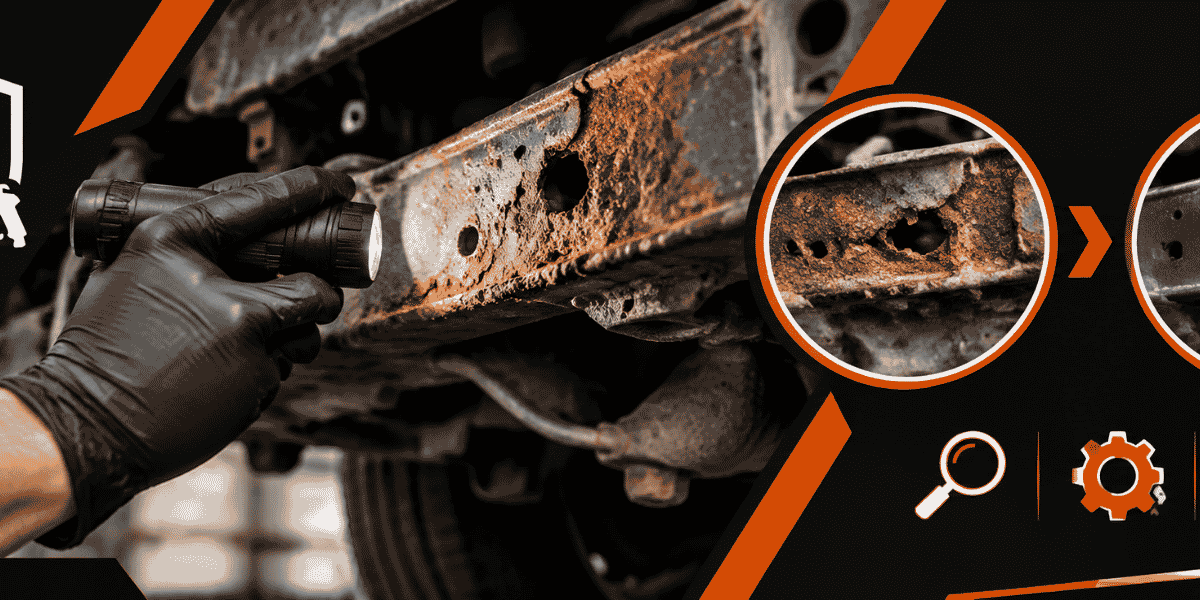
From a safe position, inspect visible frame rails, crossmembers, subframes, floor edges, and mounting areas. Note whether corrosion appears as light, even discoloration or as layered, flaking scale. Look especially closely around suspension attachment points, body mounts, and repair seams. Rust near a structural attachment deserves more attention than staining on a replaceable cosmetic panel, because a compromised mounting area can affect how components are supported.
Do not use a screwdriver, hammer, or other tool to probe metal on a customer vehicle or a car you are considering buying. A coating may conceal the underlying condition, and forceful probing can damage sound material or turn an uncertain finding into a hazard. If metal is perforated, deeply layered, distorted, or visibly separating, ask a qualified repairer to assess it before road use. A photo can document the area, but it cannot establish structural strength.
- Lower concern: discoloration without visible scale loss or distortion.
- Needs closer inspection: loose scale, bubbling coating, or a seam that appears to be lifting.
- Prompt professional assessment: perforation, separation, deformation, or corrosion at a suspension, steering, or body-mounting point.
These are triage descriptions, not a substitute for an inspection on a lift. If you cannot see the relevant metal clearly, record it as “not inspected,” rather than assuming it is sound.
Check lines, hoses, and mechanical interfaces
Look for condition changes, not just brown metal
Inspect visible brake and fuel lines, exhaust supports, fasteners, electrical grounds, and the edges of shields. Look for heavy scaling, wetness, damaged clips, loose shields, or lines that appear pinched or poorly supported. A rusty fastener may be a service issue; a corroded line or damaged support can have more serious consequences. Do not confuse surface appearance with a safety diagnosis—a technician should assess questionable lines and components.
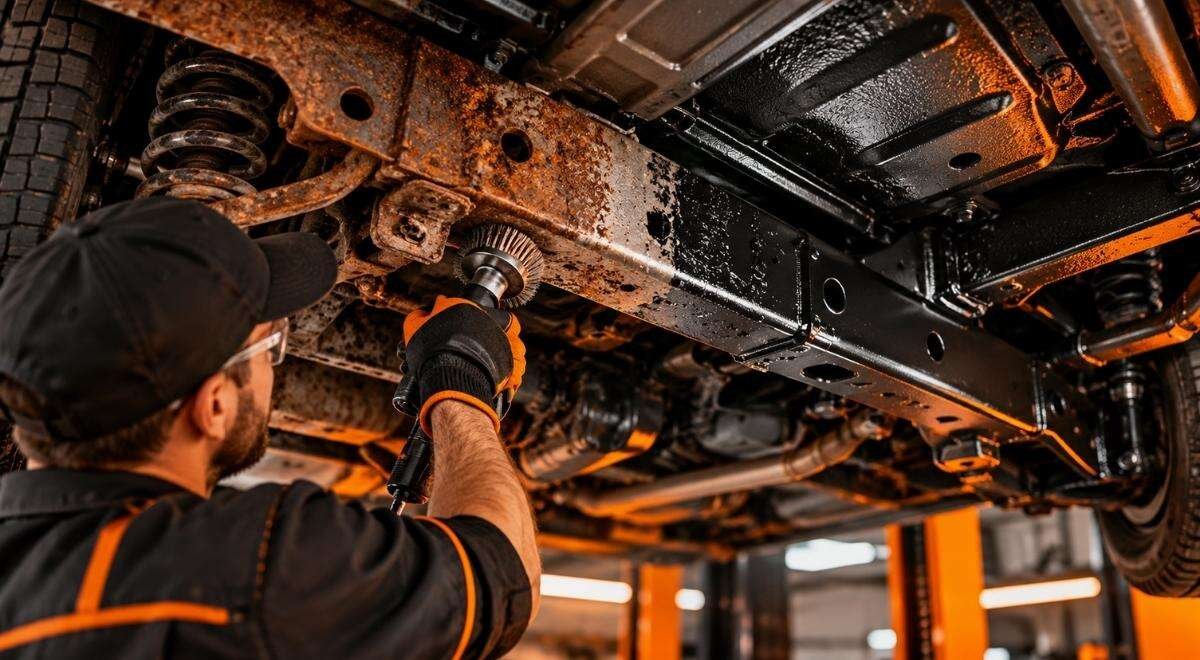
Also note signs of a recent coating: overspray on exhaust parts, rubber, wiring, or moving components; uneven coverage; and coating applied over dirt or loose rust. A protective product is not a repair for perforated metal. If you are planning rust prevention undercoating, ask how the vehicle will be cleaned, dried, inspected, and masked before application. If corrosion needs removal first, learn what a controlled frame-off rust removal process involves and whether the repair plan addresses damaged metal as well as surface rust.
Record findings and decide what happens next
Use a repeatable record instead of a vague “looks rusty” note
For each concern, record its location, what you can see, whether it is on a structural or replaceable part, and what action is needed. A simple decision table keeps a used-car inspection, fleet check, or restoration estimate focused on the same questions.
| Finding | What to record | Practical next step |
|---|---|---|
| Paint bubble or seam stain | Panel, exact edge, photo, and whether paint is cracked | Ask for closer examination before coating; repair paint damage appropriately |
| Loose scale or lifting coating | Location, apparent coverage, and any hidden area | Request an underbody inspection and a preparation plan |
| Rust at a mount, rail, or crossmember | Component, visible distortion or separation, and photo | Refer to a qualified repairer for structural assessment |
| Corroded or damaged line | Line type if known, location, wetness, and support condition | Have a technician assess it; do not rely on coating to fix it |
| Area concealed by coating or debris | What blocks the view and why the condition is uncertain | Request safe access and inspection before deciding on treatment |
Prioritize safety-related and structural findings over cosmetic rust. If you are buying a used vehicle, make the assessment part of an independent pre-purchase inspection. The FTC’s used-car buying guidance recommends an independent inspection and explains why a vehicle history report is not a substitute for one. For a recall check, use the VIN with NHTSA’s recall lookup; a recall result does not assess corrosion or certify the frame.
Choose prevention, repair, or monitoring
Match the treatment to the condition
If the metal is sound and clean, discuss corrosion protection suited to the vehicle and its existing coatings. If loose rust or damaged coating is present, ask what preparation is needed before any product is applied. If the frame is perforated, separated, or otherwise compromised, get a repair assessment first; applying a protective coating cannot restore lost metal. Preparation and access determine whether protection can reach the surfaces that need it, so ask what will be cleaned, inspected, and masked.
For a fleet, use the same location names and photo angles across vehicles so maintenance staff can distinguish a new change from a different observer’s description. For a classic vehicle or frame restoration, document parts that are removed and hidden surfaces before refinishing. If the VIN or vehicle identity is uncertain during a purchase inspection, NHTSA’s VIN decoder can help identify the vehicle details associated with a VIN; it does not evaluate condition.
Set a follow-up interval that fits exposure and use rather than treating a calendar reminder as proof of safety. Any interval you choose is an illustrative starting policy, not a universal threshold: adjust it if inspections show faster coating wear, recurring damp debris, new bubbling, or a change in how the vehicle is used. When a new concern appears, reassess then instead of waiting for the next scheduled check.
What to do first
Begin with a daylight walk-around and a photo record, then arrange safe underbody access if you cannot see the frame, mounts, and lines clearly. Mark structural concerns or uncertain areas for a qualified inspection before buying, driving, or applying coating. Bay State Rust Prevention serves Worcester and Central Massachusetts with corrosion protection using WaxOyl, rust removal, frame-off sandblasting, and frame repair; explore the options at baystaterustprevention.com.