
Engine rust removal is a cautious cleanup job only when the corrosion is on an accessible, identifiable exterior part. For light surface rust on a sound steel bracket, let the engine cool, contain debris, clean by hand, inspect the exposed metal, and apply protection suited to that part. Rust on an internal surface, a moving component, or deeply damaged metal needs a different response; cleaning or coating it at home can hide a problem or cause debris and chemicals to reach places they should not.
Decide whether the rust is suitable for surface cleanup
“Engine rust” can mean a stain on a bracket, corrosion on hardware, or a suspected problem inside the engine. Those are not interchangeable jobs. Before choosing a brush or product, identify the part, its material, and what it does. If you cannot identify it, or cannot tell whether it moves, seals, supports a load, or makes an electrical connection, pause and seek an assessment rather than treating it as an ordinary steel surface.
Rust is a corrosion product associated with iron; a reddish-brown mark alone does not prove that the surface beneath it is steel or show how much metal remains. Encyclopaedia Britannica describes rust as a compound formed through the corrosion of iron, which is one reason to distinguish rust on iron or steel from discoloration on other materials before selecting an abrasive or treatment (Britannica’s overview of rust).
Make a location-and-function check
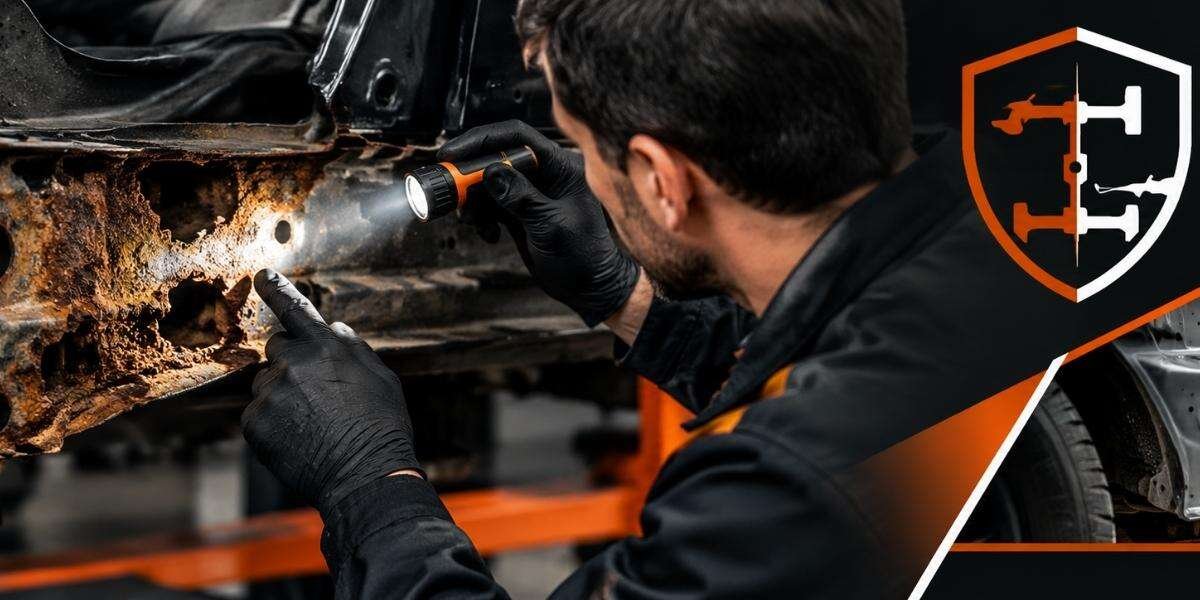
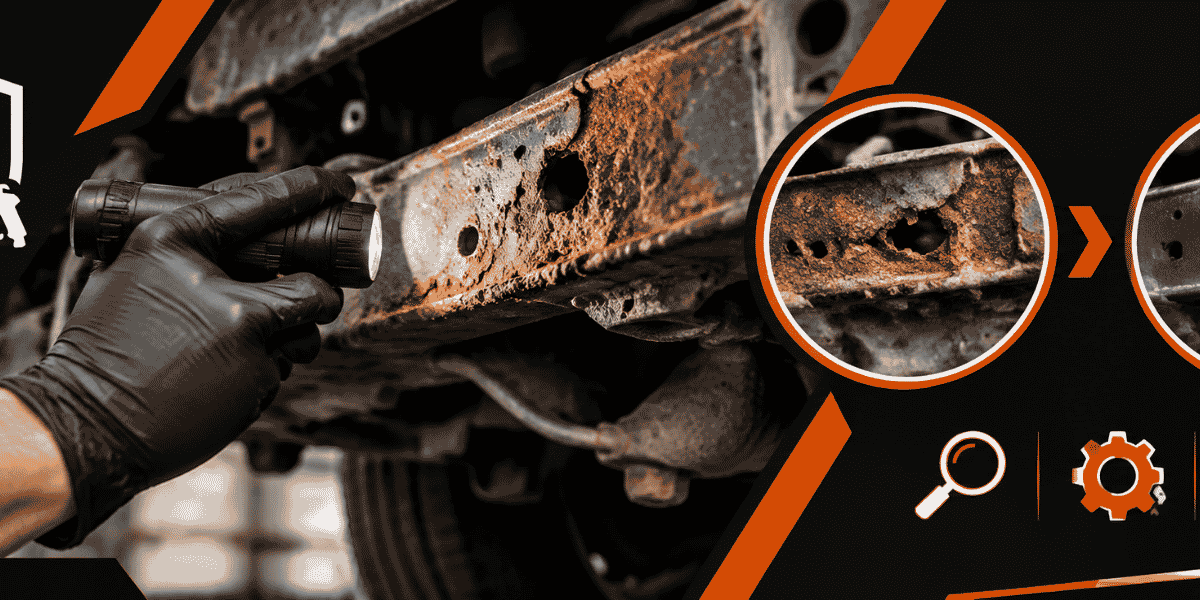
Use a light and look at the part from more than one angle. Note whether the mark is dry or wet, whether scale is loose, and whether the metal appears pitted, cracked, or thinned. A photo can help you track what changes during cleaning, but it cannot reveal the condition of hidden surfaces or establish that a functional part is sound.
- Potentially suitable: a small, accessible, non-critical steel bracket with light surface rust, no visible crack, and enough clearance to contain debris.
- Needs extra caution: rust near wiring, a ground connection, a seal, rubber or plastic parts, painted surfaces, a belt, or a pulley. A tool, liquid, or coating can affect nearby components even if the rusty spot itself is small.
- Not a routine exterior cleanup: suspected corrosion at an intake, spark-plug opening, fluid passage, or internal engine surface.
- Needs repair advice: deep pits, substantial flaking, cracks, looseness, or apparent loss of metal on a functional or supporting part.
Do not infer that an engine is internally rusty from an exterior stain, or that it is safe to run because the visible exterior looks clean. If the concern follows flooding, water entry, or an uncovered opening, stop before starting the engine and tell a mechanic what happened.
Prepare a controlled work area
For a first cleanup, choose a simple example: a small, fixed steel bracket that is clearly separate from belts, pulleys, electrical contacts, openings, and hot exhaust parts. If it can be removed and you know how to reinstall it correctly, working on the part away from the engine makes it easier to collect debris and keep liquids off surrounding components. Do not remove a part if its role or reinstallation requirements are uncertain.
Cool, isolate, and protect before disturbing rust
- Switch the engine off and let it cool completely. Work in a well-ventilated area, away from flames, smoking, and other ignition sources. Do not work around hot surfaces.
- Identify nearby hazards and materials. Look for moving parts, wiring, connectors, hoses, plastic, paint, seals, and openings. If you cannot protect a nearby component or tell what it is, do not proceed in place.
- Set up debris containment. Place a cloth or suitable barrier where it will catch loosened particles without touching moving parts. Shield nearby openings and electrical components. Avoid compressed air, which can scatter dust and grit beyond the area you can see.
- Check the cleaner or treatment before using it. Read the product label and safety information for intended materials, application method, ventilation, protective equipment, and disposal. OSHA’s Hazard Communication resources explain workplace chemical labels and safety data sheets; they are useful references, but do not certify a product as suitable for an engine part or replace its label (OSHA Hazard Communication).
Do not spray broadly across an assembled engine bay. A mist can reach a belt, connector, opening, or surface that the product is not intended for. If the label requires conditions you cannot meet, or you cannot apply the product without contaminating adjacent parts, leave the part untreated and get advice. OSHA’s flammable-liquids standard addresses fire and handling hazards in workplaces; it is not approval to use a particular solvent on a vehicle (OSHA’s flammable-liquids standard).
Clean light rust in stages and inspect the metal
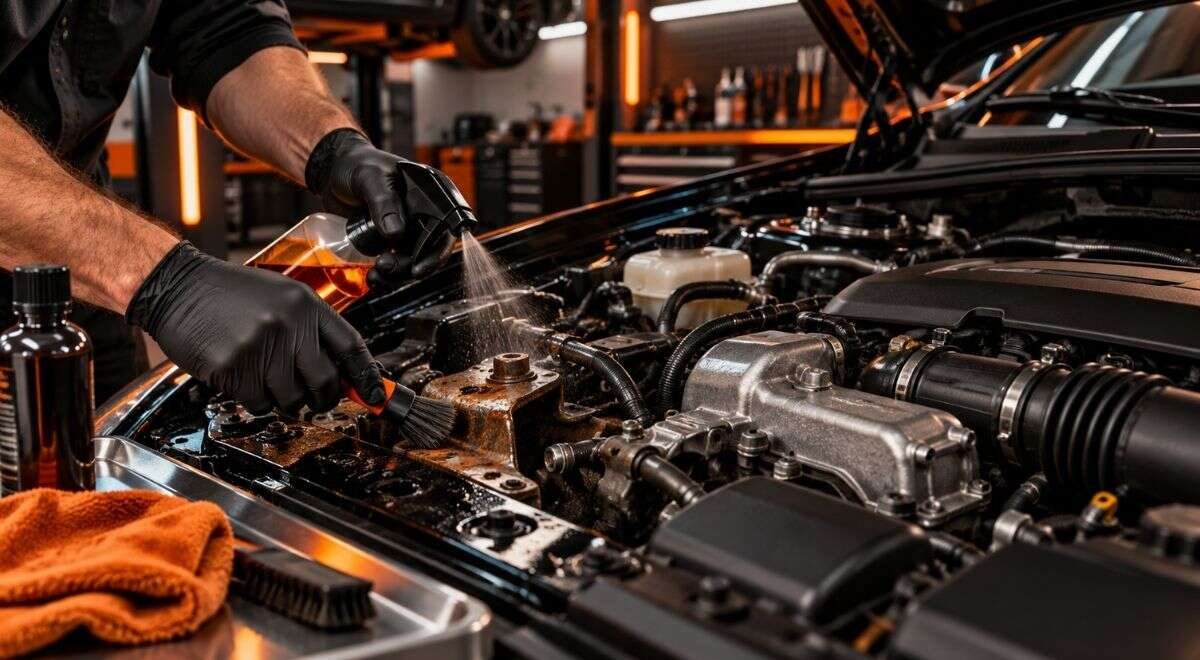
For an accessible exterior steel bracket, use the least aggressive method that removes loose contamination. Work slowly enough to notice when the surface changes. The goal is not to make every part of an engine bay look newly painted; it is to remove loose corrosion without damaging the part or sending debris into nearby components.
Use a hand-cleaning sequence
- Wipe away loose dirt first. Use a dry cloth or a soft hand brush, keeping the collection barrier in place. Brush away from openings, belts, connectors, and seams where particles could lodge.
- Loosen only the flaky surface rust. On confirmed steel, use a small hand brush or suitable hand abrasive with light pressure, working on the rusty area alone. Avoid grinders, powered rotary wire wheels, and abrasive blasting around an assembled engine; they make it harder to control debris and material removal.
- Pause and check your progress. Wipe the area and inspect it before continuing. If the rust remains firmly attached, the metal starts to gouge, or the surface looks thinner or more deeply pitted than expected, stop. More abrasion is not a repair for metal that has already been lost.
- Use a cleaner only if necessary and as directed. Apply it in the controlled manner specified by its manufacturer—often to a cloth rather than by flooding the part. Do not mix products or layer treatments unless their instructions explicitly allow it.
- Remove residue and dry as directed. Keep liquid away from seams, fasteners, electrical connections, and openings. Follow the product’s instructions for rinsing, wiping, or drying; do not assume every rust treatment is used the same way.
A rust remover and a rust converter are not the same thing: one is intended to remove or loosen corrosion, while the other is intended to react with rust left on a surface. Their suitability depends on the product directions and the part’s material and location. Do not use either product just because it says “rust” on the container. If you cannot keep it off a seal, connector, moving part, or opening, do not apply it there.
Judge what remains before covering it
After cleaning and drying, inspect the exposed area in good light. A shallow stain on otherwise solid-looking metal is different from deep pits, cracks, scale that continues to detach, or a part that has become loose. Cleaning can improve visibility, but it cannot restore missing metal or prove the strength of a part whose condition is uncertain.
- If the bracket remains intact: proceed only to a compatible protective finish, following its preparation and cure instructions.
- If the metal is deeply pitted or flaking: stop and ask whether the part should be repaired or replaced; do not cover it to make the damage less visible.
- If you expose a crack or find looseness: do not rely on a coating. Have the part’s function and condition assessed before the vehicle is used.
Choose protection that fits the part and its surroundings
Once cleaned steel is exposed, it can be vulnerable to renewed corrosion if left unprotected. Choose a finish whose instructions specifically fit the material and the operating conditions of that part. A coating intended for a static bracket may not be appropriate on a hot surface or near a belt, pulley, electrical contact, or sealing surface. Compatibility matters as much as rust removal: a finish in the wrong place can create a new maintenance or safety problem.
Before application, check the product directions for surface preparation, application, ventilation, drying, and any required cure time. Keep it off threads, electrical contact surfaces, moving parts, labels, hoses, and nearby finishes unless the product instructions say it is suitable there. Do not treat a coating as a way to stabilize a cracked or badly thinned part.
If you removed the bracket, reinstall it only if you can return it to its correct position and secure it properly. Use the vehicle’s service information if you are uncertain about installation or tightening requirements. Before starting the engine, check that:
- The part is secure and no loose grit or tools remain in the work area.
- No treatment has reached a belt, pulley, connector, ground point, opening, or sealing surface.
- The coating has dried or cured as directed and has not contaminated nearby parts.
- Any removed covers or components are back in their correct positions.
For products that leave residues or waste, follow the label and applicable local disposal guidance rather than pouring leftovers down a drain or onto the ground. The U.S. Environmental Protection Agency notes that household hazardous waste may require special handling and points consumers to local collection options (EPA guidance on household hazardous waste). Requirements and available collection arrangements can vary by location.
Know when Engine Rust Removal is the wrong job
Some signs call for diagnosis instead of a DIY cleanup. This is especially important when the concern is internal: a brush cannot reach hidden engine surfaces, and a liquid treatment may carry debris or chemicals into places that are difficult to inspect or clean. Do not crank an engine when water entry or internal corrosion is plausible. A mechanic can choose an inspection based on the engine and its history; there is no single exterior-cleaning procedure that confirms internal condition.
- The vehicle or engine was exposed to flooding, standing water, or a known water leak.
- An intake or cylinder opening may have been left uncovered or exposed to water.
- The engine stopped after water exposure or does not turn normally.
- Rust is visible on a moving surface, bearing area, or another part whose condition affects operation.
- A mount or functional bracket has deep pitting, cracks, looseness, or apparent material loss.
These signs do not by themselves prove that an engine is damaged or identify what repair it needs. Give the mechanic the relevant history: what was exposed, how long the vehicle sat, whether openings were covered, and what cleaning products or tools have already been used. Do not pour rust treatment into the oil, intake, fuel system, coolant passages, or spark-plug holes as a general remedy.
Choose the next step for the vehicle, not just the stain
For a sound, accessible steel bracket with light surface rust, the practical route is to contain the area, clean gently by hand, inspect the metal, and apply a compatible finish. If the part is hard to identify, difficult to isolate, or important to vehicle operation, the safer choice is assessment before abrasion or chemical treatment. A clean-looking surface is not proof that hidden corrosion or structural damage has been repaired.
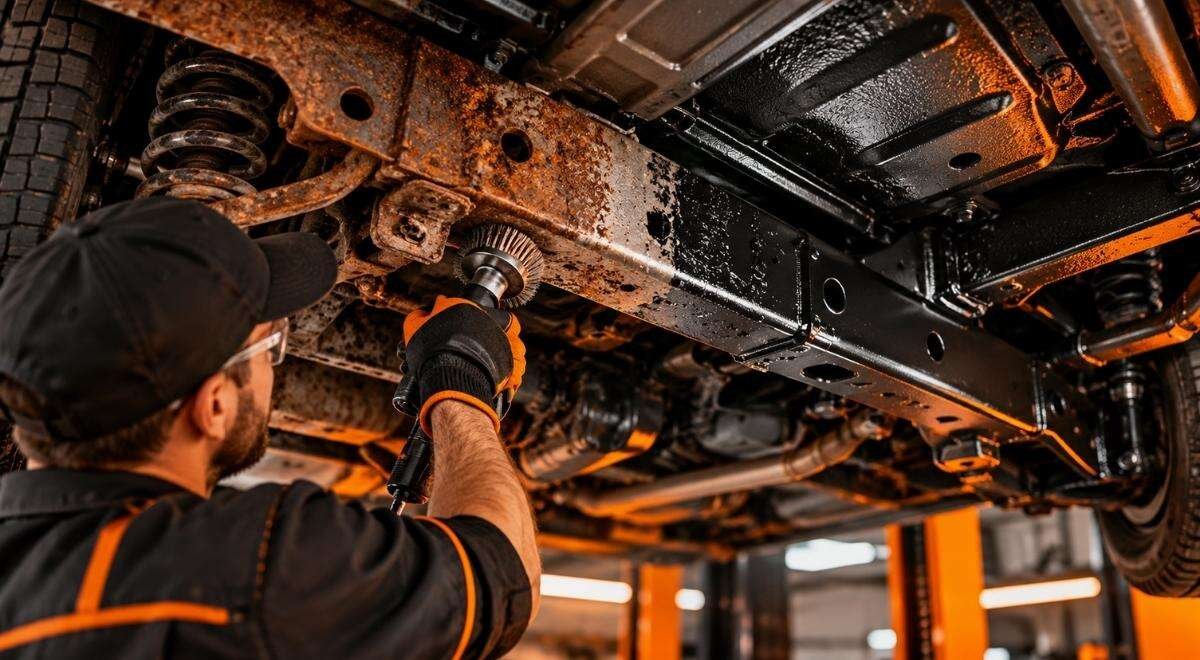
Keep engine-bay cleanup separate from broader vehicle corrosion work. Bay State Rust Prevention’s documented capabilities include vehicle rust-prevention undercoating, rust removal through sandblasting, bare-metal preparation, frame-off disassembly, and automotive frame repair; that information does not establish that the business performs internal engine diagnosis. For protection of appropriate vehicle surfaces, see rust prevention undercoating. For structural rust removal and frame-related work, review frame-off rust removal.
If your concern is a vehicle frame or broader corrosion protection, baystaterustprevention.com describes Bay State Rust Prevention’s documented services. For suspected rust inside an engine, have a mechanic assess it before the engine is cranked or treated.