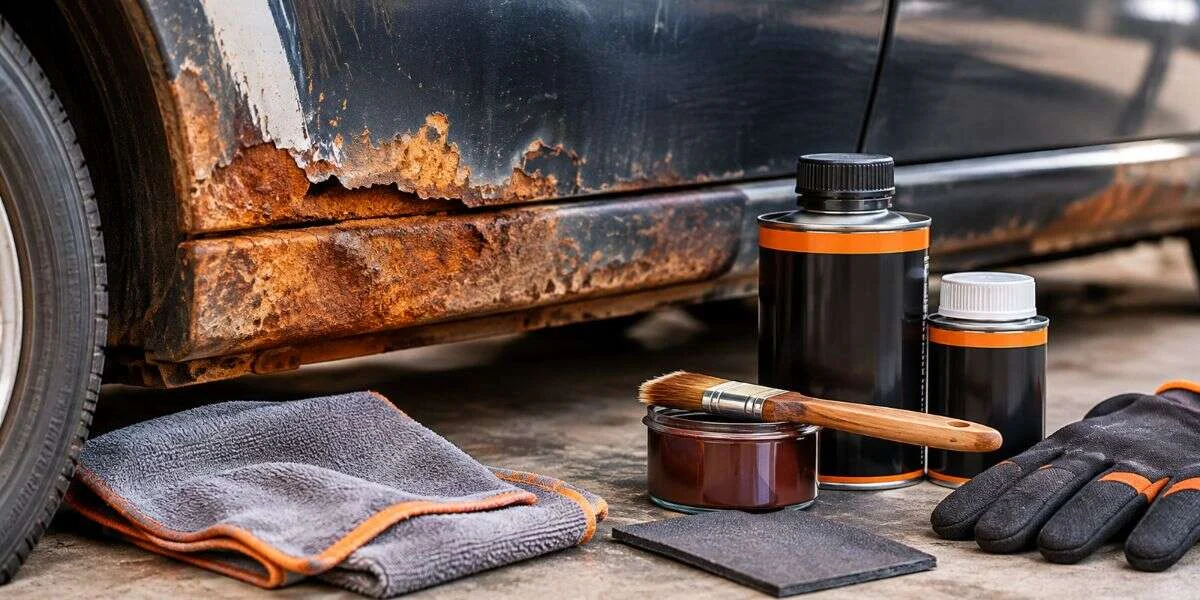
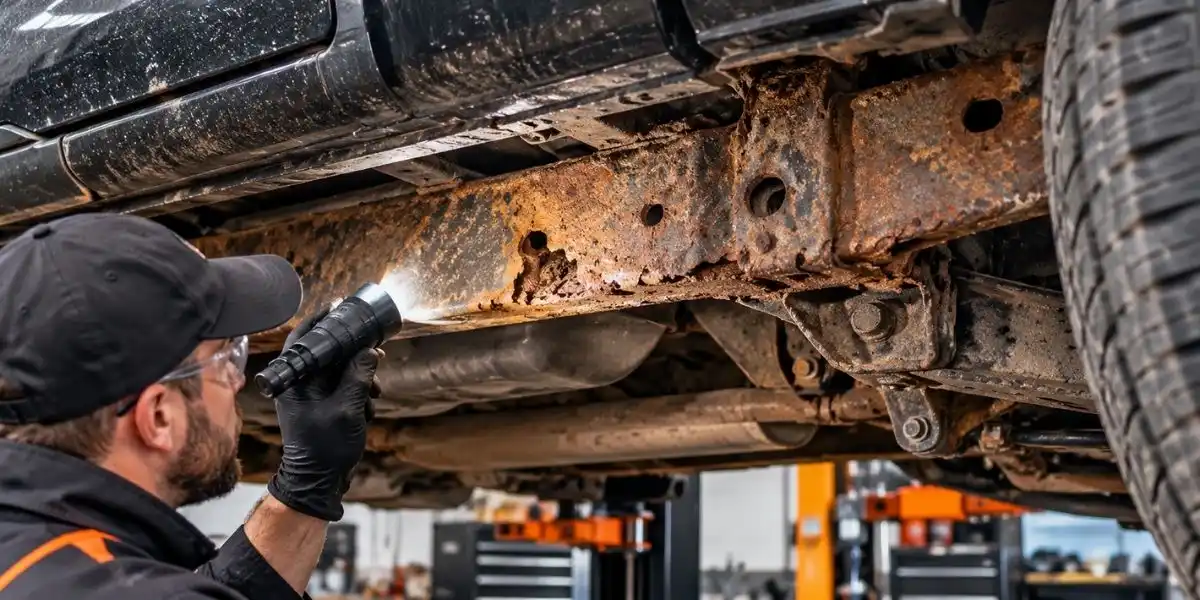
A rust repair kit can help with a small area of surface rust on a non-structural body panel, but it cannot restore steel that has rusted through or a weakened frame. Choose a kit to match the damage: a rust-treatment product for sound metal with light corrosion, or a repair system designed for a small body-panel hole only when the surrounding metal is still solid. If rust affects a frame, suspension mounting point, seam, or other load-bearing area, get the structure inspected instead of covering it with a kit.
Rust past the point a kit can handle? See our rust removal and sandblasting service for how the work is done, starting prices and booking.
Decide whether the rust is a kit-sized repair
Rust is not just a color change to paint over. Corrosion consumes metal; once enough material is gone, a coating or filler can hide the damage without restoring the part’s strength. The first job is to distinguish surface corrosion on sound metal from metal loss or structural damage.
On a body panel, light rust may appear as a small, rough patch with firm metal around it. A repair might be reasonable if cleaning the area reveals continuous steel, the corrosion is accessible, and the panel is not part of a structural joint. Even then, removing paint and rust can expose a larger affected area than the surface appearance suggested.
Be more cautious with a vehicle frame, rocker panel, floor, suspension mount, seat-belt anchorage, or a boxed section. Rust may continue on the other side of a panel or inside a cavity. A small visible spot does not tell you how much metal remains, and filler cannot substitute for sound steel or a properly engineered structural repair.
- More likely to suit a small repair: a localized spot on an accessible, non-structural panel with firm metal around it.
- Needs closer assessment: bubbling paint along a seam, flaking layers, rust near a joint, or corrosion that returns after previous repairs.
- Not a cosmetic-kit job: a hole or soft area in a frame, suspension mounting point, rocker structure, or other load-bearing section.
Do not use a screwdriver test as proof that a frame is safe. Poking can show that metal is weak, but a spot that resists a tool does not establish the condition of hidden faces, seams, or the surrounding structure. If the damage is near a structural attachment, arrange an inspection before deciding whether the vehicle is safe to use or lift.
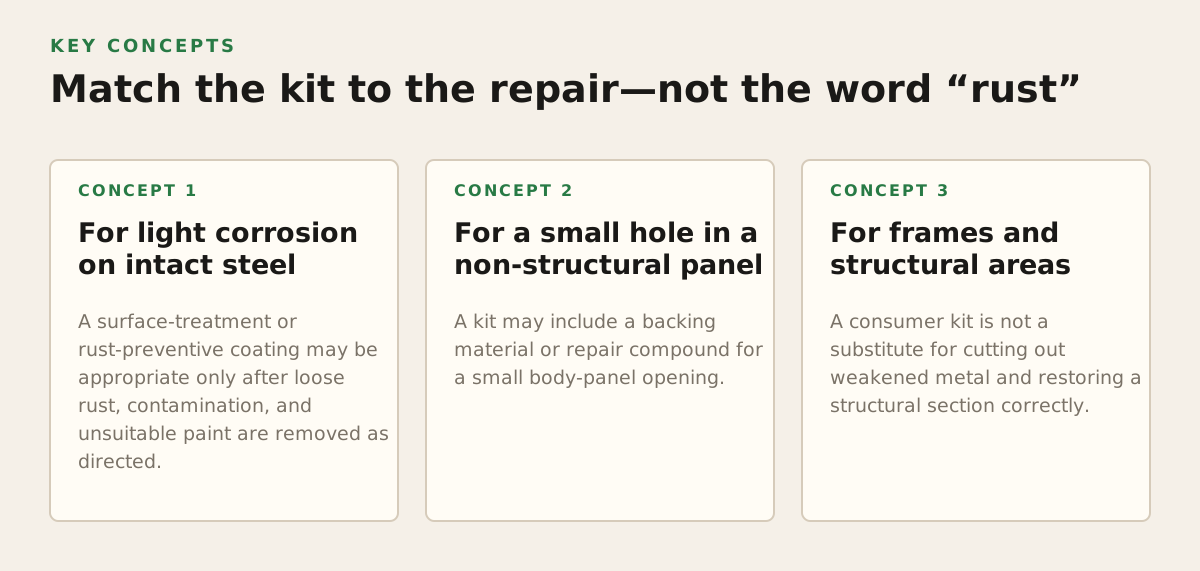
Match the kit to the repair, not the word “rust”
Products sold for rust repair cover different jobs. Some are intended to treat or coat prepared metal; others include abrasives, conversion chemicals, primer, filler, or materials for patching a small body-panel opening. A bundle labeled a kit does not guarantee that its contents suit your vehicle or the actual damage. Check the intended substrate, application steps, and limitations on each product label before buying.
For light corrosion on intact steel
A surface-treatment or rust-preventive coating may be appropriate only after loose rust, contamination, and unsuitable paint are removed as directed. For example, POR-15 describes its coating as a rust-preventive product and provides product-specific preparation and application instructions; those directions, rather than a generic kit checklist, determine what that coating requires. Read the instructions for the exact product you are considering at POR-15 Rust Preventive Coating.
Some systems use a separate metal-preparation product before coating. Do not assume every coating needs the same treatment, or that a converter, cleaner, primer, and topcoat can be mixed across brands. POR-15’s separate Metal Prep instructions are an example of why the preparation product’s own directions matter. A treatment can help protect prepared metal; it does not replace metal that has disappeared.
For a small hole in a non-structural panel
A kit may include a backing material or repair compound for a small body-panel opening. That is a different repair from treating surface rust. The important question is whether the surrounding steel is clean, stable, and suitable for the repair system, not simply whether the kit says it can bridge a hole. If corrosion extends under the panel edge, into a seam, or beyond the stated repair limits, a patch applied over the visible opening may only conceal continuing rust.
Before choosing this route, confirm that the product is specifically intended for the panel material and type of repair. Read its instructions for allowed repair size, backing method, compatible primer and paint, and curing conditions. If the manufacturer does not clearly cover the damage you have, do not treat that silence as approval.
For frames and structural areas
A consumer kit is not a substitute for cutting out weakened metal and restoring a structural section correctly. Frame work may require disassembly, access to hidden surfaces, removal of corrosion, and repair or replacement of damaged material. Bay State Rust Prevention’s verified capabilities include frame-off vehicle disassembly, sandblasting for rust removal, and automotive frame repair; those are different tasks from a small cosmetic kit repair.
For severe rust, a useful next step is an assessment rather than a larger shopping list. The shop needs to establish how far corrosion extends and whether the affected piece can be repaired. If you are considering more extensive work, see the site’s frame-off rust removal information.
Prepare the area so the repair can bond
Preparation usually decides whether a repair has a sound surface to adhere to and whether the full extent of corrosion is visible. The exact sequence varies by product, so follow the kit’s instructions rather than combining steps from unrelated products. In general, the work involves exposing the affected area, removing loose material, cleaning it, and checking the result before applying treatment.
- Work out what is behind the rust. Check both sides of the panel where accessible. Look for seams, cavities, wiring, fuel or brake components, and nearby trim that could be damaged by tools or chemicals.
- Remove coatings and loose corrosion as directed. Do not coat over flaking paint or loose scale and expect it to become a solid base. Stop if cleaning reveals perforation, layered rust, or a larger weak area.
- Clean and dry the surface according to the product label. Residue, oil, dust, or moisture can interfere with the next layer. Products differ in whether they call for a particular cleaner, surface condition, or preparation treatment.
- Reassess before applying anything. Confirm the remaining metal is suitable for the repair and that the damage still falls within the kit’s stated use. If not, change the repair plan.
Grinding and sanding create dust and flying particles. Abrasive blasting can add hazards from the abrasive, noise, and contaminants in the material being removed. OSHA’s abrasive-blasting guidance identifies hazards and controls for workplace blasting; it is a useful reminder that blasting is not just a faster version of hand sanding. Use tools only in a suitable work area and follow their safety instructions.
Read the safety data sheets and labels for the products you will use, including cleaners, converters, coatings, and solvents. OSHA’s respiratory-protection guidance explains that respirator selection and use involve more than picking a mask by appearance. For a home repair, follow applicable product and tool instructions, and do not improvise respiratory protection for dusty or chemical work. If you cannot control exposure or work safely, have the task handled by a properly equipped repair facility.
Apply the repair system without hiding a bigger problem
Once the surface is ready and you have confirmed that the damage is within the product’s scope, follow the product sequence exactly. A rust-treatment coating, a patch system, and a filler repair are not interchangeable. Each depends on its own surface preparation, application limits, and compatibility with later primer or paint.
Keep the repair small enough to inspect. Applying a thick layer to bridge a broad weak area can make the surface look finished while leaving the underlying metal unchanged. If the coating pulls away, the filler cracks, or rust remains visible at an edge, stop and determine why rather than adding another layer over the symptom.
- Use compatible products: confirm that cleaner, treatment, primer, filler, and finish are approved to work together.
- Respect application conditions: follow the label for surface condition, application method, and curing before the next step.
- Protect the back side where appropriate: a repaired panel can remain vulnerable from the reverse side if that area is accessible and the chosen system calls for protection.
- Inspect the edge: a clean-looking center does not prove corrosion has been removed from a seam or beneath surrounding paint.
Do not confuse a rust converter or encapsulating coating with a repair to missing steel. Such products may be designed to treat or protect a prepared surface, but they cannot replace metal, restore a distorted mounting point, or verify the strength of a frame. If the repair depends on the vehicle carrying load through that area, appearance is not a reliable test of success.
Once the repair is complete, keep the area inspectable. A quick visual check after washing or seasonal use can help you notice lifted coating, a new bubble, or corrosion emerging at an edge. If rust returns, investigate whether moisture is entering from a seam, trapped behind a panel, or coming through from the other side instead of repeatedly covering the same spot.
Choose DIY treatment, professional rust removal, or frame repair
A kit makes sense when the repair is limited, accessible, non-structural, and clearly within the manufacturer’s stated use. A professional assessment makes more sense when the damage is hidden, extensive, close to a structural attachment, or difficult to prepare without disassembly. You are not choosing between “doing it yourself” and “doing nothing”; the useful choice is the repair method that addresses the metal that is actually damaged.
For owners comparing options, these examples help define the boundary:
- Small spot on an outer body panel: expose the area, verify sound surrounding metal, and use a compatible treatment or repair system within its instructions.
- Rust bubbling along a panel seam: look for corrosion under the adjoining edge; a surface coating alone may leave the source untouched.
- Flaking or perforated frame section: do not use a cosmetic kit as a structural repair. Have the frame inspected to establish the needed repair.
- Rust before applying protection to a vehicle: remove or repair existing corrosion first; prevention coating is not a substitute for rust removal.
For a sound, rust-free vehicle, prevention is a separate job from repairing existing corrosion. Bay State Rust Prevention provides professional WaxOyl rust-prevention undercoating, including treatment of vehicle seams, panels, joints, and cavities. Learn about rust prevention undercoating if your goal is to protect a vehicle rather than patch a damaged spot.
Practical recommendation: buy a rust repair kit only after you have exposed enough of the area to confirm the damage is within its stated limits. If you find structural rust or cannot establish how far it extends, seek an inspection; baystaterustprevention.com offers rust removal, corrosion assessment, and automotive frame repair for vehicle owners considering a more complete repair.