A frame repair kit is only a sensible choice when its maker identifies it for your exact vehicle and the damaged area—and the repair method matches the vehicle’s required procedure. Kits are not universal fixes for rusted or bent frames. Before buying one, identify whether the damage is structural, check the vehicle-specific repair information, and have uncertain or extensive damage assessed. A kit cannot establish that a frame is safe to repair.
What a Frame Repair Kit can—and cannot—do
The phrase “frame repair kit” can describe different things: a reinforcement plate, a formed replacement section, brackets and fasteners, or components intended to repair a particular known failure. The name alone does not tell you what the kit is designed to fix. Its application, installation instructions, and limitations matter more than the label.
Some products address a defined, localized repair on a specified vehicle or frame area. That is different from a kit that claims to repair any rust hole, crack, or collision bend. A part can physically fit and still be unsuitable if it covers damage that extends beyond the approved repair area or changes how the frame carries load.
Use a kit only after answering these questions:
- Does the product identify the exact make, model, year, and frame or body configuration?
- Does its documentation name the specific location and damage it is intended to address?
- Does the vehicle maker permit that type of repair at that location?
- Can the surrounding metal be inspected and prepared as the instructions require?
- Is there a qualified repairer who can assess alignment and workmanship if the job is structural?
If the seller cannot provide clear application details, do not treat a generic shape or a “fits most” description as proof of compatibility. Ask for the manufacturer’s installation instructions and application list before ordering. If those documents do not define the permitted repair, the product is not enough to make the repair decision.
Identify the damage before matching a kit
Separate surface corrosion from section loss
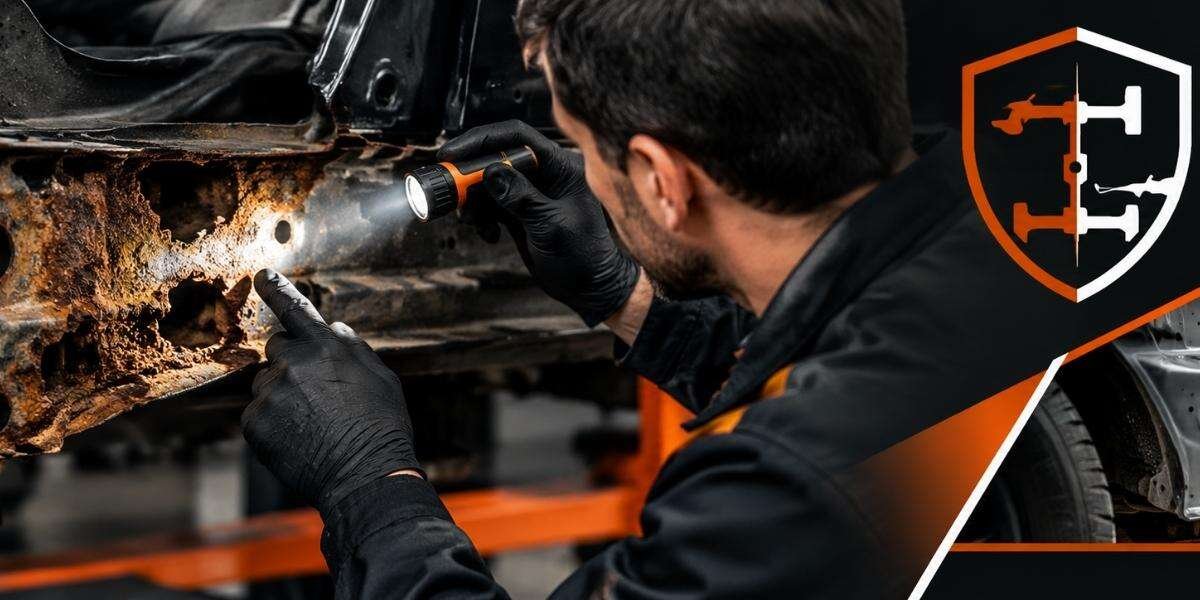
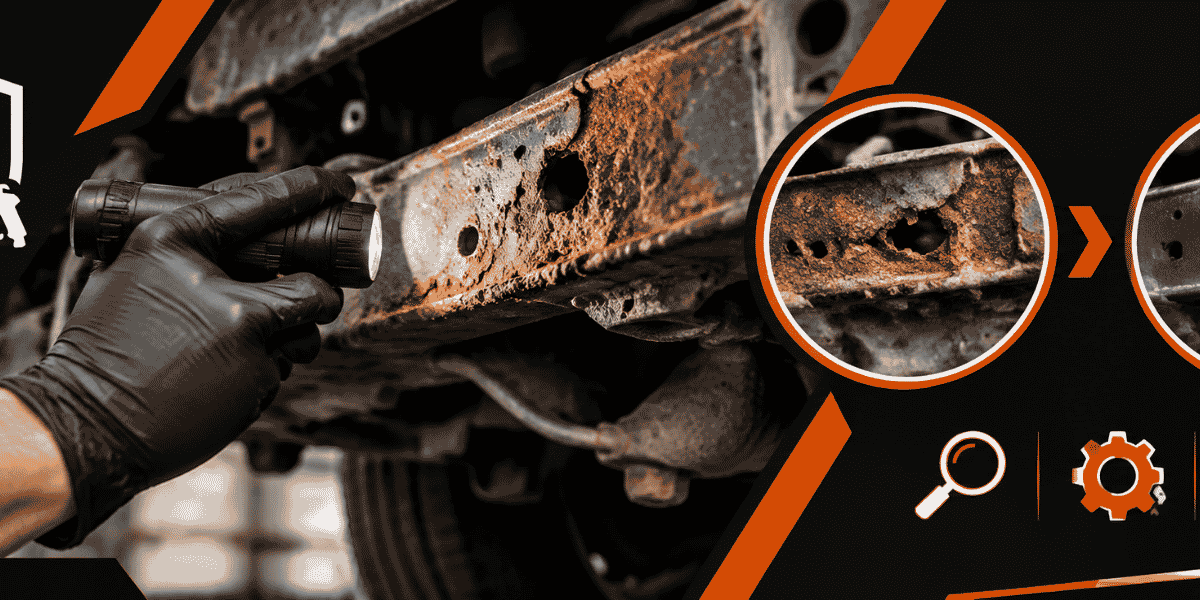
Rust on the outside of a frame is not a reliable measure of how much metal remains. Corrosion can form inside boxed sections, around seams, or on surfaces hidden by brackets and coatings. A coating or repair plate may conceal the area without resolving damage beneath it. The first task is to understand the condition and extent of the affected metal—not to choose a product from a photograph.
Look for signs that call for a closer structural assessment: perforation, layered or flaking metal, a crack, distortion, loose or damaged mounts, or corrosion that continues beyond the visible patch. These observations do not establish a diagnosis by themselves. They are reasons to avoid assuming a surface repair is sufficient, particularly near suspension, steering, seat, or other load-bearing attachment points.
Record the vehicle and repair location
Write down the VIN, model year, make, model, drivetrain or body configuration where relevant, and the precise frame location. Photograph the area from multiple angles, including nearby crossmembers, brackets, and seams. A used-car buyer can use this record to ask what was inspected; a restoration shop can use it to identify the correct repair information and parts. Location and application must match; “same model” alone may not establish that a repair part applies.
Check for an open recall or safety campaign by VIN as a separate step. NHTSA’s recall lookup lets owners search using a VIN, but a recall search does not assess rust condition or approve a repair method (NHTSA recall lookup). Keep recall verification distinct from the physical frame inspection.
Check the vehicle-specific repair method
Before selecting a kit, find the repair information for the exact vehicle. The applicable procedure may specify whether a damaged area can be repaired, where a section may be joined, what materials or joining method are allowed, and what measurements or checks are required. Do not assume that welding, bolting, or adding reinforcement is acceptable just because a kit includes those parts.
Automakers publish service and repair information through their own technical-information systems; Toyota, for example, provides access through its Toyota Technical Information System. I-CAR’s Repairability Technical Support resource also organizes repair-related information, including automaker positions. Use the source applicable to the vehicle, and verify the procedure itself rather than relying on a search snippet, seller description, or forum post.
Compare the kit documentation against the procedure point by point:
- Permitted repair area: Is the damage located where the vehicle maker allows this repair?
- Repair method: Do the kit instructions use a method consistent with the vehicle-specific procedure?
- Material and part fit: Are the specified parts and materials appropriate for the vehicle and location?
- Inspection requirements: Does the process require measuring, disassembly, or inspection beyond what is visible?
- Post-repair protection: Does the repair plan address exposed metal and any cavities disturbed during the work?
If the kit instructions and vehicle procedure disagree, stop and get clarification from the automaker’s repair-information source or a qualified structural repair professional. Do not resolve a conflict by choosing whichever instruction seems easier. If a procedure cannot be found or interpreted, that is a concrete reason to defer the repair rather than infer permission from the kit’s availability.
Decide whether a kit repair is appropriate
Conditions that may support a kit-based repair
A kit is a more plausible candidate when the product is explicitly made for the vehicle and exact repair location, the damage is confined to the area the instructions cover, the surrounding structure is sound enough to accept the repair, and the vehicle-specific procedure permits it. All of those conditions matter. A match on vehicle year does not compensate for damage outside the approved area.
For example, a vehicle-specific reinforcement component may be intended to address one defined local condition. If inspection instead reveals corrosion extending into adjoining frame metal or a nearby mount, the kit’s stated repair area may no longer describe the job. That is not a reason to adapt the plate or enlarge the repair by guesswork; it is a reason to reassess the full affected structure.
Conditions that call for assessment before purchase
Get a structural assessment before ordering parts when the frame is cracked, bent, perforated across a broad area, repaired previously, or corroded around an attachment point. The same caution applies when the vehicle’s alignment or suspension position appears altered, or when you cannot see the back side of the affected section. These signs do not prove that the vehicle is beyond repair; they mean that a kit listing cannot answer what metal remains or what repair is acceptable.
For collision-related questions, consult the vehicle maker’s repair information and a professional familiar with structural repair. I-CAR’s repairability resources can help locate automaker guidance, but an information resource is not an inspection of the vehicle. If structural condition is uncertain, arrange an in-person assessment before driving or authorizing a repair.
For a rust-damaged vehicle, frame-off work may be appropriate when the repair requires access to areas that cannot be inspected or prepared with the body in place. Whether that is warranted depends on the vehicle and the extent of corrosion; it should not be inferred from the fact that a repair kit exists. A shop that offers frame-off rust removal can explain what its process covers, but the scope for your vehicle should be confirmed directly.
Understand installation, safety, and corrosion protection
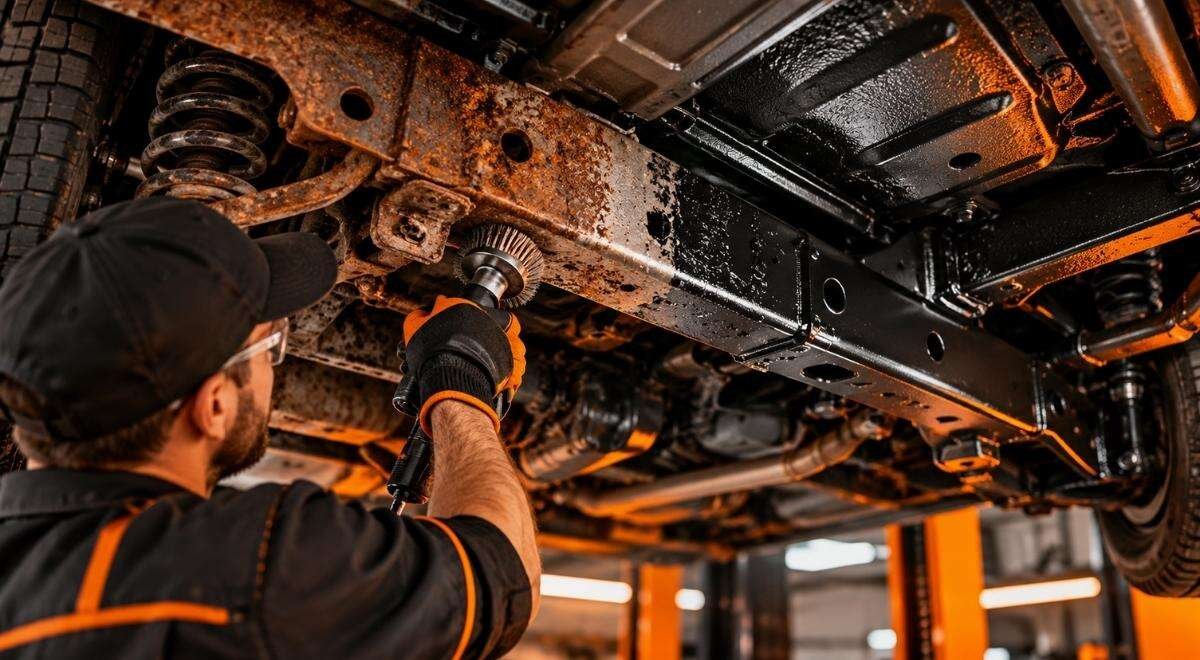
A kit does not eliminate the work needed to prepare, position, and verify a repair. Depending on the procedure, the job may require disassembly, secure support, accurate alignment, removal of corrosion, or controlled joining. Poor access can make it difficult to inspect the reverse side or protect a cavity afterward. If instructions call for a welding or cutting operation, do not treat it as a casual add-on to a home repair.
Welding and cutting introduce fire, fumes, and other workplace hazards; OSHA’s welding, cutting, and brazing standard addresses precautions such as fire prevention and ventilation (OSHA 29 CFR 1910.252). That standard is not a vehicle repair procedure, but it underscores why a structural repair should be planned around the actual work environment and the required safety controls.
After a repair, corrosion protection must suit the surfaces and access affected by the work. Bare or newly exposed metal, seams, and enclosed cavities may need different attention; applying an undercoating over an unverified repair is not a substitute for inspecting it. For a vehicle that also needs ongoing salt protection, review what rust prevention undercoating covers and confirm that the repaired area can be properly prepared and treated.
Useful questions to ask the installer or repair shop include:
- Which vehicle-specific procedure supports this repair?
- What damage will be removed, and how will the remaining structure be assessed?
- How will the repair’s position and fit be checked?
- What areas will be inaccessible after assembly, and how will corrosion protection be handled there?
- What documentation or inspection can you review before accepting the vehicle?
Make the purchase decision with a clear stop rule
Use this sequence before spending money on a frame repair kit:
- Identify the vehicle and location. Record the VIN and describe the damage precisely.
- Establish the damage extent. If corrosion, cracking, or deformation may extend beyond what you can see, arrange an assessment.
- Find the vehicle-specific repair information. Confirm that the proposed repair type and location are permitted.
- Verify the kit’s application and instructions. Match its part, method, and limits to the actual repair procedure.
- Decide who will perform and inspect the work. Confirm access, preparation, safety, alignment checks, and corrosion protection before work starts.
Your stop rule is straightforward: do not buy or install a kit if its application is vague, the damage exceeds its stated scope, or the repair method conflicts with vehicle-specific guidance. Ask the seller for documentation or get the frame assessed. If the vehicle is a classic, modified, or uncommon configuration and the correct procedure is difficult to locate, explain that uncertainty before anyone cuts, drills, or welds.
A frame repair kit can be a component in a properly defined repair; it is not a diagnosis, a universal frame fix, or evidence that a vehicle is safe afterward. Bay State Rust Prevention provides in-house vehicle inspection, corrosion assessment, frame-off sandblasting, and automotive frame repair in Worcester and Central Massachusetts; confirm directly whether its services suit your vehicle and repair question at baystaterustprevention.com.
Authored with NotFair SEO