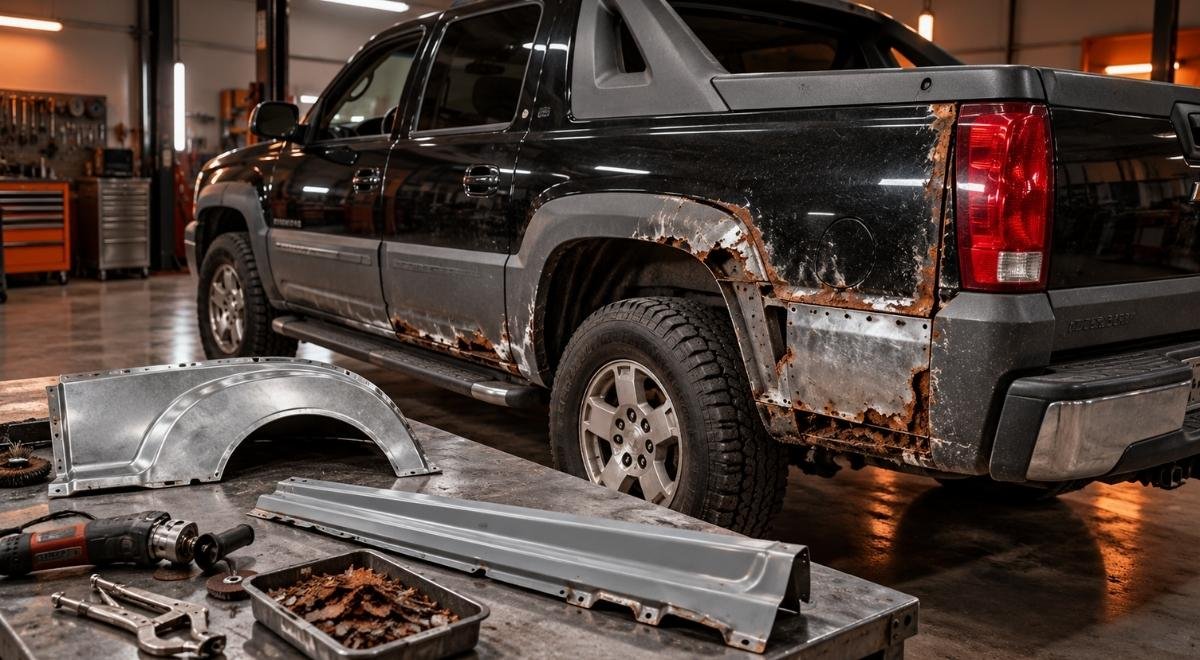
Choosing chevy avalanche rust repair panels is only one part of a safe repair. Before ordering metal, you need to determine whether corrosion is limited to the bedside, rocker, wheel arch, or floor—or whether it has reached the frame, suspension mounts, body mounts, or other load-bearing structure. This guide lays out a practical sequence for inspecting a 2002–2013 Chevrolet Avalanche, selecting repair material, removing contamination, welding or bonding appropriately, and protecting the finished work from another Central Massachusetts winter.
The goal is a repair plan you can defend: sound metal identified before cutting, a panel chosen by location and fit rather than appearance alone, and a corrosion-control system that does not bury unfinished rust under coating. A cosmetic patch can make a truck look better briefly; a structural repair must restore section strength, load paths, drainage, and access for future inspection.
Establish the repair boundary before shopping for panels
Begin with a clean inspection, not an online search. Wash the underside and wheel openings, remove loose dirt, and allow the vehicle to dry fully. If the truck is heavily salted, a rinse removes surface contamination but does not neutralize corrosion inside seams or boxed sections. Raise the Avalanche only with equipment appropriate for the vehicle and support it at approved points; never rely on a jack while probing or cutting.
Separate surface rust, perforation, and structural loss
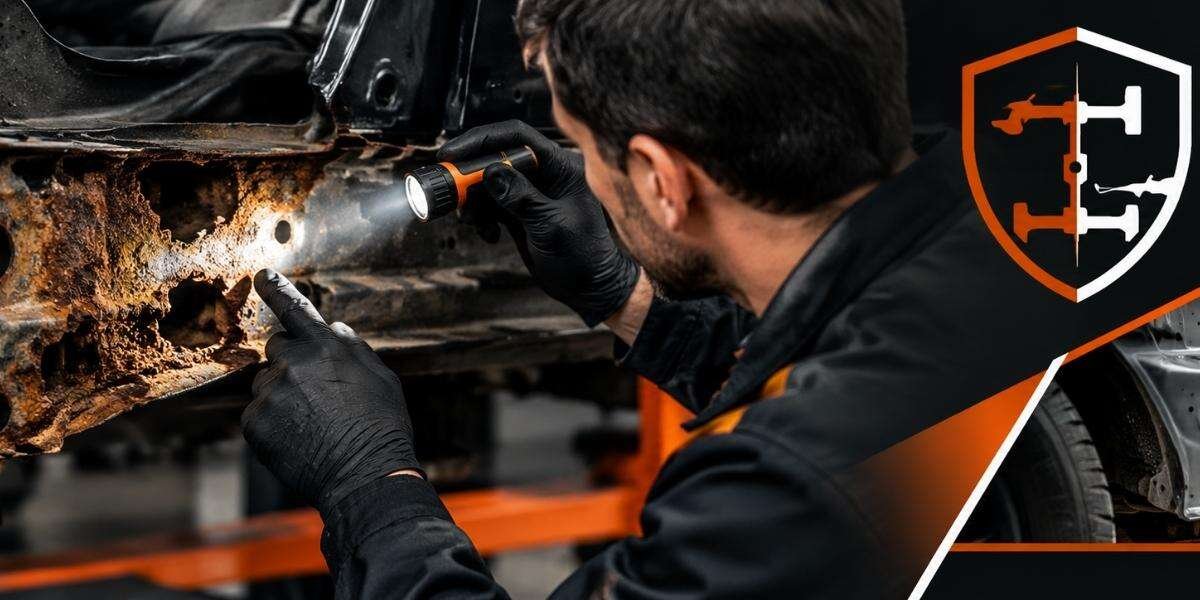
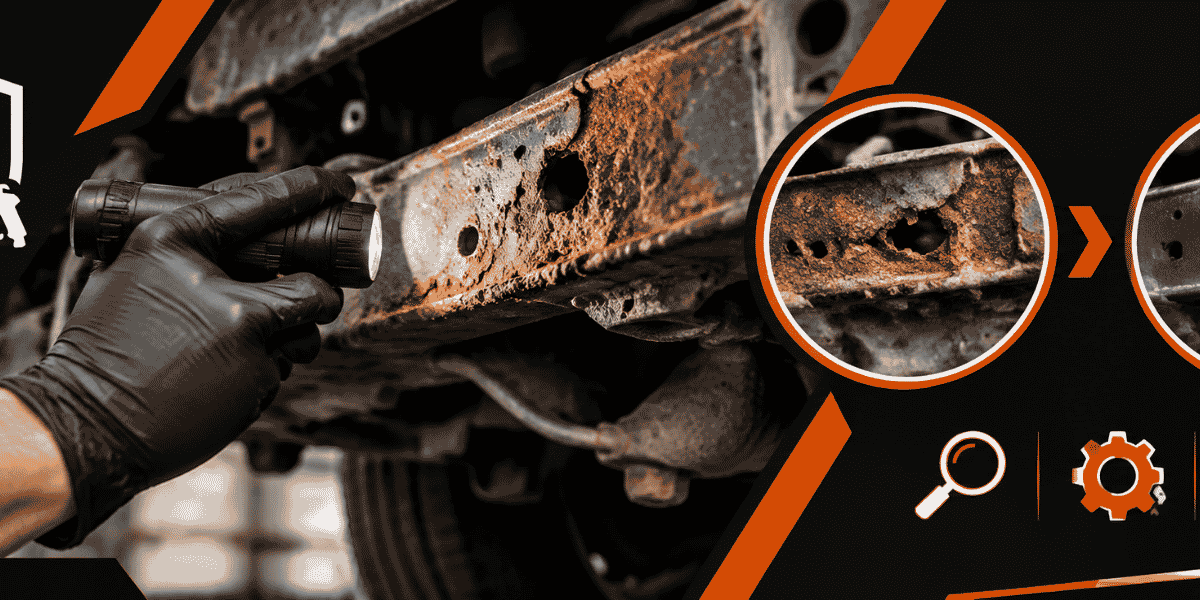
Use a bright inspection light, blunt pick, small hammer, and a camera. A pick passing through a rusty area is not itself a measurement of frame failure, but it tells you that the affected metal no longer provides a reliable coating surface. Probe outward from the hole until you reach metal that is firm, cleanable, and thick enough to weld or mechanically join.
Classify each area into one of three working categories:
- Surface corrosion: discoloration, scale, or shallow pitting with no loss of section through the metal.
- Perforation: holes or paper-thin metal in a nonstructural body panel, floor section, wheel arch, or rocker skin.
- Structural corrosion: thinning, cracking, distortion, or perforation at the frame, suspension attachment, body mount, seat-belt anchorage, crossmember, or another load-bearing area.
Do not assume a replacement bedside or rocker patch solves a frame problem. The Avalanche’s body can conceal corrosion at the frame rail, body mounts, and brackets. Check around mud traps, drain holes, bumper and hitch attachments, brake and fuel-line clips, and places where two metals or panels overlap. If a suspension mount moves while the truck is supported, stop the cosmetic repair and obtain a structural assessment.
Use an inspection record rather than memory
Photograph the whole vehicle, then take close images with a ruler or another known-size object in the frame. Mark each issue as body-only, body-adjacent, or structural. Record whether the metal is merely scaled, perforated, oil-contaminated, or distorted. This information determines whether a patch panel, a larger section, or frame repair is appropriate.
For a 2026 shop or fleet workflow, an illustrative starting policy is to document every rust opening larger than 25 mm and every area within roughly 100 mm of a suspension or body-mount attachment. Those numbers are not a safety standard. Adjust the policy downward when the vehicle carries heavy loads, has prior collision damage, shows movement, or is being restored for demanding use. The signal to escalate is not the hole’s diameter alone; it is loss of section, altered geometry, or proximity to a load path.
Also check open safety campaigns and recalls by VIN through the National Highway Traffic Safety Administration’s official lookup before authorizing work. The lookup can identify unresolved campaigns, but it does not replace an inspection of corrosion or previous repairs: NHTSA recall lookup.
Decide whether you need a panel, a fabricated section, or frame repair
Once the boundary is mapped, decide what the replacement metal is supposed to accomplish. An outer wheel-arch panel may restore appearance and keep water out. A rocker reinforcement, body-mount area, or frame section may carry loads and must be designed and joined differently. The most expensive mistake is buying a visually correct panel before confirming that the remaining structure is usable.
Match the repair method to the component
| Observed condition | Likely direction | Key verification before work | Common failure if misclassified |
|---|---|---|---|
| Rust limited to an outer bedside or wheel-arch skin | Replacement skin, section, or fabricated patch | Confirm inner reinforcement and bed floor are sound | New outer metal traps corrosion behind a weak inner structure |
| Rocker opening with solid inner reinforcement | Correctly shaped rocker repair section | Inspect pinch weld, jacking area, and body-mount vicinity | Patch restores appearance but not lifting or body support |
| Perforated floor near a seat or belt anchorage | Structural repair assessment before patching | Trace load path and inspect underside reinforcements | Thin sheet is mistaken for restored occupant protection |
| Frame rail scale, holes, cracks, or distorted brackets | Frame-specific repair or replacement section | Measure geometry and inspect attachments | Cosmetic coating hides weakened structure |
| Rust at seams, cab corners, or bonded overlaps | Open the seam and remove all compromised metal | Check the reverse side and drainage route | Rust continues unseen beneath a closed patch |
Body-panel fit is not structural certification. A panel advertised for an Avalanche may be useful for a bedside, arch, or rocker skin while being unsuitable for a frame rail. Verify the supplier’s application, side, body style, and material. Compare the panel to the truck before cutting: flange direction, wheel opening, molding line, bed corner, fuel-door area, and attachment points should all make sense.
Choose repair metal by function, not convenience
For a nonstructural body patch, the replacement metal should be compatible with the surrounding steel and shaped so it does not create a water shelf. A large patch with a properly supported butt joint can be preferable to a tiny patch over a wide ring of pitted metal. Overlapping a patch may be appropriate in some locations, but the overlap needs a corrosion-control plan because moisture can remain between the layers.
For frame or suspension-related corrosion, do not improvise a thin body panel as reinforcement. The replacement section, dimensions, weld sequence, and geometry should be established by a qualified frame-repair professional using applicable repair information. If the frame is bent, cracked, or weakened around an attachment, a panel search is the wrong next step.
Select and verify the Avalanche panel before cutting
Online listings often use broad terms such as “rust repair panel,” “patch panel,” or “quarter repair.” Those labels do not guarantee the part matches your truck. The Avalanche changed across model years and configurations, and a part can look close while missing a contour, flange, drain, or mounting feature that matters during installation.
Build a fitment checklist
- Confirm model year, cab and bed configuration, and left or right side.
- Ask whether the part is a complete panel, a partial section, or a flat repair sheet.
- Compare wheel-opening radius, body crease, tailgate or sail-panel transition, and edge flanges.
- Check whether the panel is intended to be butt-welded, overlapped, bonded, or mechanically attached.
- Inspect the gauge and coating condition; remove transport coating where welding or bonding requires bare preparation.
- Plan access to the back side before ordering. A perfect panel is unusable if you cannot control heat, weld-through protection, or seam sealing.
Test-fit before removing the old metal whenever possible. Use magnets, Cleco-style temporary fasteners, clamps, or tack tabs to position the panel. Measure gaps against adjacent panels and check door, tailgate, molding, and bumper relationships. Mark the actual cut line on the vehicle rather than trusting the panel’s perimeter; you want to remove only compromised steel while retaining stable reference points.
Worked example: a rusted left rear wheel arch
Suppose a 2008 Avalanche has bubbling paint around the left rear wheel arch. After cleaning, the outer skin has a 90 mm perforated area, but the inner bed structure is solid. The correct plan is not to cover the bubble with filler. First, trace the rust until the remaining edge is firm. Next, test-fit a wheel-arch section, leaving enough sound metal to maintain the bed’s shape. Check the wheel opening, body crease, and lower bedside line with the tailgate closed.
Now inspect behind the arch. If packed dirt has blocked a drain or the inner panel is pitted, clean and repair that area before closing the outer skin. The panel is successful only if the water path is restored. After welding, the repair receives corrosion protection on both accessible sides, seam sealer where the joint requires it, and a topcoat compatible with the final undercoating. If the inner structure is also perforated, expand the repair boundary or refer the job for a larger section repair rather than hiding the second failure.
Prepare the vehicle and control the hazards
Rust removal creates dust, sharp edges, sparks, and potentially hazardous coatings. Remove trim, liners, dirt, and flammable materials from the work area. Disconnect the battery when appropriate for the welding procedure and protect modules, glass, fuel lines, brake lines, wiring, and interior materials from heat and sparks.
Abrasive blasting is not simply “making metal shiny.” The Occupational Safety and Health Administration identifies hazards associated with abrasive blasting, including airborne dust, noise, and the need for suitable protective measures; review its abrasive blasting safety guidance before using that process. The correct containment, ventilation, respiratory protection, and media depend on the material and work environment.
Use the least aggressive process that exposes the truth
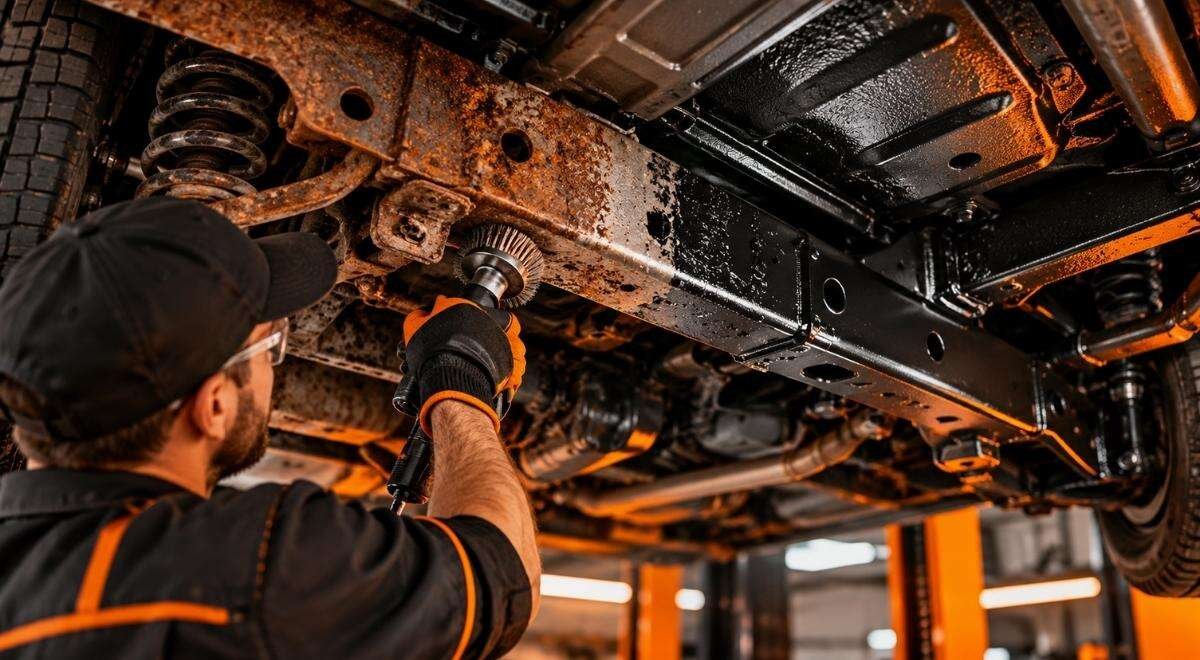
For a localized body repair, a scraper, wire wheel, controlled abrasive disc, or small blast area may reveal the boundary without removing unnecessary sound metal. For a frame-off project or heavily scaled underside, professional blasting can expose hidden pits and seams more consistently, but it also demands careful masking and post-blast cleanup. Do not blast contaminants into open cavities, wiring connectors, bearings, or weather seals.
- Remove undercoating only far enough to inspect the complete repair perimeter.
- Vacuum or blow out abrasive residue using equipment and protection suitable for the material.
- Keep heat away from fuel, brake, and electrical components; shield rather than relying on distance alone.
- Do not weld over oil, wax, seam sealer, or unknown coatings.
- After cutting, deburr edges and inspect the cavity for trapped rust scale.
For a 2026 workshop starting policy, schedule a short inspection pause after cleaning and before cutting, with new photographs and measurements. That pause is illustrative, not a universal time requirement. Extend it when scale continues falling from a boxed section or when cleaning reveals a second layer of rust. The signal to change the plan is newly exposed damage, not the passage of a preset number of minutes.
Cut, fit, and join the replacement metal
Mark the boundary with a scribe, leaving a regular shape that is easy to fit and inspect. Avoid making a repair edge that follows the entire rust outline in a jagged line; irregular edges increase heat concentration and make it harder to maintain alignment. At the same time, do not cut away large areas of sound metal solely to simplify the patch.
Control distortion and preserve geometry
Trial-fit the panel repeatedly. Check the outer surface with a straightedge and compare fixed points before welding. Small tacks spaced around the repair can hold alignment, followed by short alternating welds. Allow cooling between sequences and avoid one continuous bead across a thin body panel. Excessive heat can pull a bedside or rocker out of shape, creating a repair that requires unnecessary filler and leaves residual stress.
Welding is not a substitute for fit-up. A machine can bridge a gap, but bridging a large gap increases burn-through, distortion, and weak fusion risk. Aim for a controlled joint with clean edges and consistent support. Plug welds may be appropriate where the original construction used spot welds, but their placement should reproduce the panel’s attachment function rather than merely add decoration.
Know when adhesive or mechanical joining is inappropriate
Some vehicle body repairs use approved structural adhesives or panel-bonding systems, but the product instructions, substrate preparation, cure conditions, joint design, and location all matter. An adhesive intended for a cosmetic outer panel should not automatically be used at a suspension mount or frame attachment. Similarly, self-drilling screws may hold a temporary panel but can create corrosion pockets and are not a default structural repair.
For a frame or suspension attachment, obtain a repair plan from a qualified frame specialist. The repair needs more than visible closure: it must preserve alignment, section strength, weld access, and the function of nearby brackets. If the truck cannot be measured reliably because the frame is heavily scaled, further disassembly may be necessary before any section is selected.
Seal, prime, and protect the repaired area from salt
After joining, remove weld residue and inspect the entire repair. Look at both sides where access allows. A pinhole, undercut, missed edge, or unsealed overlap can admit water even when the exterior looks smooth. Clean according to the coating manufacturer’s requirements and keep the metal dry during the transition from preparation to primer.
Build protection in layers
- Clean metal: remove scale, dust, oil, and residue from the repair and adjacent seams.
- Primer: use a product compatible with the bare metal, paint system, and intended topcoat.
- Seam sealer: close joints where the original design or repair geometry requires it, while preserving drains and access holes.
- Topcoat: protect the repair from moisture and ultraviolet exposure where applicable.
- Cavity protection: treat the back side, boxed areas, and overlaps with a product suited to those spaces.
- Underbody protection: apply a compatible rust-prevention coating only after the underlying repair is complete and inspectable.
Do not seal over active scale or wet abrasive residue. A thick coating can slow visual inspection while corrosion continues beneath it. The Federal Highway Administration discusses how deicing salts contribute to corrosion of metal infrastructure in its technical material on salt effects; vehicle owners face the same basic exposure problem when salty water remains at seams and underbody crevices: FHWA’s discussion of salt and corrosion effects.
For a Central Massachusetts vehicle, an illustrative starting policy is to inspect repaired areas before the first winter, again after the first salt season, and annually thereafter. Adjust that interval based on mileage, parking conditions, wash frequency, visible coating damage, and whether the truck travels on treated roads daily. A fleet that works in brine or plowed-road service should use condition-based inspections more often than a weekend truck kept indoors.
Choose undercoating for access, not just coverage
A durable underbody system should protect exposed surfaces while leaving drain holes, identification marks, fasteners, and inspection points usable. Product selection depends on the substrate and the repair system. Wax-based cavity products can be useful where a creeping, serviceable film is appropriate; heavier coatings may suit exposed surfaces only after sound preparation. The correct approach is to treat [rust prevention undercoating] with the repair as a system, not spray over every component indiscriminately.
Keep coatings away from brake friction surfaces, exhaust heat zones beyond the product’s limits, oxygen sensors, rubber components that require movement, and threaded connections that must later be serviced. Photograph the finished work before installing liners and trim so future inspections can distinguish the repaired metal from the surrounding factory surfaces.
Verify the result and create a maintenance plan
A repair is not finished when the panel is painted. Reinstall trim and liners only after checking clearances, drainage, and fastener condition. Open and close doors, the tailgate, and the midgate if equipped. Confirm that wheel and tire clearance is unchanged and that no wiring, brake line, fuel line, or drain has been pinched.
Use a closeout checklist
- Are all rust edges removed, or is any questionable metal still under the repair?
- Does the outer panel follow the original body line without excessive filler?
- Are welds or approved joints continuous where water could enter?
- Were the back side, seams, and boxed sections protected?
- Are factory drain holes open and directed away from the repair?
- Are underbody coatings clear of brakes, exhaust components, sensors, and service points?
- Have the repaired areas and hidden access points been photographed and labeled?
- Does the frame, body mount, or suspension area require a separate structural inspection?
For a used-truck buyer, ask for more than a photograph of a new-looking bedside. Request images before cleaning, after metal preparation, and after protection. Look for a clear repair boundary, evidence that the reverse side was addressed, and an explanation of whether the frame was inspected independently. A smooth undercoating layer can conceal unfinished rust if the seller cannot show what was underneath.
Set a condition-based follow-up policy
An illustrative starting policy for a privately owned Avalanche is to inspect the repair at each oil service and perform a more deliberate underside review at least once per year. That is a planning example, not a guarantee or a manufacturer requirement. Shorten the interval when the vehicle sees salted roads, gravel, towing, deep mud, or repeated wet storage. Extend no interval merely because the coating looks intact; the signal for adjustment is what you observe at seams, drains, fasteners, and adjacent metal.
Rinse the underside after major salt exposure, but avoid forcing high-pressure water directly into seams or electrical connectors. Keep wheel-arch liners and drain paths clear. Repair stone chips before they become openings, and photograph any new bubbling so you can compare its spread with the original repair record. Early intervention usually preserves more original metal than waiting until a hole reaches an attachment point.
What to do first with your Avalanche
Do not order a repair panel yet. First, wash and dry the truck, document every affected area, and have the frame, body mounts, suspension attachments, and inner structures inspected separately from the visible body rust. Then classify each location as surface, perforated body metal, or structural corrosion. That first decision prevents a cosmetic panel from being used as a substitute for frame repair.
For work in Worcester and Central Massachusetts, Bay State Rust Prevention can help evaluate rust removal, frame condition, and corrosion protection before the final panel plan is chosen. When extensive scale must be removed for a reliable inspection, ask about frame-off rust removal; when the repair is sound and ready for long-term salt protection, discuss rust prevention undercoating. The business also handles rust-damaged frames and components, so the sensible first appointment is an inspection tied to a repair-and-protection plan rather than a panel purchase alone. baystaterustprevention.com