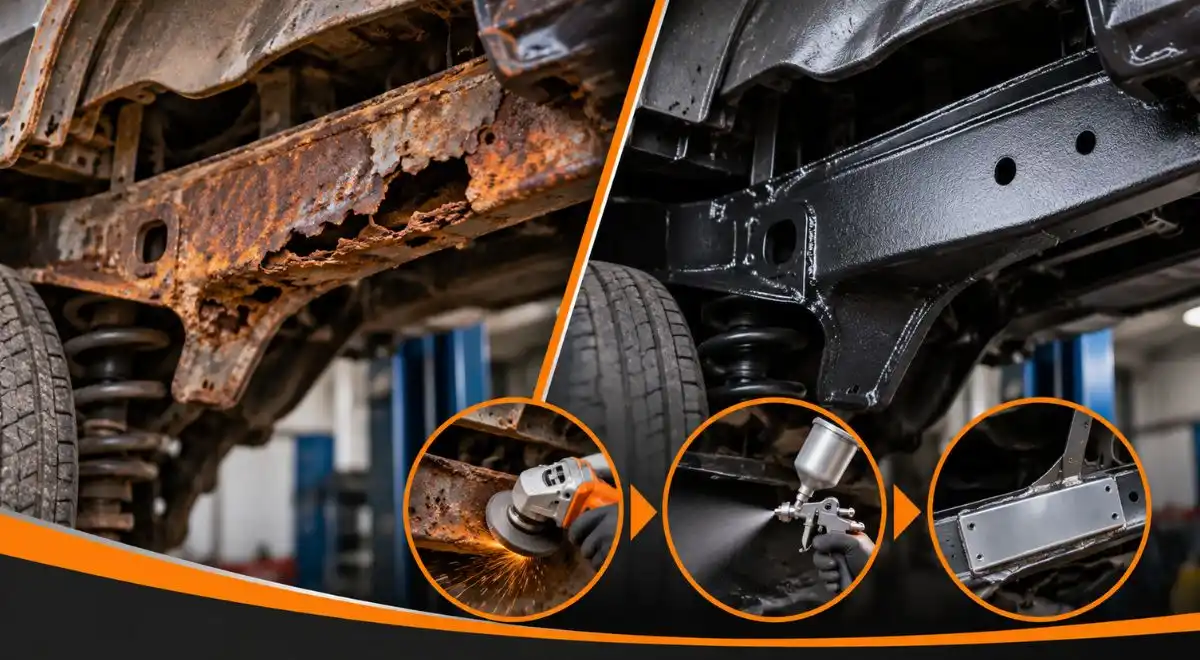
Use these central mass frame-off sandblasting preparation steps to make a clear handoff before work begins: define which parts are included, record the vehicle’s visible condition, plan disassembly and protection, and agree how newly exposed damage will be reviewed. This helps owners of salt-exposed vehicles, restoration projects, and fleet vehicles distinguish what was known before blasting from what needs assessment afterward.
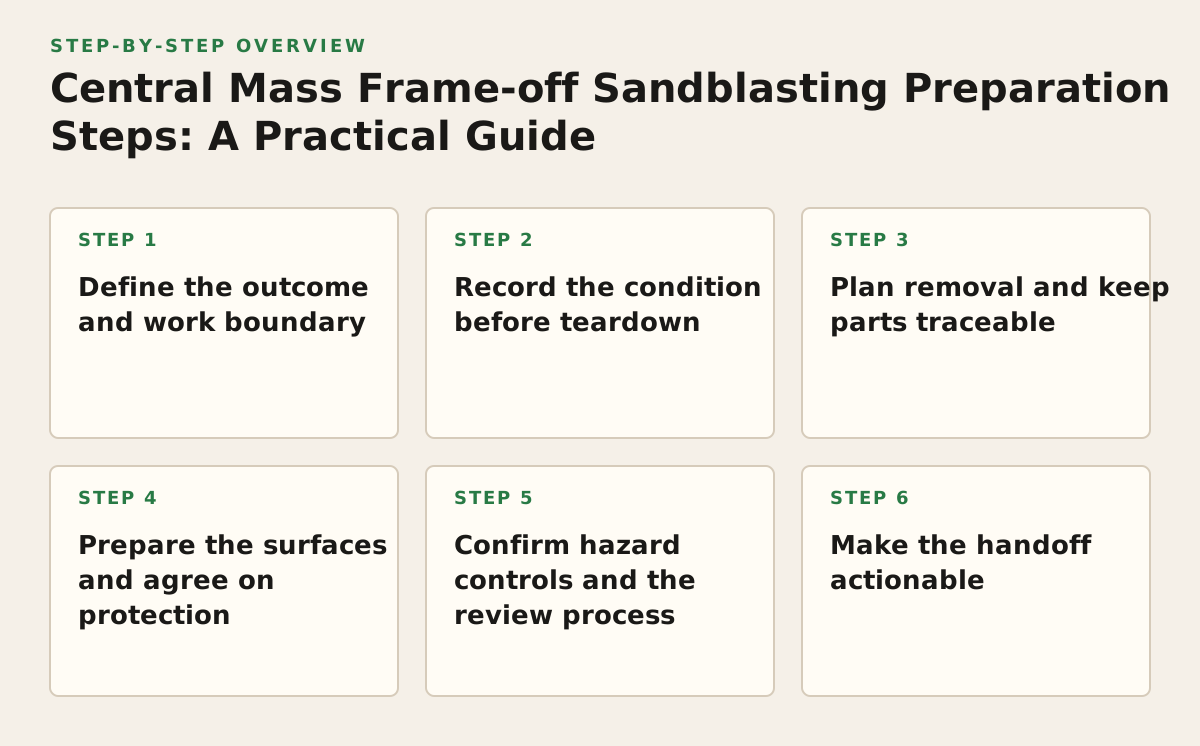
Step 1: Define the outcome and work boundary
Frame-off blasting is a surface-preparation stage, not a complete repair plan. Decide what the exposed frame needs next: inspection, structural repair, or preparation for restoration and corrosion protection. That decision affects what must be removed, what should be saved, and how the shop should handle the frame after blasting.
Put the scope in writing
List the parts included and excluded. “Frame” can mean different things to an owner and a shop, so identify whether the scope includes crossmembers, brackets, or detached suspension components. Also clarify who handles removal and reinstallation, who labels hardware, and who contacts the owner if the work reveals damage beyond the agreed scope.
Separate preparation from repair authorization. Agree that blasting will expose surfaces for assessment, but does not automatically authorize additional structural work. If the next step may include frame repair, ask how newly visible damage will be documented and reviewed before the scope changes. Bay State Rust Prevention lists frame-off disassembly, sandblasting, bare-metal preparation, and automotive frame repair among its capabilities; confirm the specific work and responsibilities for your vehicle.
Decide how corrosion protection fits into the sequence. A coating or rustproofing treatment should be discussed after the frame’s condition and any repair needs are assessed. The site’s rust prevention undercoating and frame-off rust removal pages describe the related service categories; confirm the right timing and scope for your project rather than assuming one process suits every vehicle.
Step 2: Record the condition before teardown
Make a baseline record while the vehicle is still assembled. Photograph the frame from repeatable angles, including accessible inner and upper faces, body mounts, suspension attachment points, crossmembers, and visible areas of scale, holes, cracks, or distortion. Take close-ups of specific concerns as well as wider shots that show where each concern is located.
Log what is visible, not what you suspect
Describe observations without turning them into a diagnosis. For example, write “coating lifted beside the rear mount” rather than “rear mount is unsafe.” A photograph preserves visible condition; it cannot establish the strength of concealed metal or replace a professional structural assessment.
- List visible cracks, holes, deformed areas, patch plates, and previous welds.
- Note parts or fasteners that are already missing, seized, damaged, or misaligned.
- Photograph brake, fuel, electrical, and hydraulic line routing before it is disturbed.
- Mark areas that are blocked from view as “not visible,” rather than assuming they are sound.
- Keep the photo record with the vehicle identification and written work scope.
Make uncertainty part of the record. Blasting may expose corrosion that could not be seen beneath old coating or accumulated material. Agree that those findings will be photographed and reviewed before any added repair is approved.
Step 3: Plan removal and keep parts traceable
Work out the removal plan with the shop before teardown. Some attached components may need to come off to give access to the frame; others may need separate handling or inspection. Do not assume every part can tolerate the same abrasive process. Decide which pieces are included, which are excluded, and how questionable or fragile parts will be handled.
Make reassembly less dependent on memory
Photograph assemblies before removal, including line routing, bracket position, and shim placement. Label bags or containers with both the part and its original location. For a modified or previously repaired vehicle, document what is present rather than relying only on a factory diagram.
- Identify components that must be removed to expose the agreed frame areas.
- Flag items with seals, bearings, wiring, delicate finishes, or other reasons for separate handling.
- Agree how open ends, passages, and removed lines will be protected and identified.
- Set aside questionable parts for inspection instead of assuming they will be reused.
The owner’s manual can provide manufacturer information, but it may not contain the service procedure needed for disassembly or lifting. Use the correct year, make, and model in the NHTSA vehicle-manual lookup, then ask the shop to confirm any service-specific procedure that the manual does not cover.
Step 4: Prepare the surfaces and agree on protection
Ask what cleaning should happen before blasting and who will do it. Removing loose dirt and grease where practical can make inspection more useful, while heavy contamination can obscure the surface or spread during handling. The shop should specify its cleaning plan and how it will manage residue. Avoid applying fresh rustproofing immediately before the frame is assessed: a new coating could conceal the surface you want inspected.
Identify areas that need special protection or separate handling, such as threads, machined faces, fit surfaces, and components staying with the vehicle. The correct approach depends on the vehicle and process, so have the shop state what it will protect and how it will check those areas afterward.
| Area or item | Decision before work | Handoff check |
|---|---|---|
| Frame areas for inspection or repair | Keep accessible within the agreed scope | Confirm photo and review plan for exposed damage |
| Brake, fuel, and electrical components | Remove or protect as appropriate | Record routing and condition before removal |
| Threads and fit surfaces | Identify for protection or separate handling | Confirm the shop knows which areas must remain usable |
| Brackets and small hardware | Label, group, and assess for reuse | Keep each part traceable to its original location |
Ask how protection will be verified. “Covered” does not explain how openings or sensitive parts will be sealed and checked after the work. If the plan includes corrosion protection after restoration, discuss suitable surfaces and timing once the frame’s condition and repair needs are clear.
Step 5: Confirm hazard controls and the review process
Abrasive blasting can create hazardous dust and noise; the relevant hazards and controls depend on the abrasive, coating, and work setup. OSHA’s abrasive-blasting guidance describes hazards and protective measures, and NIOSH’s abrasive-blasting guidance addresses associated health risks. Ask the shop how it controls worker exposure and protects nearby components. Do not assume an open garage or a simple dust mask is adequate.
Ask what abrasive and equipment are planned and how the shop will decide whether they suit the frame and its condition. If a material or coating is unfamiliar, raise that before work starts rather than scraping, sanding, or blasting it yourself. OSHA’s Hazard Communication resources explain hazard information and safety data sheets in covered workplaces; ask the shop how relevant material information will be reviewed for the job.
Agree on what happens when blasting reveals more
Before authorizing the work, decide how the shop will pause and contact you if it finds damage outside the agreed scope. This matters especially when the newly exposed area is near a mount, crossmember, or another structural section. Ask what documentation you will receive and who will assess the finding before repair decisions are made.
Step 6: Make the handoff actionable
Worked example: an illustrative restoration handoff
Imagine a Central Massachusetts owner preparing an older pickup with visible scale near a rear frame section and replacement brake lines. The owner photographs the frame and line routing, labels the suspect area “inspect after coating removal,” and asks for detached brackets to be tagged by location. The written scope identifies which frame areas are to be exposed and requires a review before additional structural repair is authorized. This example illustrates a handoff process; it does not diagnose the frame or predict what blasting will reveal.
Before the vehicle goes in, provide the shop with the baseline photos, known repair history, and parts plan. Keep a copy of the agreed scope, including which work needs separate approval. That gives both parties a practical reference if the exposed condition differs from what was visible beforehand.
- Confirm the intended outcome and the parts included.
- Share photos, known modifications, and areas needing inspection.
- Verify who handles removal, labels parts, and protects openings and surfaces.
- Agree how newly exposed damage will be recorded and reviewed.
- Ask what inspection and surface preparation will precede repair or coating.
First action: make the baseline record. Before teardown, photograph the vehicle and write down the areas you want assessed, then ask the shop to review the scope with you. Bay State Rust Prevention provides frame-off disassembly, rust removal through sandblasting, and automotive frame repair for vehicle owners across Worcester and Central Massachusetts; use baystaterustprevention.com to discuss whether those capabilities fit your project and verify the work details.