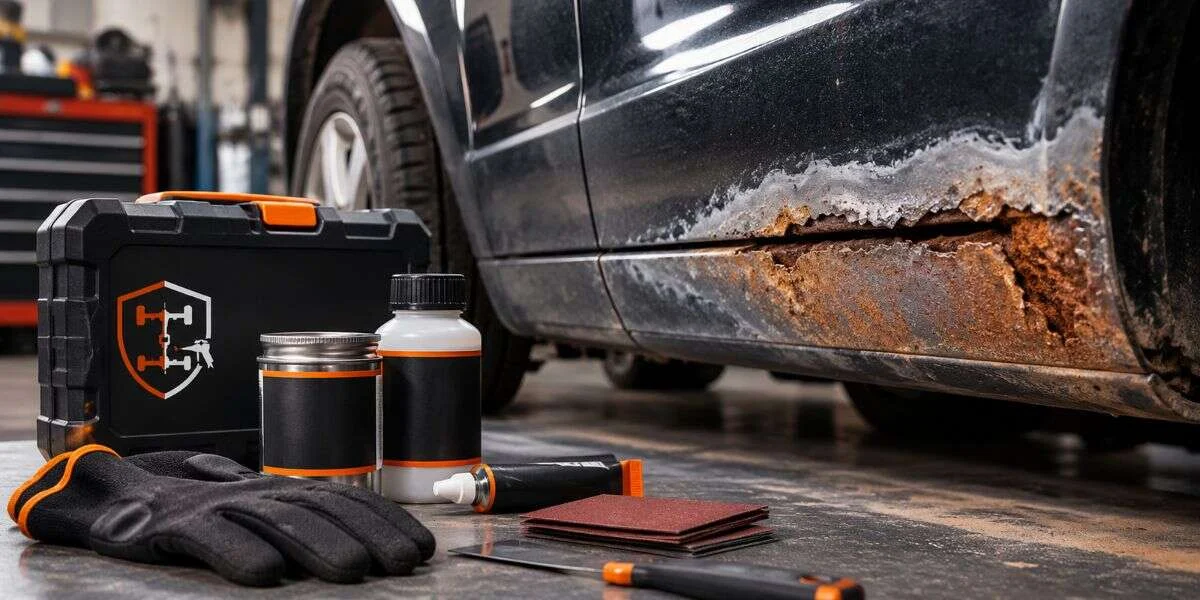
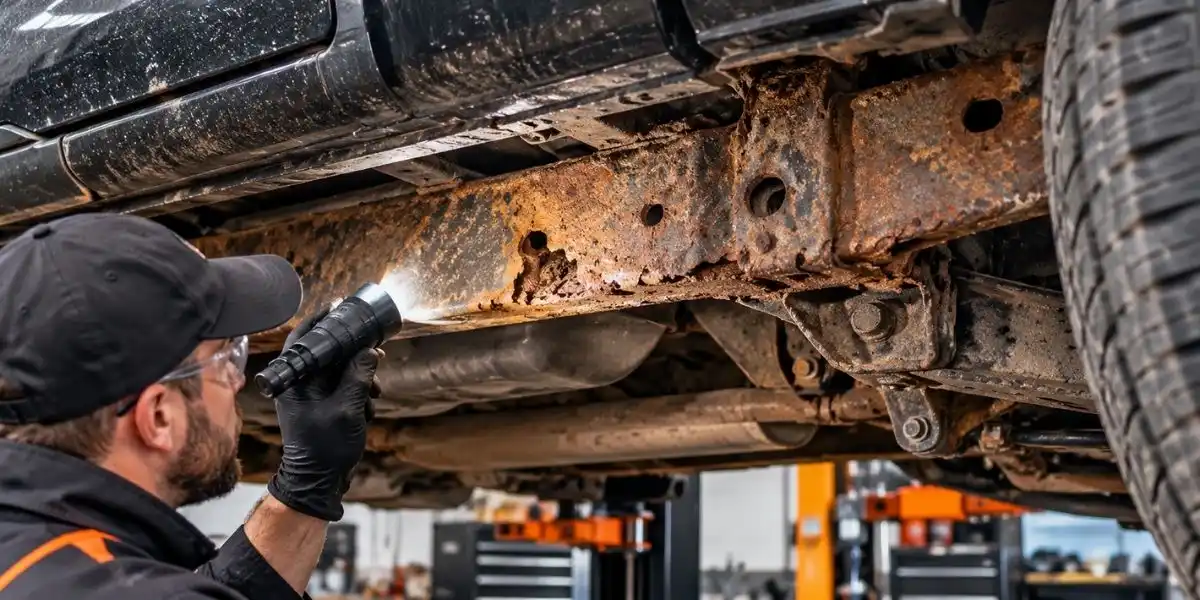
A car rust repair kit can help with limited, accessible surface rust, but it is not a universal fix for rust holes, weakened panels, or corroded frames. Before buying one, identify whether the damage is only on the surface, has eaten through the metal, or affects a structural area; that determines whether a DIY coating, a patch repair, or professional assessment is the sensible next step.
Rust that a kit cannot fix? See our rust removal and sandblasting service for how the work is done, starting prices and booking.
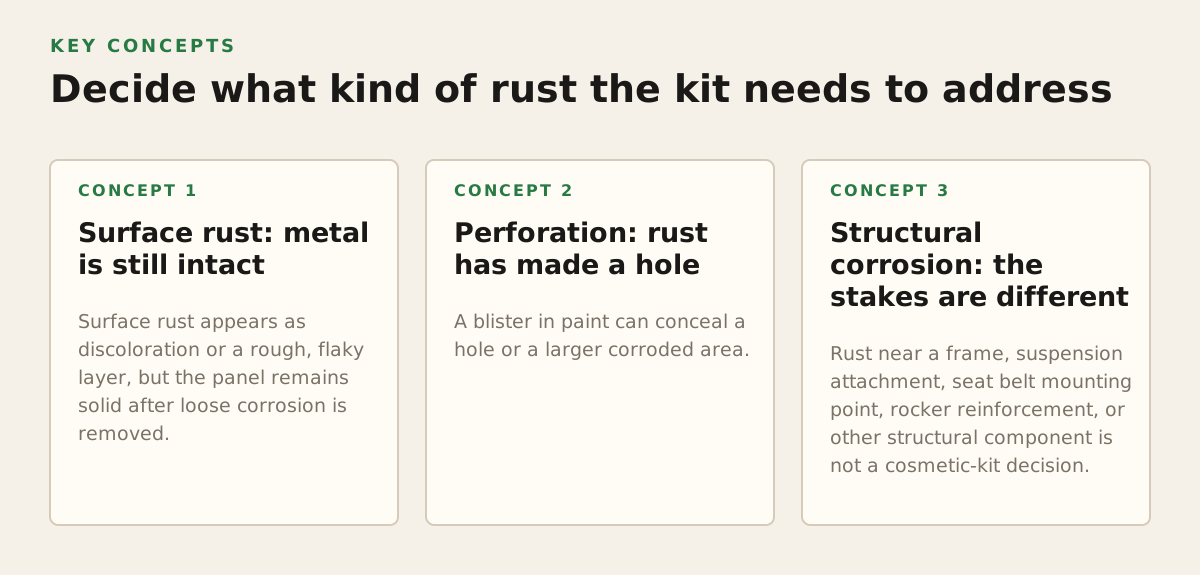
Decide what kind of rust the kit needs to address
“Rust repair kit” can mean a chemical rust remover, a rust converter, a protective coating, or a bundle of filler and patching materials. These products do different jobs. A coating can protect prepared metal, for example, but it cannot replace metal that has disappeared. Choose based on the condition of the steel, not the number of items in the box.
Surface rust: metal is still intact
Surface rust appears as discoloration or a rough, flaky layer, but the panel remains solid after loose corrosion is removed. A kit may be appropriate if the affected area is small, reachable from both sides where needed, and separated from seams, brackets, suspension mounts, and other load-bearing points.
The repair still depends on preparation. Dirt, grease, loose scale, and rust left in pits can interfere with a coating’s bond or leave corrosion active underneath it. Follow the product maker’s instructions for cleaning, abrasion, drying, and recoating. For example, POR-15’s Metal Prep product information describes its intended preparation role; it should not be treated as a universal procedure for every rust product.
Perforation: rust has made a hole
A blister in paint can conceal a hole or a larger corroded area. If a pick or light pressure reveals that the metal is thin, crumbling, or open, filler and paint may hide the damage without restoring the missing steel. A patch repair requires removing unsound metal and joining replacement material appropriately; the right method depends on the panel and the vehicle maker’s repair guidance.
Structural corrosion: the stakes are different
Rust near a frame, suspension attachment, seat belt mounting point, rocker reinforcement, or other structural component is not a cosmetic-kit decision. Corrosion can extend beyond the visible edge, and the apparent surface may not show how much usable metal remains. Do not use filler or a brush-on coating as a substitute for structural repair. If you cannot establish that the metal is sound and the location is non-structural, stop and arrange an inspection before driving or covering the area.
Choose the kit by its actual job
Read the product description and technical directions to find out what the kit contains and what condition it expects the metal to be in. A kit marketed for “rust repair” may only clean or coat surface corrosion. Other kits add filler or fiberglass material for cosmetic shaping. Those products are not interchangeable, and a bundle is not automatically suitable for a rust hole.
- Rust remover or cleaner: intended to remove or loosen corrosion, usually as one step before another treatment. Check whether the instructions require rinsing, neutralizing, or drying.
- Rust converter: intended to react with rust that remains after preparation. Confirm the permitted rust condition and whether the treated surface can be painted or coated afterward.
- Rust-inhibiting coating: intended to protect a prepared surface. It does not restore lost metal. Check whether it is suitable for the location and the topcoat, if any.
- Body filler or fiberglass patch materials: intended for shaping or covering particular types of body damage. They do not restore the strength of a corroded frame or replace a properly fitted metal repair.
- Panel-bonding adhesive: intended for specified panel joints and procedures, not as a general-purpose patch adhesive. For example, 3M’s Panel Bonding Adhesive information identifies a product for panel bonding; the vehicle-specific repair procedure determines whether that method is appropriate for a given joint.
Coating makers also set limits on what their product is designed to do. POR-15’s Rust Preventive Coating information describes a coating product, not replacement metal or a structural-repair method. Compare each label’s stated use with the surface you have, and do not infer that a product can bridge a hole just because it dries hard.
Inspect beyond the visible rust before starting
Rust often begins where moisture and debris collect: under trim, at seams, around fasteners, behind liners, or on the reverse side of a panel. A small paint bubble may be the visible edge of corrosion that has spread underneath. Clean the area enough to see its boundaries, but avoid grinding or scraping blindly near wiring, fuel or brake lines, glass, and flexible components.
Make a simple condition check
With the vehicle safely supported when access underneath is needed, inspect the affected area in good light. Do not crawl under a vehicle held only by a jack. Compare the visible surface with adjacent metal, look for swelling or split seams, and check whether corrosion is near a mounting point or structural connection.
- Is the metal firm, or does it flake, flex, or crumble under light probing?
- Is there a pinhole, open gap, or layered metal separating at a seam?
- Can you see the back of the panel, or might rust be trapped between overlapping layers?
- Does the area connect to a frame section, suspension mount, seat belt anchor, or another structural component?
- Will you be able to remove loose corrosion and apply the product to all required surfaces?
A “yes” to a hole, weakened metal, hidden backside, or structural location is a reason to pause rather than buy a more elaborate cosmetic kit. Uncertainty about the metal’s remaining thickness is itself a reason to get an assessment. Covering a questionable area can make later inspection and repair more difficult.
Prepare and apply a DIY treatment carefully
If inspection supports a small, non-structural surface repair, treat preparation as part of the repair, not as optional cleanup. Read the full instructions before opening the kit. Products can differ in whether they require bare metal, tolerate residual rust, need a rinse, or accept a topcoat. Do not combine products simply because each is described as a rust treatment; one product’s residue may interfere with another’s adhesion.
Use a controlled sequence
- Protect the work area. Keep dust, chemical residue, and overspray away from paint, glass, tires, wiring, and other components. Use the protective equipment specified on the product label.
- Remove loose material. Clean the surface and abrade loose scale and unsound paint without thinning sound surrounding metal. If the surface opens into a hole or the edges crumble, stop and reassess rather than filling over it.
- Follow the product’s preparation steps. Use only the cleaner, converter, or primer the maker specifies. Respect its instructions for application, drying, and recoating; do not assume that products with similar names have the same sequence.
- Protect the repaired area. Apply compatible coatings as directed, including to accessible edges where the instructions call for coverage. Keep drain openings clear; sealing a cavity shut can trap moisture.
- Check the result before reassembly. Look for missed edges, lifting material, or exposed corrosion. If the metal’s condition changes as you work, stop instead of extending a cosmetic repair over compromised steel.
Dust from sanding and grinding can be hazardous, and the right controls depend on the material and work. OSHA’s respiratory protection guidance explains that respirator use involves more than choosing a mask, including a suitable respiratory-protection program in covered workplaces. At home, follow the product safety information and use appropriate controls; if the work creates dust or fumes you cannot manage safely, have it handled by a qualified repair professional.
Older vehicles may also have hazardous coatings. The U.S. EPA’s Lead Renovation, Repair and Painting Program information covers lead-safe requirements for certain renovation work in target housing and child-occupied facilities. It is not a blanket rule for every vehicle, but it is a reminder not to sand unknown old coatings without considering exposure and safe cleanup.
Know when a kit is the wrong repair
A kit is a poor choice when the repair depends on restoring metal thickness, strength, or a factory-designed joint. A frame or suspension-mount repair calls for assessing how far corrosion extends, removing unsound material, and determining whether a sound repair is possible. Cosmetic filler can conceal a defect; it cannot make compromised structural steel sound.
Also reconsider DIY work when access is limited. Rust between overlapping panels or inside a boxed section may remain after the visible face is cleaned. Applying a coating to the outside does not prove that the hidden surface is clean or protected. If the repair requires disassembly to see the full damage, the choice is no longer simply which kit to buy.
For a rusted frame or component, frame-off rust removal may be relevant when disassembly and access are needed to assess or prepare the structure. Whether that approach suits a particular vehicle depends on the extent and location of corrosion; it is not necessary for every surface-rust repair. If rust has reached the frame or another structural area, seek an inspection before choosing a coating or patch material.
For a sound, rust-free vehicle, prevention is a separate decision from repairing existing corrosion. A protective treatment can be considered for suitable surfaces, but it should not be used to disguise damage that has not been assessed. Learn how rust prevention undercoating differs from rust removal before choosing which job your vehicle needs.
Make the next step match the damage
Use a DIY kit only when the corrosion is limited, the metal remains sound, and the product directions match the surface and location. If rust has perforated a panel, spread into a seam, or reached a structural component, the next useful step is an assessment, not a thicker coat of filler or encapsulant.
- Small, accessible surface rust: compare cleaning, conversion, and coating instructions; choose one compatible process.
- Paint bubbles or uncertain panel edges: expose and assess the extent before deciding whether a kit is appropriate.
- Holes, weak metal, or frame corrosion: avoid cosmetic concealment and get the repair scope evaluated.
- Prevention on sound metal: consider a dedicated protective treatment rather than a repair kit.
Bay State Rust Prevention provides vehicle inspection, corrosion assessment, WaxOyl rust prevention undercoating, frame-off sandblasting, and automotive frame repair. If the rust may involve hidden or structural damage, contact baystaterustprevention.com to discuss an assessment before deciding whether a kit is suitable.