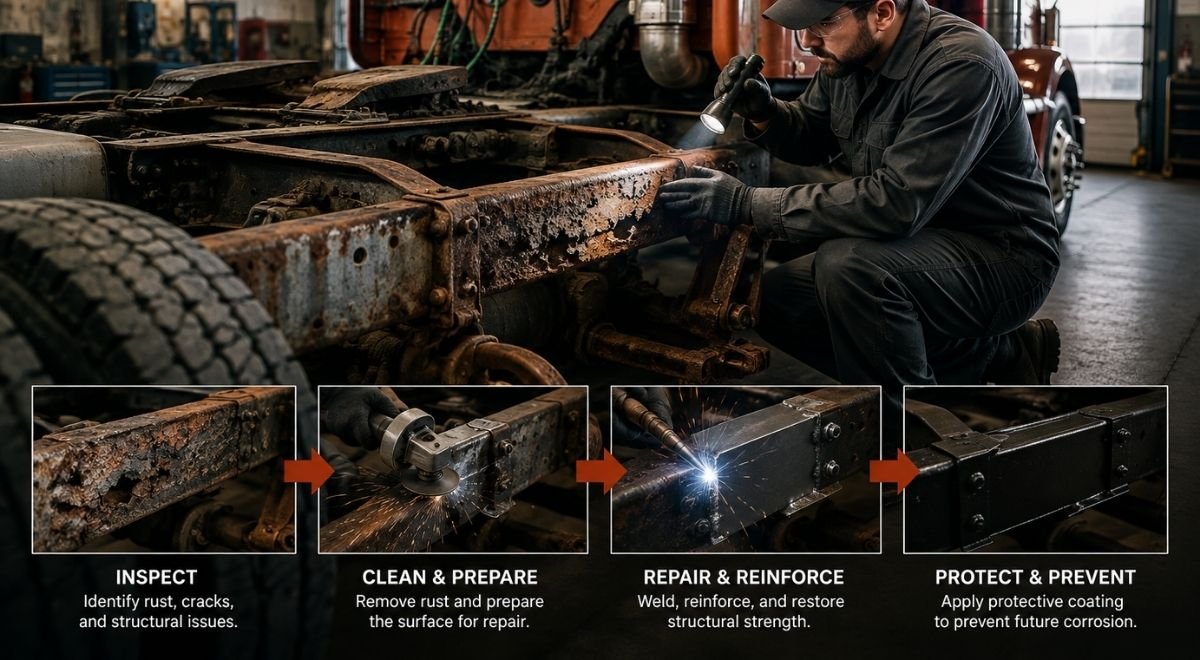
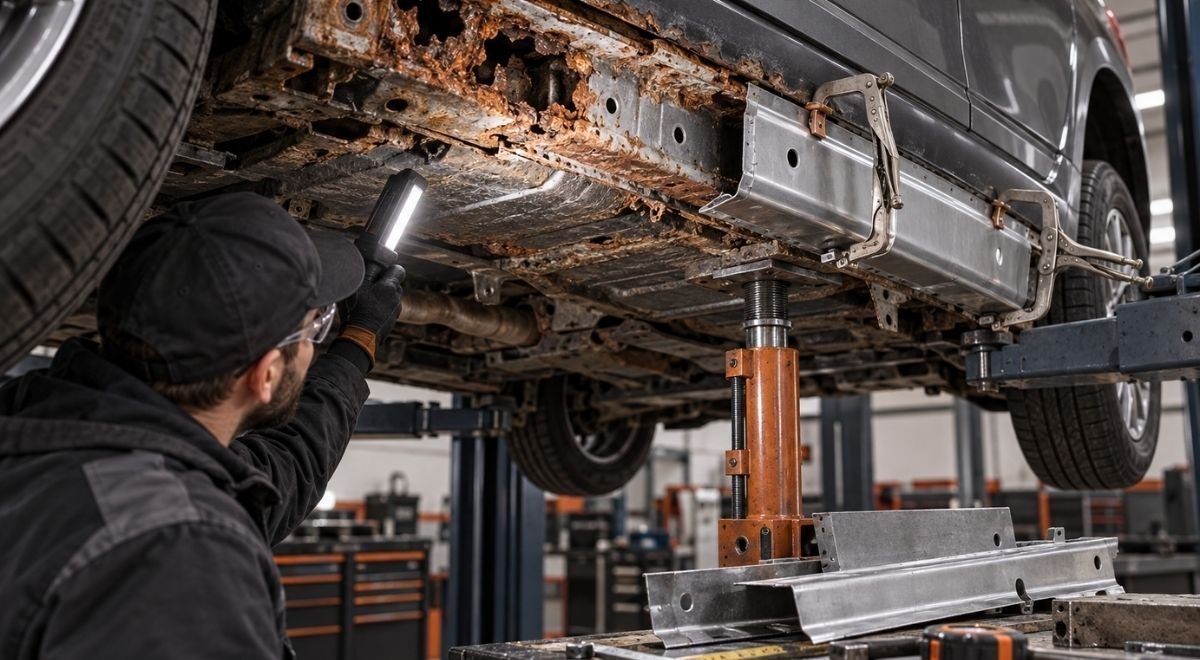
A dependable semi truck frame repair starts before anyone strikes an arc. The practical goal is not merely to make a rusted rail look solid; it is to identify weakened steel, preserve the frame’s load path, complete a defensible repair, and protect the restored metal from another Central Massachusetts winter. This guide gives fleet managers, owner-operators, repair shops, and restoration businesses a sequence for moving from salt-damage triage to documented repair and corrosion protection.
Do not treat a frame as ordinary sheet metal. A frame rail carries bending, twisting, suspension forces, fifth-wheel or body loads, and stresses concentrated around holes and brackets. Surface scale may be harmless in one area and the visible edge of a deeper loss in another. If the truck is still working, arrange a safe inspection before sending it back into service; if cracks, severe section loss, or movement are present, have the vehicle evaluated by a qualified heavy-vehicle repair professional.
Make the truck safe and define the repair objective
Separate an inspection problem from an operating problem
Park the truck on a firm, level surface away from traffic. Apply the parking brake, use appropriate wheel chocks, and follow the manufacturer’s lifting and support instructions. A jack is for lifting, not for leaving a loaded truck supported while someone cleans or welds underneath it. Disconnect or protect systems that could be damaged by heat, sparks, abrasive dust, or solvent, including fuel lines, air lines, wiring, tanks, and sensitive electronic components.
Before cleaning, record the truck’s year, make, model, wheelbase, axle arrangement, body or trailer equipment, and the location of the suspected damage. Photograph the frame from several angles with a ruler or other scale in view. Include nearby crossmembers, spring hangers, suspension mounts, fifth-wheel attachments, steering components, and brake or air-line routing. This creates a baseline when corrosion hides beneath dirt or a coating.
- Remove the truck from service if a rail is cracked, visibly bent, perforated, separating at a joint, or moving relative to a bracket.
- Do not grind away a suspect crack before marking its ends and photographing it.
- Ask whether a previous repair, drilled hole, fish plate, or accessory installation changed the original load path.
- Record whether the truck must return to work, be sold, enter a restoration, or serve as a parts donor.
- Have the owner identify any manufacturer repair procedure, recall, or service information before altering the structure.
For a road-going commercial vehicle, the repair decision should also account for applicable inspection and safety requirements. The federal frame rule for many commercial motor vehicles addresses conditions such as cracks, loose parts, and unsafe frame alterations; read the current text rather than relying on an old checklist at 49 CFR § 393.201. That regulation is not a substitute for an engineer or competent repair assessment, but it is a useful reason to treat structural corrosion as a safety issue rather than a cosmetic defect.
Write the outcome in one sentence
A fleet may need “return to service with documented structural repair.” A classic-truck owner may need “retain original-looking frame sections where sound steel remains.” A repair business outsourcing blasting may need “deliver clean, measurable steel ready for welding.” Those objectives affect how much original material is removed, whether a replacement section is appropriate, and how the final coating is selected.
Do not promise a repair from photographs alone. Photos can show location and progression, but they rarely establish remaining thickness, hidden delamination, or whether a bent rail has already yielded. The first stage ends when the vehicle is safe to inspect and the decision-maker knows what a successful outcome must accomplish.
Map corrosion and prove where sound steel begins
Clean in layers, not all at once
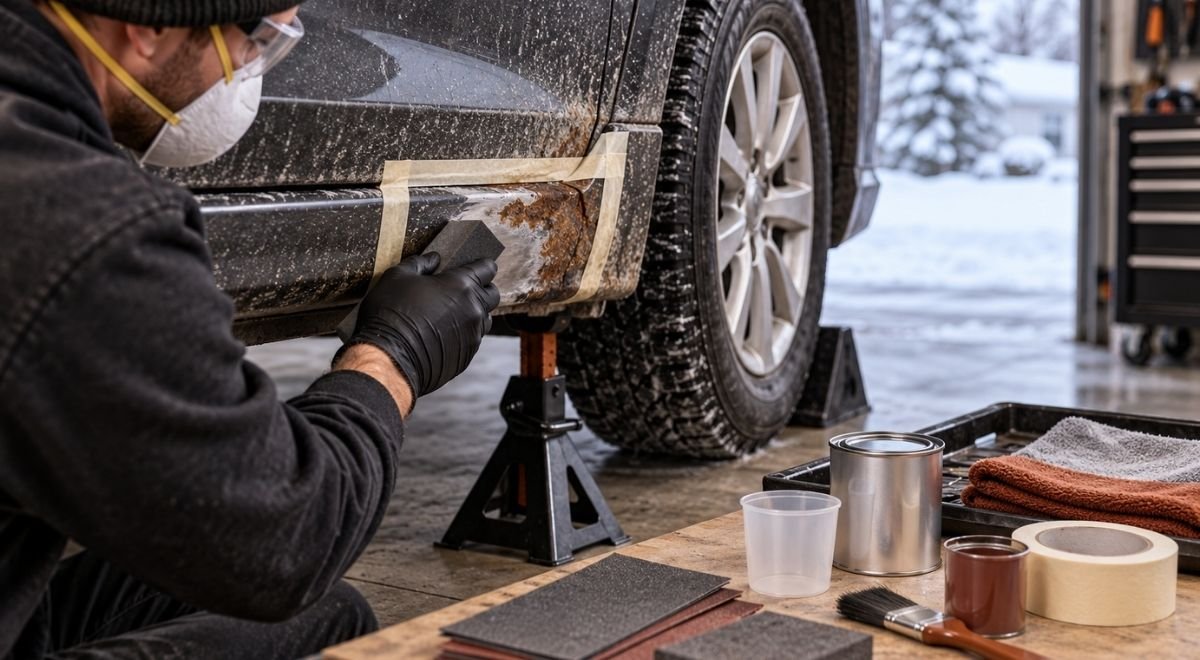
Start with a dry removal of mud, salt crystals, loose scale, and grease. A scraper, stiff brush, vacuum, and controlled pressure washing can expose the outline of the problem. Capture dirty-condition photographs before washing because the pattern of salt accumulation often explains why one flange corroded faster than another. Allow the frame to dry fully before deciding that a dark area is sound steel.
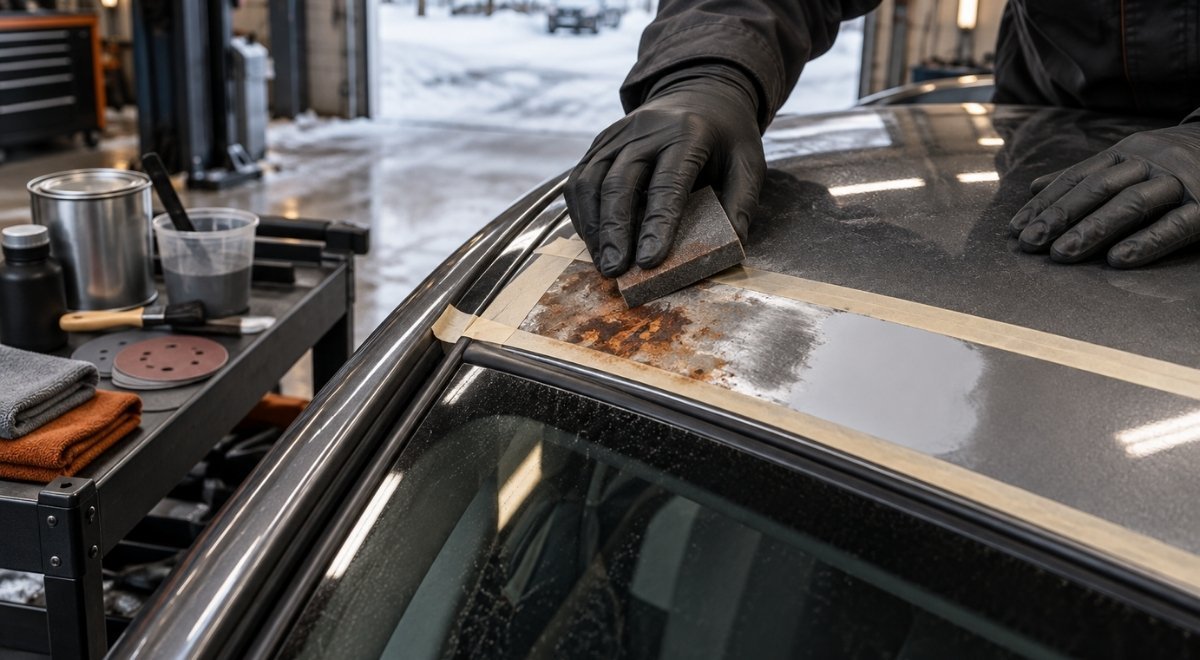
Next, remove loose rust and coating only in a controlled inspection zone. Needle scaling, rotary abrasion, wire brushing, or abrasive blasting may be appropriate depending on access and the required finish. The purpose at this stage is to expose the transition from scale to solid metal, not to polish every square inch. Aggressive grinding can thin a marginal flange and erase useful evidence of a crack.
Probe suspicious areas with a pick or blunt inspection tool, compare both sides of a rail where accessible, and inspect the edges of holes. Pay particular attention to:
- the lower flange and the inside of boxed or partially boxed sections;
- spring, torque-rod, steering, and shock-mount brackets;
- crossmember connections and rivet or bolt holes;
- fifth-wheel mounting areas and regions around body subframe attachments;
- places where trapped mud touches a coating edge;
- old welds, doubler plates, fish plates, and heat-affected areas.
Use measurements to avoid guessing
Measure remaining thickness with a suitable ultrasonic thickness gauge when the surface condition and operator skill make the readings meaningful. Take readings on clean, stable metal and compare several points around the affected area, including a nearby reference area that appears sound. A gauge reading is not automatically reliable over heavy scale, pits, curved surfaces, laminations, or poorly coupled metal, so an inconsistent result deserves further preparation or a different inspection method.
Look for more than a thin spot. A frame can be compromised by a crack that retains nearly original thickness, a bent rail that no longer carries load as designed, or a bracket torn around its fasteners. Mark the damage on a simple sketch using left/right orientation, distance from a crossmember, and the rail’s top, web, and bottom flange. This map becomes the basis for a repair plan and later quality-control photographs.
Illustrative starting policy for triage: if a clean inspection finds a hole, a crack, a visibly distorted rail, or a localized area with an uncertain thickness reading, stop cosmetic work and escalate to a structural repair decision. This is not a universal thickness limit. Adjust the policy when the manufacturer’s repair information, an engineer, the vehicle’s inspection authority, or a qualified heavy-truck technician identifies a different controlling criterion.
| Inspection finding | Immediate decision | Evidence to retain |
|---|---|---|
| Surface rust with firm metal and no distortion | Clean, measure, and plan corrosion treatment | Before/after photos and reference thickness readings |
| Pitting with uncertain depth | Expand the inspection area; do not coat over it | Marked sketch, gauge readings, scale photographs |
| Perforation, crack, or separated bracket | Hold vehicle for structural review | Crack-end marks, close photos, component identification |
| Bent or twisted rail | Assess alignment and load path before cutting | Datum measurements and manufacturer information |
| Old plate or weld over corrosion | Determine whether removal is needed to inspect beneath | Repair history, fastener/weld details, exposed condition |
The table is an illustrative starting decision policy, not a substitute for the frame manufacturer’s approved procedure. Increase the inspection scope when corrosion is widespread, when damage appears on both rails, or when the truck has been exposed to repeated salt and brine operations. A small visible spot can be the entry point for a larger concealed problem.
Choose between preservation, section repair, and replacement
Match the method to the load path
Once sound and unsound areas are mapped, choose one of three broad paths. Preserve the original steel when corrosion is superficial and the section remains structurally sound. Repair a localized section whendamage is bounded and a qualified fabricator can restore the original geometry and load transfer. Replace a larger rail or component when corrosion is extensive, the rail is distorted, or a localized patch would leave too little trustworthy material around the repair.
A patch is not automatically a reinforcement. A plate placed over rust can trap moisture, conceal continued loss, concentrate stress at its ends, and create a visually impressive but mechanically uncertain repair. The proposed repair should specify where sound steel will be cut, how the replacement section fits, how ends are terminated, and how nearby holes and brackets are treated. Avoid improvising a design from a generic online image.
Confirm whether the frame is high-strength steel, heat-treated, galvanized, or otherwise subject to special welding requirements. Material identification may require manufacturer records, stamping interpretation, or professional consultation. Welding settings, filler selection, preheat, heat input, and cooling control are not interchangeable between materials. A repair shop should be able to explain who is responsible for the repair procedure and how fit-up and distortion will be controlled.
Worked example: a salt-damaged vocational truck
Consider a 2018 vocational truck operating on treated roads in Worcester County. Inspection shows heavy scale on the lower flange near a spring-hanger area. Cleaning reveals two small perforations, a crack extending from a fastener hole, and a previous plate whose upper edge is packed with wet debris. The owner’s first request is “weld the holes and coat it.” That request is rejected because the visible damage affects a suspension attachment and the old plate prevents inspection of the underlying rail.
The repair plan instead records the bracket position, removes enough surrounding material to expose sound steel, checks rail alignment, and identifies the frame material and an applicable repair procedure. The technician then decides whether the bracket, damaged rail section, or both require replacement. After structural work, the area is rechecked for correct geometry, weld discontinuities, and clearance from brake and air systems. Only then is the surface prepared for corrosion protection.
The example illustrates the central trade-off: the cheapest-looking operation can create the most expensive uncertainty. Cutting farther can increase labor and coating work, but leaving a compromised bracket or hidden corrosion beneath a plate can force a second teardown and expose the fleet to downtime or a safety event. A written scope should state what was found, what was removed, what was installed, and what remains outside the inspected area.
- Preservation is appropriate only after measurements support sound section strength.
- Localized repair requires a defined boundary, compatible material, controlled fit-up, and a qualified procedure.
- Replacement is more defensible when damage crosses multiple attachment points or the rail’s geometry is compromised.
- Outsourcing may be sensible when a restoration shop lacks heavy-truck welding fixtures, blasting containment, or alignment equipment.
For a fleet, add the vehicle identification number, work order, photographs, inspection findings, and technician or shop details to the maintenance file. If a safety defect or unresolved manufacturer concern is suspected, check the official NHTSA recall and defect resources for the vehicle rather than relying on an informal social-media post; NHTSA explains how owners can search vehicle safety recall information at NHTSA.gov/recalls. A recall search does not approve a structural repair, but it can prevent an owner from overlooking a relevant manufacturer action.
Prepare the steel and perform the structural repair
Control heat, access, and contamination
Before cutting or welding, remove combustible contamination and establish a hot-work plan. Drainage, ventilation, fire watch, extinguishers, shielding from nearby vehicles, and protection of tanks and lines matter more on a truck than they do on a small detached bracket. Confirm that the frame is properly supported and that removing a crossmember, bracket, or section will not allow the rail to shift.
Cut back to the marked sound boundary using a method that leaves a controllable edge. Avoid burying thin remnants beneath a new plate. Fit replacement steel so it follows the original rail’s shape without forcing the frame into position. Keep holes, fasteners, brackets, and gussets in their intended relationships. Where alignment is critical, use measurements taken before disassembly and recheck them during tack-up.
Welding is the middle of the repair, not its proof. A smooth bead can still hide lack of fusion, cracking, porosity, undercut, or distortion. The responsible technician should follow an appropriate procedure for the material and joint, control heat input, and inspect the finished work using methods suitable for the suspected defect. Do not grind a weld merely to make it attractive unless the repair procedure allows it and inspection can still verify the joint.
Protect people during blasting and coating preparation
Abrasive blasting can remove corrosion efficiently, but it also creates inhalation, eye, noise, and housekeeping hazards. OSHA’s official abrasive-blasting guidance addresses hazards such as airborne dust, respirator selection, ventilation, protective clothing, and cleanup; review it before planning a frame-off or heavy-truck blasting operation at OSHA’s abrasive blasting safety page. The precise controls depend on the abrasive, coating, enclosure, and work location.
Keep blast media and removed coating out of bearings, brake components, air systems, wiring connectors, and engine or transmission openings. Use masking that will not fail under the selected process. If old coatings may contain lead or another hazardous substance, stop and determine the applicable exposure and waste controls before disturbing them. OSHA’s lead standard and local disposal requirements may apply based on the work and coating; do not assume that a respirator alone makes uncontrolled blasting acceptable.
After blasting or mechanical preparation, remove dust, salts, and residue according to the coating manufacturer’s requirements. Clean steel is a timed handoff: flash rust, condensation, fingerprints, and recontamination can undermine adhesion before primer is applied. Record the preparation method, visible condition, product batch information where relevant, and the time between preparation and coating.
Verify the repair before closing the job
Inspect structure, routing, and finish separately
Use a hold point after structural work and before coating. Photograph exposed welds and replacement sections while they are accessible. Confirm that the frame is not visibly distorted, that brackets sit in their intended positions, and that fasteners, holes, and crossmembers are not obstructed. Check clearances through suspension travel and steering movement where relevant. Reinstalling a brake line against a sharp edge can turn a successful frame repair into a later roadside failure.
A useful verification sequence includes:
- Compare frame alignment and key dimensions with the pre-repair record.
- Inspect weld appearance and perform any required nondestructive examination.
- Confirm that crack indications, thin remnants, and trapped corrosion have been addressed.
- Check fastener seating, bracket fit, drain paths, and access for future inspection.
- Inspect air, fuel, electrical, brake, and hydraulic routing for heat or abrasion damage.
- Apply the approved primer or corrosion system only after the structural hold point is accepted.
Do not seal an unresolved defect. Thick undercoating can hide a new crack, retain water against a poorly prepared seam, and make the next inspection harder. Mask inspection points and identification markings as needed, and leave drainage paths open. The coating should protect the repair without converting the frame into an uninspectable black shape.
Build a record another technician can use
Give the owner a concise packet rather than a vague statement that the frame was “fixed.” Include the damage map, before-and-after photographs, measurements, material or component information when available, repair procedure or scope, coating products, limitations of the inspection, and recommended follow-up. If a section was not removed because it was outside the work order, say so. Clear limitations protect the next technician from assuming that an adjacent area was certified simply because it was painted.
For an operating fleet, attach the record to the vehicle’s maintenance history and schedule a recheck after the truck has seen road spray. Documentation is part of structural quality because it tells the next inspector where the original corrosion was, where steel was replaced, and which areas still deserve attention.
Protect the restored frame against the next salt season
Choose a system for the frame’s actual environment
Corrosion protection works by interrupting the conditions rust needs: exposed steel, moisture, oxygen, soluble salts, and time. A coating can fail if it is applied over salt residue, loose scale, trapped water, or an incompatible old film. Product selection must account for surface preparation, curing, temperature, drainage, abrasion from gravel, and whether future weld or inspection access is needed.
Use a compatible primer and topcoat or corrosion-inhibiting treatment according to its technical data sheet. Avoid filling drain holes, sealing wet cavities, or spraying directly onto hot exhaust parts unless the product is designed for that service. Cavities, lap joints, crossmember ends, bracket backs, and the upper surfaces of lower flanges need deliberate attention because they can hold salt-laden moisture after the visible face looks dry.
For a repaired semi truck frame, an owner can use rust prevention undercoating as part of a broader maintenance plan; the service page helps explain how rustproofing is applied to reduce future salt exposure on repaired and existing vehicle surfaces. After sound steel is restored, pair the repair with undercoating; that guide helps you choose protection for a repaired frame against future road-salt corrosion and rust.
Use inspection intervals as starting policies, not promises
Illustrative starting policy: inspect a Central Massachusetts work truck at the beginning and end of each winter salt season, and inspect sooner after a coating breach, off-road impact, flood exposure, or pressure washing that removes material. A fleet with brine routes, frequent gravel-road use, or a history of hidden corrosion should shorten that interval. A garaged specialty truck used only in dry weather may justify a different schedule.
The signal for adjusting the interval is evidence, not the calendar alone. Shorten it when new orange staining appears at seams, coating lifts at an edge, mud remains wet behind a bracket, or a fastener hole shows fresh rust. Extend neither the interval nor the scope merely because the surface looks black. During each check:
- rinse salt and mud without forcing water into electrical or bearing areas;
- look for coating blisters, scrapes, exposed weld edges, and rust trails;
- inspect drain holes and cavity openings for blockage;
- compare high-risk brackets with the original repair photographs;
- record any new damage before touching it up;
- repair coating breaches promptly after the surface is dry and clean.
Wash strategy also matters. A rinse that removes salt is useful only if it does not leave the frame wet in a poorly ventilated cavity. Do not direct high-pressure water into seams or damaged coatings at close range. For fleets, write the wash and inspection steps into the vehicle’s seasonal maintenance procedure so corrosion prevention is not dependent on one driver remembering it.
What to do first in Central Massachusetts
Start by taking the truck out of questionable service, photographing the frame, and creating a damage map before grinding, welding, or applying coating. Then arrange a hands-on inspection that can distinguish surface scale from section loss, verify alignment near suspension and fifth-wheel attachments, and produce a written repair scope. Do not approve a patch or a coating until the load path and remaining steel are understood.
If the frame needs extensive cleaning, ask whether the shop can coordinate structural work with controlled blasting and post-repair corrosion protection rather than handing the vehicle between disconnected vendors. Bay State Rust Prevention provides rust removal, frame-off rust removal, frame repair, and corrosion-protection work for vehicle owners, fleets, and restoration projects across Worcester and Central Massachusetts; baystaterustprevention.com can help you determine the appropriate first inspection and next step.