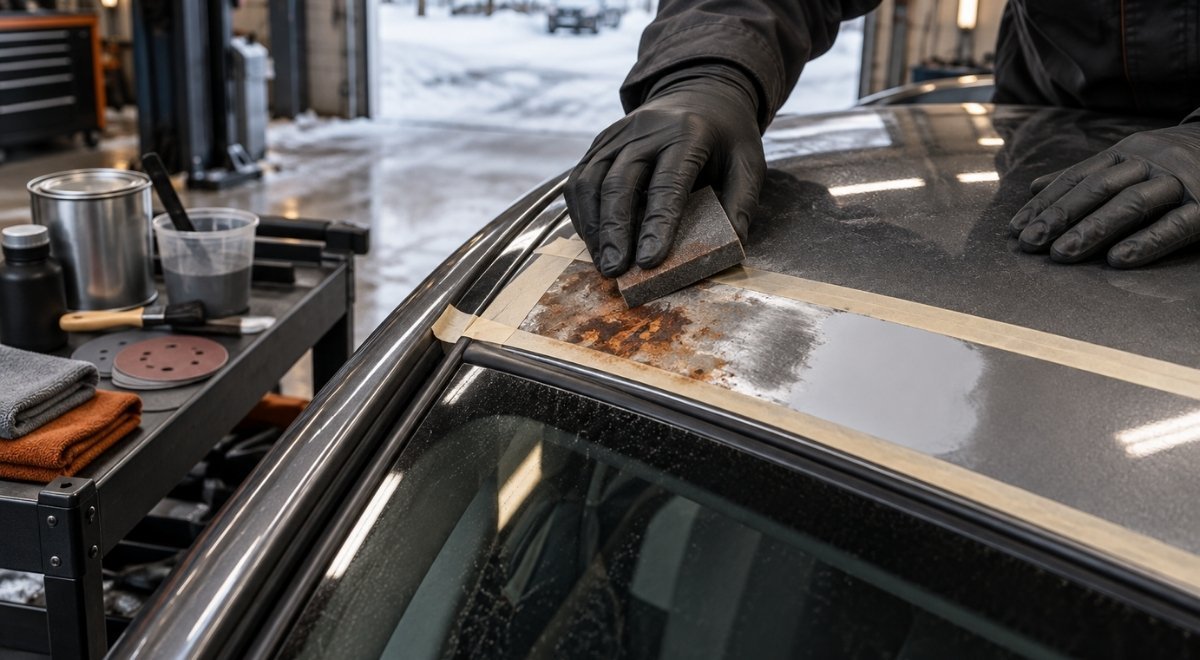
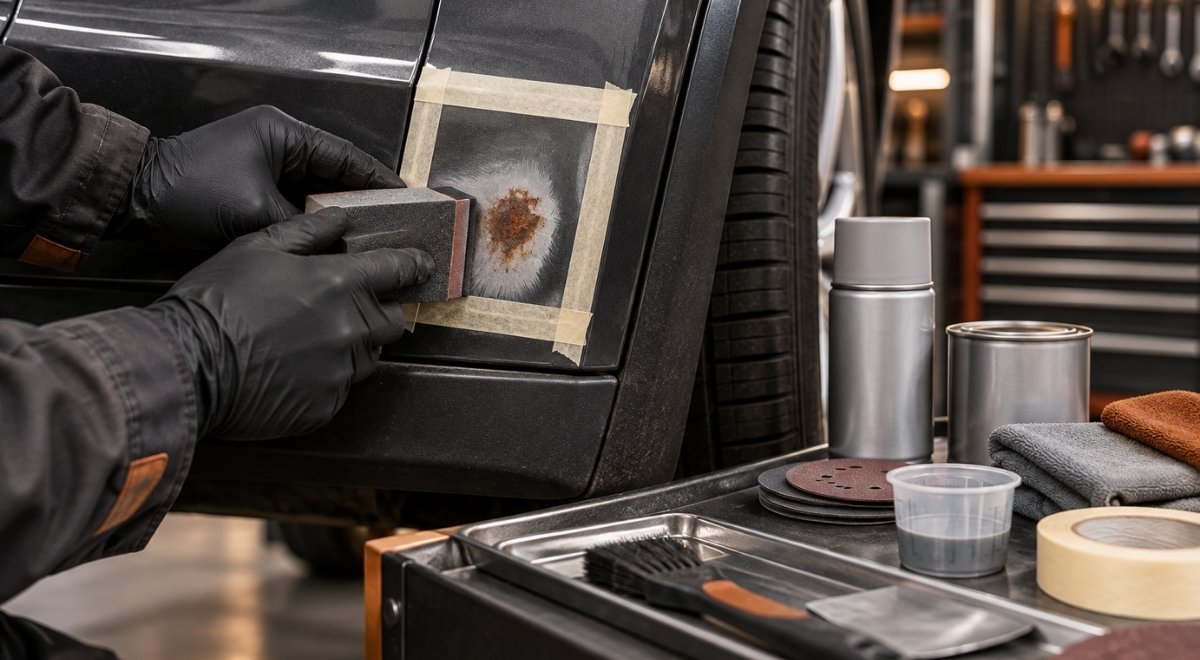
Successful undercarriage rust repair is not a matter of spraying over orange metal and hoping it stays hidden. The useful outcome is a documented decision: determine whether corrosion is cosmetic or structural, expose the full damage, repair weakened metal correctly, and apply protection that suits the vehicle’s future use. That process matters especially in Central Massachusetts, where winter road salt, trapped moisture, and freeze-thaw cycles can turn a small seam problem into a frame or suspension mounting problem.
This guide is written for several practical situations: a Worcester-area owner deciding whether to save a salt-exposed truck, a new-vehicle owner arranging protection before the first winter, a classic-car owner restoring an original frame, a used-car buyer evaluating a suspicious underbody, and a repair shop or fleet manager outsourcing difficult corrosion work. It will help you move from inspection to repair and then to maintenance without confusing rust removal with structural restoration.
Start with a controlled undercarriage inspection
Begin with a clean, safely supported vehicle and a written inspection record. Dirt can disguise perforation, while a thick existing coating can conceal swelling seams and trapped scale. Do not rely on a quick glance behind the front bumper. Rust frequently advances inside boxed rails, above brackets, around body mounts, and where a splash shield directs salty water.
Separate surface rust from metal loss
Surface oxidation changes the appearance of steel but does not automatically mean the component has lost meaningful strength. Structural corrosion is different: it removes section thickness, separates layers, weakens weld areas, or creates holes at load-bearing locations. A small opening in a nonstructural shield is not equivalent to a similar opening in a frame rail, control-arm mount, steering component, brake line bracket, or seat-belt anchorage.
Use photographs from consistent angles and mark each finding by location. A useful record includes:
- Vehicle identification, mileage, drivetrain, and intended use.
- Photographs of both sides of the frame, suspension mounts, brake and fuel lines, and body mounts.
- Notes on bubbling, flaking, perforation, distorted brackets, and damp seams.
- Whether corrosion appears on the outside only or continues into a boxed section.
- Any recent collision repair, replacement panel, weld, or previous undercoating.
Do not aggressively hammer a suspected load-bearing area just to prove that it is weak. A light tap or visual examination may be appropriate for an experienced inspector, but forceful probing can enlarge damage or disturb a marginal bracket. If a spring perch, steering mount, crossmember, or frame rail looks questionable, stop treating the job as cosmetic.
Use safety information as a separate check
Corrosion inspection does not replace a recall or safety campaign check. In the United States, the National Highway Traffic Safety Administration provides a VIN-based recall lookup through its official vehicle safety resources; check that record before deciding whether a manufacturer campaign may affect the repair path. NHTSA’s recall lookup is the appropriate source for that specific check in 2026.
For a used-car buyer, ask for the inspection record before negotiating. A seller’s statement that “the frame was coated” does not establish that the metal beneath it was sound. A coating can preserve clean steel, slow remaining oxidation, or conceal a poorly prepared surface; only inspection can distinguish those conditions.
Classify the corrosion before choosing a repair
Once the underbody is visible, classify each area by consequence rather than by color. The central question is: will this corrosion change how the vehicle carries, steers, stops, restrains occupants, or supports its body? That answer determines whether cleaning and protection are enough, or whether metal must be cut out and replaced.
Use a three-level decision model
- Level one: surface oxidation. The steel remains continuous, with no meaningful pitting, swelling between layers, or loss around a weld. Clean, convert or prime as appropriate, and protect.
- Level two: deep pitting or layered scale. The component may still be serviceable, but its remaining thickness and hidden side need evaluation. Cleaning alone may not restore confidence.
- Level three: perforation or structural deformation. A hole, separated seam, cracked mount, softened rail, or distorted attachment point requires a repair plan based on sound metal and correct load paths.
These levels are a decision aid, not a substitute for the vehicle manufacturer’s repair information or a qualified structural assessment. Never weld over loose scale and call the result a frame repair. The weld may fuse to a thin edge while leaving compromised steel beside it.
Identify the mechanism, not only the location
Rust usually persists because water, salt, oxygen, and a trapping feature meet repeatedly. Common mechanisms include:
- Saltwater entering a boxed frame through a drain opening and remaining there.
- Two overlapping panels rubbing or flexing, breaking a protective film.
- A bracket holding wet mud against the frame.
- A seam sealer edge lifting and allowing capillary moisture underneath.
- A prior coating applied over oil, salt, loose scale, or damp metal.
Finding the mechanism changes the repair. If a drain path is blocked, new coating may trap the same moisture. If a bracket has created a mud pocket, cleaning and design correction may matter as much as the coating itself. If rust is coming from inside a boxed rail, an exterior-only repair has a predictable limitation: it cannot reach the active corrosion within the cavity.
Illustrative starting policies for triage
The following are illustrative starting policies, not universal engineering limits. Adjust them when inspection shows hidden corrosion, unusual vehicle loading, prior collision damage, or a manufacturer-specific repair requirement.
| Finding | Illustrative starting policy | Signal to adjust the policy |
|---|---|---|
| Light surface rust on accessible, nonstructural steel | Clean and protect during the same service visit | Change course if scale lifts in sheets, pits deeply, or continues behind a seam |
| Rust around a body or suspension mount | Pause coating and obtain structural evaluation | Escalate if the mount moves, metal is thin, or the fastener area is distorted |
| Perforation in a frame rail or crossmember | Plan metal removal and repair to sound steel | Adjust for manufacturer procedures, access, alignment, and nearby systems |
| Existing thick undercoating with unknown preparation | Expose representative areas before accepting it as protection | Expand inspection if the coating is blistered, damp, soft, or detached |
Prepare the vehicle and work area before removing corrosion
Good preparation controls three risks at once: injury, contamination, and incomplete visibility. Raise and support the vehicle according to its structure and weight, then protect brake components, electrical connectors, rubber parts, glass, and painted surfaces from debris and cleaning agents. Disconnect or shield anything that should not receive abrasive dust, water, heat, or coating material.
Plan around the vehicle’s condition
A daily driver with fresh salt residue needs a different sequence from a disassembled classic frame. For an operating truck, plan access around fuel, brake, and exhaust systems and keep the vehicle unavailable until residue and coating have been managed. For a restoration frame, removing the body, wiring, fuel system, and suspension can make a more complete inspection possible, but it also creates a responsibility to document fastener positions, shim locations, and alignment references.
A useful preparation checklist includes:
- Confirm lift points and support locations before removing heavy components.
- Wash away salt and mud, then allow cavities and seams to dry fully.
- Remove loose shields, brackets, liners, and coatings that block inspection.
- Mask or remove brake hoses, sensors, boots, and exposed electrical parts.
- Label disconnected lines and photograph routing before disassembly.
- Plan collection and disposal for abrasive, paint chips, oily residue, and contaminated rinse water.
Dryness is part of surface preparation, not a cosmetic preference. Applying a corrosion protectant over trapped water or salt can leave the active electrolyte in place. If weather, enclosed storage, or the vehicle’s cavities prevent reliable drying, the schedule should change rather than the standard being lowered.
Control abrasive-blasting hazards
Frame-off work and heavy scale removal can involve abrasive blasting, which creates inhalation, eye, skin, noise, and compressed-air hazards. OSHA’s official abrasive-blasting guidance addresses engineering controls, respirators, protective clothing, ventilation, and exposure concerns; review it before selecting a process or attempting work in a home garage. OSHA’s abrasive-blasting resource remains the relevant 2026 starting point.
For a business, fleet, or restoration shop, the work area also needs a containment plan. Prevent abrasive and coating debris from entering storm drains or spreading onto neighboring vehicles. The U.S. Environmental Protection Agency explains that disposal requirements depend on the material and local rules; its household hazardous-waste guidance is a useful reminder that leftover chemicals and contaminated products should not automatically go into ordinary trash or drains. See the EPA household hazardous-waste guidance for the applicable principles in 2026.
Remove rust until the repair boundary is honest
Rust removal should reveal the boundary between repairable steel and metal that must be replaced. The correct method depends on the component, access, coating history, and whether distortion or heat could create another problem. Mechanical scraping, wire work, media blasting, chemical cleaning, and a combination of methods all have a place, but none should be selected merely because it is fast.
Match the method to the component
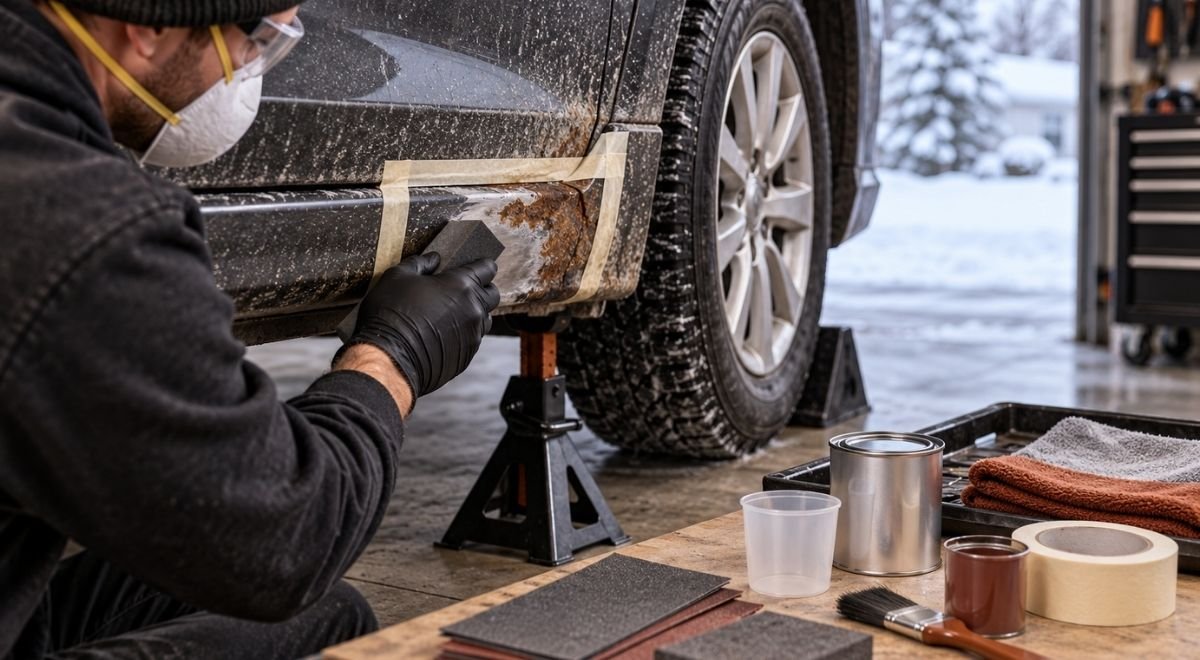
- Mechanical removal is useful for loose scale and controlled edge work, but it can polish contamination into pits if used without cleaning.
- Abrasive blasting can expose seams and complex surfaces effectively, but excessive pressure or heat can warp thin panels and drive debris into cavities.
- Targeted hand and power tools provide control around brake lines, wiring, and delicate brackets where broad blasting would be risky.
- Chemical treatment may help with remaining oxidation, but it cannot restore missing steel and requires complete compatibility, rinsing, and drying.
- Section removal is necessary when corrosion has reduced the component beyond a safe, sound repair boundary.
The stopping point is not “the metal looks darker.” It is when loose scale, active corrosion, and contaminated coatings have been removed enough to evaluate thickness, edge quality, and weldability. Expose the full perimeter of a hole before cutting a patch. Otherwise, the patch may be attached to thin steel that fails beside the weld.
Worked example: a salt-damaged pickup frame
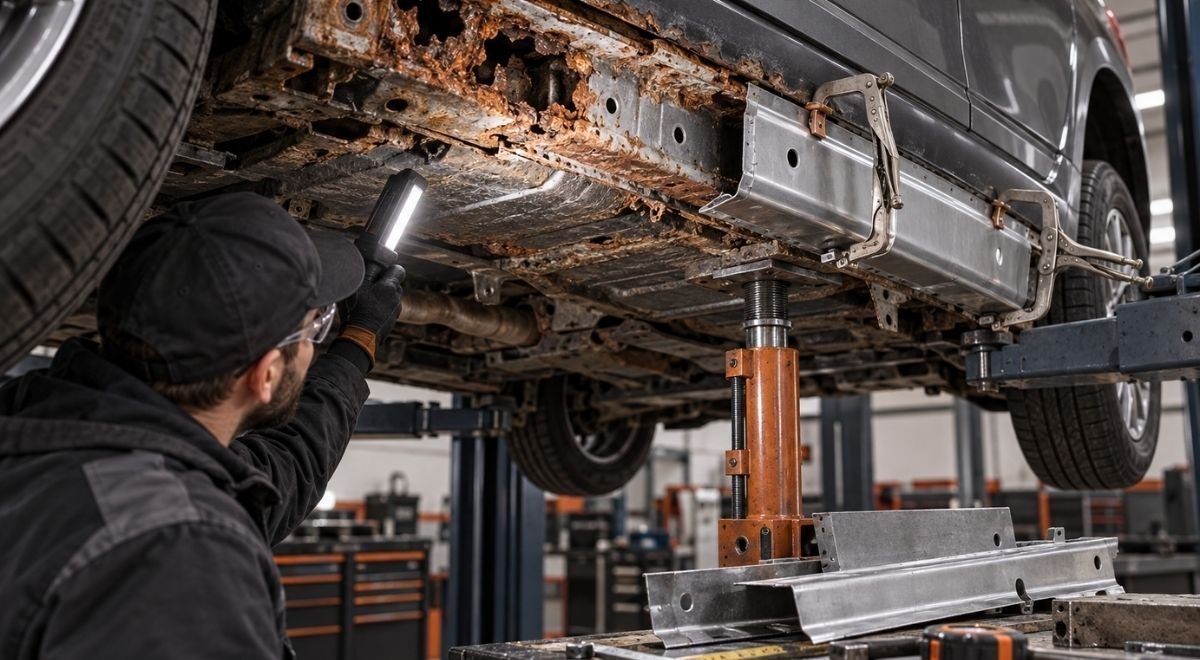
Imagine a Central Massachusetts pickup with bubbling coating near the rear spring hanger. The first inspection shows a rusty outer plate but no obvious hole. After washing and controlled removal, a narrow opening appears at the lower edge, and the inside of the boxed rail contains loose scale. The repair decision is not to fill the opening with weld or cover it with protectant.
- Document the spring hanger, rail geometry, brake-line routing, and nearby body clearance.
- Expose enough surrounding metal to find sound steel on every side.
- Inspect the inside of the boxed section and determine whether scale or moisture continues beyond the visible area.
- Compare the repair path with available manufacturer information and obtain structural judgment before cutting.
- Remove compromised metal in a controlled shape, fabricate compatible replacement material, and restore the load path rather than simply closing the hole.
- Clean weld residue, inspect the repaired area, protect both the exterior and reachable interior surfaces, and preserve drainage.
That example illustrates why frame repair is not cosmetic patching. The goal is a sound structural transition, not a smooth-looking surface. Welding settings, material choice, joint design, access, and post-repair inspection must be handled by someone qualified for the vehicle and the work.
For a heavily corroded classic frame or a body-off restoration, frame-off rust removal may be the more suitable stage because removing the body and components can expose areas that an assembled vehicle conceals. That approach brings more access, but it also increases disassembly, storage, labeling, and reassembly responsibilities.
Repair structural metal, then protect the repaired system
After rust removal, decide whether the part needs cleaning and coating, reinforcement, or replacement. A coating belongs after structural integrity has been established. It does not increase the original thickness of steel, restore a cracked weld, or make a compromised suspension mount safe.
Build the repair around sound metal
A structural repair should account for load direction, original geometry, access for welding, heat effects, corrosion protection on both sides, and the possibility of future inspection. Avoid creating a sealed pocket that holds water. Avoid welding across hidden contamination. Avoid covering an inaccessible cavity without considering how it will drain and how the repair can later be inspected.
Before protection, verify:
- The repair boundary reaches sound, adequately prepared metal.
- Mounting points, holes, brackets, and clearances retain their intended position.
- Brake, fuel, electrical, exhaust, steering, and suspension systems are not damaged or trapped.
- Welds and repaired edges are free from loose scale, oil, and residue.
- Drain holes and service openings remain open unless a documented design calls for otherwise.
Protection must follow the repair system. Product compatibility, cure requirements, surface profile, and access all matter. A coating selected for an exposed frame exterior may not be appropriate inside a warm cavity, near exhaust heat, on rubber, or over a previously applied material. Follow the product’s current technical directions rather than assuming all underbody products behave alike.
Choose prevention according to use
A new truck, leased vehicle, collector car, and municipal fleet do not need identical treatment. A new vehicle may benefit from early coverage of seams, brackets, and cavities before salt exposure accumulates. A leased vehicle requires attention to reversibility, inspection access, and lease-return expectations. A classic vehicle may need preservation that respects original finishes and future disassembly. A fleet needs repeatable inspection points and records so one vehicle does not receive a different standard from the next.
Bay State Rust Prevention uses WaxOyl for corrosion protection. If you are considering rust prevention undercoating, discuss the vehicle’s existing coating, drainage, cavity access, daily use, and repair history before application. The objective is not maximum thickness everywhere; it is a continuous, compatible protective system that does not conceal unresolved structural damage.
Verify the work and create a maintenance cycle
Do not treat the final spray or final photograph as the end of the job. Verification asks whether the original corrosion mechanism was addressed and whether the repaired areas remain inspectable. A good handoff includes before-and-after photographs, a marked diagram, materials used, areas intentionally left uncoated, and any future repair limitations.
Use a repeatable post-repair checklist
- Confirm the vehicle is assembled correctly, with no missing fasteners, trapped lines, or damaged clips.
- Check that brakes, steering, suspension, lights, sensors, and exhaust clearances function as intended.
- Inspect coating edges for holidays, runs that block drains, exposed welds, and overspray on heat-sensitive components.
- Confirm cavities and seams received only the treatment appropriate to their access and condition.
- Record unresolved areas that require future monitoring rather than implying the vehicle is corrosion-free.
- Schedule the next inspection based on salt exposure, storage, mileage, and the coating manufacturer’s directions.
The inspection interval should be an illustrative starting policy, not a universal rule. For example, an owner might review the underbody after the first winter and again during the next service season. Adjust sooner if the vehicle is driven on treated roads, parked wet, used off-road, washed infrequently, or develops new bubbling or damp seams. Adjust later only when documented inspection shows stable conditions and the product instructions support that choice.
Wash without defeating the protection
Routine cleaning should remove salt from exposed surfaces without forcing high-pressure water into seals, electrical connectors, or vulnerable cavities. Give special attention to wheel wells, crossmembers, spring areas, and the lower edges of body panels. A wash cannot repair corrosion, but it reduces the time salt remains in contact with a damaged or unprotected surface.
For company fleets, create a simple log with vehicle number, inspection date, corrosion findings, repairs deferred, and next action. If several trucks operate on the same routes, compare their exposure rather than assuming identical corrosion. Plowed rural roads, coastal travel, gravel work, and indoor overnight storage can produce different conditions even within Central Massachusetts.
What to do first: book an inspection that answers the structural question
Your first action should be to clean and document the undercarriage, then arrange an inspection focused on structural corrosion and hidden access areas before authorizing a coating. Bring the vehicle’s history, photographs, recall information, intended use, and any concerns about frame rails, suspension mounts, brake lines, or previous repairs.
Ask for a written distinction between surface rust, deep pitting, perforation, and structural damage. Ask what must be removed to verify the condition, which areas require metal repair, how drainage will be preserved, and what will remain inaccessible after treatment. If the vehicle needs comprehensive exposure, frame restoration, or repair before protection, Bay State Rust Prevention provides rust removal, frame-off sandblasting, automotive frame repair, and WaxOyl corrosion protection for owners, restoration projects, repair shops, and fleets across Worcester and Central Massachusetts; start at baystaterustprevention.com.
That sequence prevents the most expensive mistake: paying for a clean-looking underbody before knowing whether the steel underneath can safely do its job.