Planning rust repair body panels correctly can mean the difference between a durable repair and a patch that bubbles again after one Massachusetts winter. This guide gives you a practical sequence for identifying the corrosion, deciding whether to repair or replace the panel, removing every contaminated layer, welding sound metal, sealing the seams, and setting up follow-up inspections. The goal is not merely a smooth-looking quarter panel; it is a repair that keeps salt, water, and oxygen away from the steel beneath the finish.
Road salt makes this decision more urgent in Central Massachusetts. Deicing materials can accelerate corrosion when moisture remains trapped against steel and inside seams, reinforcements, and boxed sections. The Federal Highway Administration discusses the corrosive effects of deicing materials on transportation infrastructure in its overview of road salt damage (FHWA guidance on road salt and corrosion). A body-panel repair therefore has two jobs: restore the exterior shape and eliminate the corrosion path that caused the damage.
Triage the vehicle before touching the panel
Start by deciding whether you are dealing with cosmetic surface rust, perforation, or a symptom of deeper structural corrosion. A small paint blister may be the visible end of corrosion spreading from a hem flange, fastener hole, drain opening, or inner reinforcement. Sanding the blister flat without finding that source often produces a short-lived repair.
Separate appearance damage from safety-critical damage
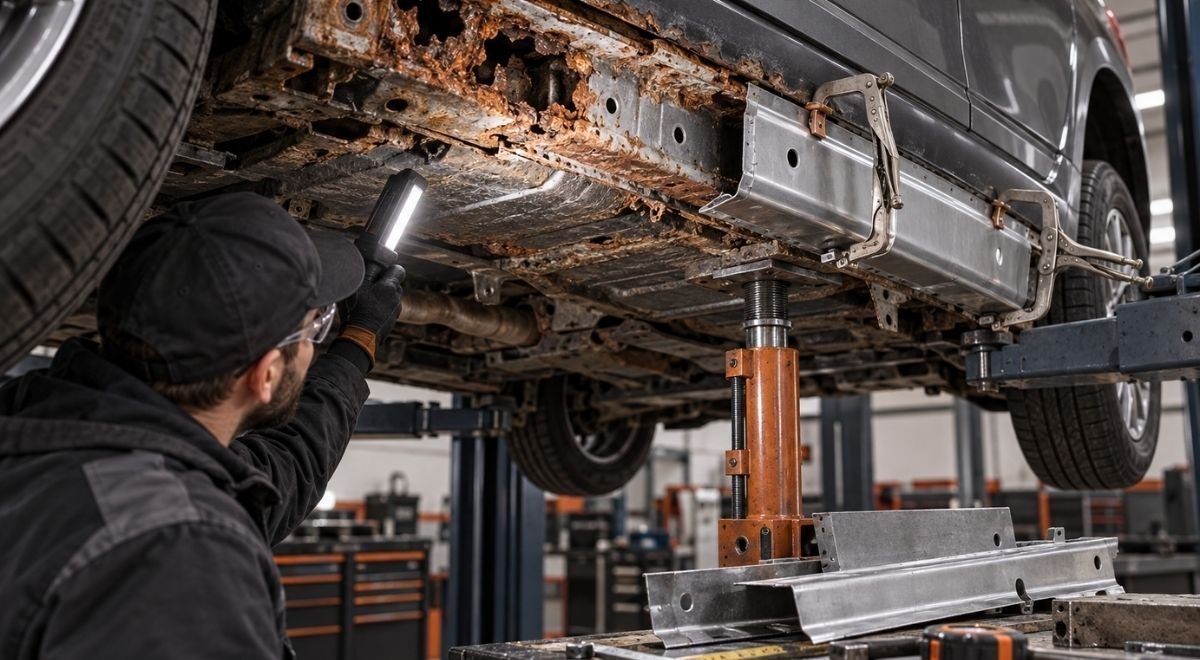
Inspect the surrounding structure before ordering a replacement quarter panel or cutting into a rocker. On a truck, look behind the wheel arch, cab corners, bed supports, and mounting points. On a unibody car, inspect the rocker reinforcement, jack points, suspension attachment areas, and floor seams. On a body-on-frame vehicle, a rusty outer fender may be harmless while a nearby frame section is not.
Do not treat a structural question as a bodywork question. If corrosion is near a suspension mount, seat-belt anchorage, steering component, body mount, or frame rail, stop cosmetic preparation and arrange a structural inspection. The National Highway Traffic Safety Administration provides a VIN-based recall lookup that should be checked before repair planning, particularly when a vehicle has a known corrosion-related campaign or safety issue (NHTSA recall lookup).
- Wash away salt and mud before judging the color or texture of the metal.
- Remove loose trim, wheel-arch liners, mud flaps, and fasteners that hide the panel edge.
- Look on both sides of the panel whenever access permits.
- Mark bubbling paint, pinholes, swollen seams, and areas that sound dull when lightly tapped.
- Photograph the vehicle before disassembly so clips, gaps, and trim positions can be restored.
- Record whether the vehicle must remain usable during the repair.
Set the repair boundary before setting a labor target. An illustrative starting policy is to inspect at least 50 mm beyond every visible rust blister in each direction, then extend the inspection if the metal remains thin, layered, or discolored. That 50 mm figure is not a universal rule. Expand the boundary when a probe finds scale, when the backside is wet or dirty, or when corrosion follows a seam beyond the original mark.
Map the corrosion and identify its entry point
Once the vehicle is clean and safely supported, create a corrosion map. This turns a vague complaint—“the wheel arch is rusty”—into a repair plan that identifies the outer panel, inner structure, seam, and drainage problem involved.
Use inspection methods that reveal thickness loss
Paint can conceal a surprising amount of damage. Use a bright inspection light, a plastic pick, a blunt awl, and a small inspection mirror. A magnet can help distinguish filler from steel, but it cannot prove that the remaining steel is strong. A borescope is useful inside rocker cavities, bed supports, doors, and boxed frame sections.
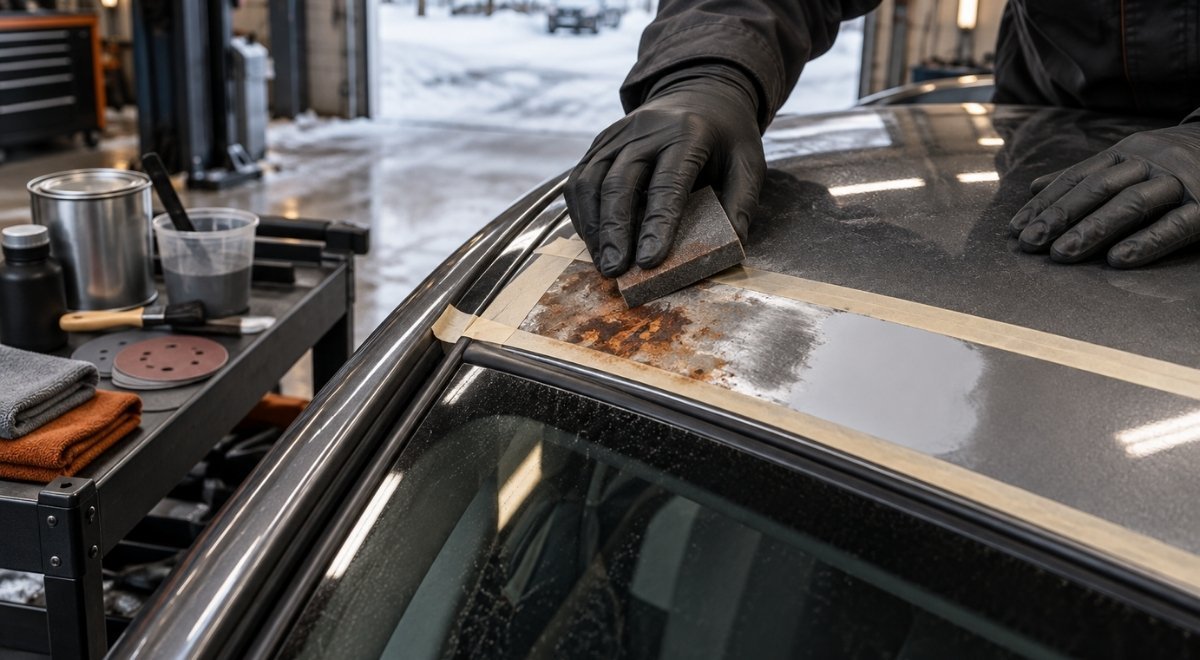
Probe gently around the perimeter of a blister, not directly into a sharp edge. If the tool breaks through, the panel has lost continuity and should not be treated as a sanding-only repair. Scrape a small test area to determine whether the apparent rust is loose scale over solid steel or layered corrosion separating the surface from the base metal.
Trace the water path, not just the rust color. Common entry points include damaged seam sealer, blocked drain holes, failed weatherstripping, exposed weld flanges, stone chips, and mud packed behind a liner. If the repair addresses only the outside face while the backside remains contaminated, the corrosion mechanism is still active.
| Observed condition | Likely repair direction | Decision signal | Protection requirement |
|---|---|---|---|
| Small chip with clean, firm metal around it | Clean, prime, seal, and refinish | No swelling or scale on the backside | Restore paint film and inspect annually |
| Blister with thin metal but no large hole | Cut out affected steel or replace the section | Probe deflects, flakes, or exposes layered scale | Protect both faces and rebuild the seam |
| Perforated wheel arch or lower door edge | Fabricate a repair section or replace the panel | Corrosion extends into the hem or inner brace | Seal the hem and preserve drainage |
| Rust near a mount, rocker reinforcement, or frame | Structural assessment before cosmetic work | Cracking, distortion, thinning, or attachment damage | Use a repair method appropriate to the load path |
The table is an implementation aid, not a substitute for judgment. A panel can look acceptable from the outside and still be unsound at a folded flange. Conversely, a dark stain may be superficial if the steel remains thick and firmly bonded to the surrounding area.
Worked example: a bubbling rear wheel arch
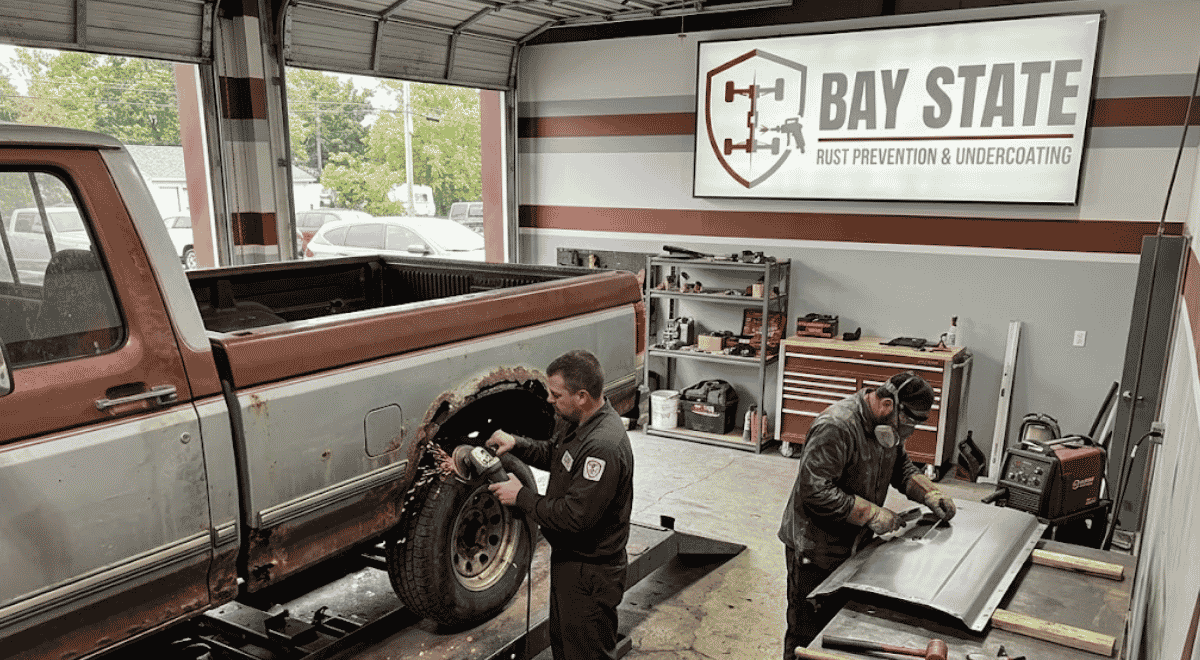
Consider a 2014 pickup with bubbling paint along the lower rear wheel arch. The visible corrosion covers roughly 100 mm, but removing the liner reveals packed salt and a rusty flange extending another 75 mm. The inner bed side is intact, yet the folded outer-panel edge has separated from the inner arch in two places.
The correct map is not “repair a 100 mm bubble.” It is:
- Clean and inspect the outer arch at least through the visible and hidden rusted flange.
- Check whether the inner wheel tub remains thick and attached.
- Identify why debris was retained at the flange.
- Decide whether enough sound metal remains to form a weldable boundary.
- Plan a replacement section that reaches clean steel rather than stopping at the paint edge.
That map prevents a common failure: welding a new outer skin to a deteriorated inner flange and recreating the same moisture trap.
Choose between cleaning, patching, sectioning, and panel replacement
The right repair method depends on the shape of the damage, the quality of the surrounding metal, the vehicle’s value, and the access available behind the panel. There is no virtue in preserving an original panel if doing so leaves fragile steel under the new finish. There is also no need to replace a large panel when the corrosion is isolated and the remaining metal is sound.
Use a sound-metal boundary
Mark the cut line on clean, stable steel. Avoid ending a patch on a sharp crease, a folded hem, or a region that flexes heavily unless the repair design specifically accounts for it. A patch should have enough surrounding material for accurate fit-up and controlled welding.
Never weld over active scale, filler, seam sealer, or zinc-coated contamination. Those materials can create porosity, fumes, poor fusion, and a false sense of completion. Remove them beyond the final weld zone, and protect the work area from sparks and grinding debris.
Use these decision rules:
- Clean and refinish when corrosion is limited to the coating and the steel remains firm after preparation.
- Patch a localized opening when the damaged area is confined and the surrounding panel is stable.
- Section the panel when corrosion follows a broad lower edge, wheel arch, or quarter-panel area but the upper panel is usable.
- Replace the panel when rust extends through multiple flanges, the panel has extensive distortion, or fitting a replacement is more controllable than rebuilding several weak areas.
- Escalate to structural repair when the panel conceals damaged reinforcement, a body mount, a rocker, or a frame attachment.
For a classic or specialty vehicle, preservation may justify a carefully fabricated patch even when a replacement panel exists. For a daily driver, the best solution may prioritize corrosion access, drainage, and predictable alignment. For a fleet truck, downtime and repeatability matter; a repair that looks acceptable but requires another teardown next winter is not efficient.
Set illustrative cutting and inspection policies
An illustrative starting policy is to leave at least 25 mm of visible clean metal outside the planned weld line while preparing the section. Adjust that margin if grinding reveals pinholes, laminations, or heat-damaged edges. Another illustrative policy is to make a temporary cardboard or paper template before cutting replacement steel. Increase the template overlap when the panel has compound curves or when the first trial fit shows a gap that cannot be closed without pulling the body shape out of alignment.
These are starting policies, not universal body-repair standards. The signal to adjust is always the condition of the exposed steel and the fit of the replacement section.
Remove corrosion completely and prepare the repair zone
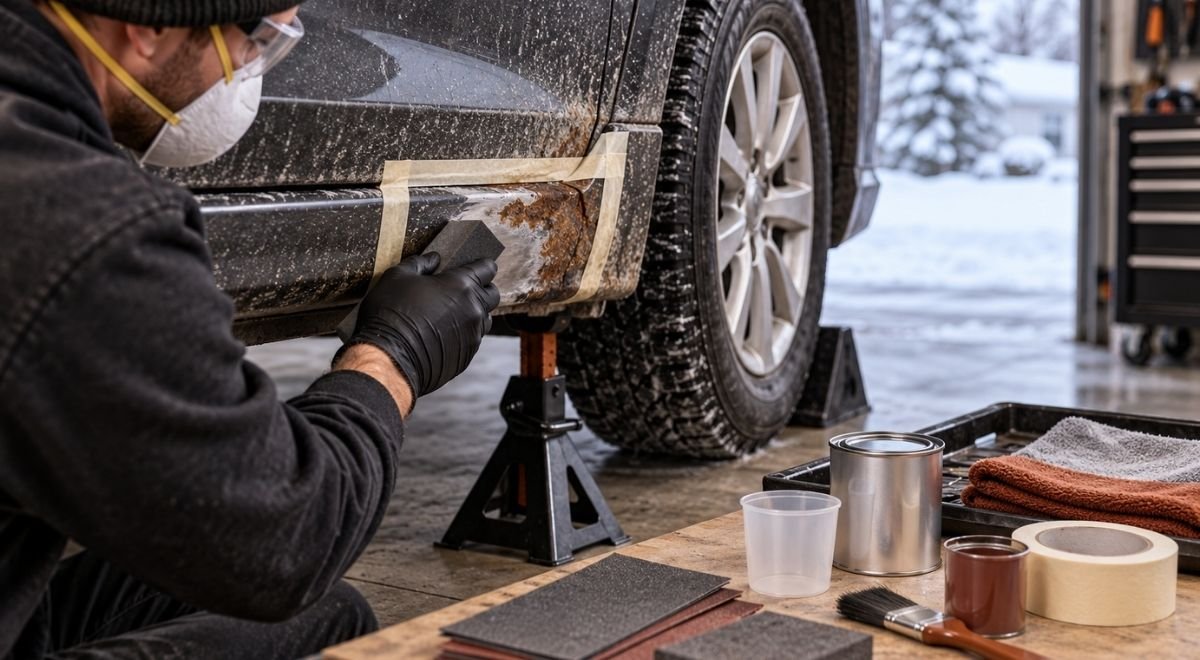
Preparation determines whether the repair bonds to solid material or merely hides contamination. Strip paint, filler, seam sealer, undercoating, and loose corrosion far enough to see the true boundary. Use mechanical abrasion, scraping, cutting, or blasting appropriate to the panel and the access available.
Control abrasive work and contamination
Abrasive blasting can expose sound metal efficiently, but it can also distort thin panels, drive abrasive into cavities, and create a respiratory hazard. OSHA identifies hazards associated with abrasive blasting, including airborne dust, noise, and the need for appropriate controls and protective equipment (OSHA abrasive blasting safety guidance). Use containment, ventilation, respiratory protection, eye and hearing protection, and media-handling procedures suited to the operation.
Do not blast a thin exterior panel aggressively just because rust is visible. Heat and repeated impact can warp the panel, especially around broad flat sections. On a removable body component, controlled blasting may be practical. On an assembled vehicle, localized mechanical removal may reduce collateral damage, provided all scale is removed from the repair boundary.
After removal:
- Vacuum and blow out abrasive and rust dust from seams and cavities.
- Wipe the area with a compatible cleaner according to the coating manufacturer’s instructions.
- Allow trapped moisture to evaporate before applying any coating.
- Mark pinholes and thin spots that appeared after cleaning.
- Dry-fit the patch or replacement panel before applying primer or seam products.
- Keep bare steel protected from condensation during pauses in the work.
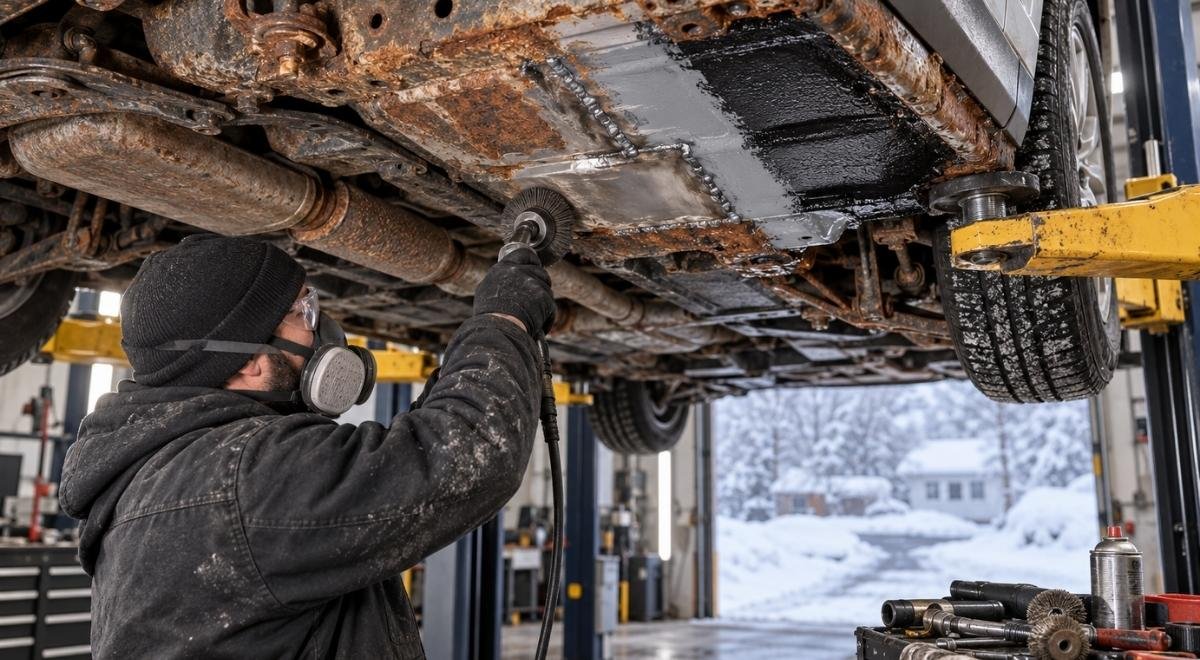
For a vehicle with extensive exposed frame or suspension corrosion, a controlled frame-off rust removal process may be more appropriate than trying to clean every surface with the body in place. Removing access barriers makes it possible to inspect the inside of rails, brackets, crossmembers, and body mounts rather than coating over unseen scale.
Deal with hazardous legacy coatings carefully
Older vehicles may contain lead in old coatings, body filler, or accumulated shop dust. The U.S. Environmental Protection Agency explains that its Renovation, Repair and Painting program applies to certain work disturbing lead-based paint in pre-1978 housing and child-occupied facilities (EPA lead-safe renovation information). Automotive work is not automatically covered by that residential rule, but the hazard-control principle still matters: identify unknown coatings, prevent dust migration, and use suitable industrial hygiene practices rather than dry-sanding blindly.
Fabricate, fit, and weld the replacement metal
Once the boundary is sound, make the repair section match the original panel’s shape, thickness, and movement. A patch that is flat when the surrounding panel is crowned will require excessive filler and may hold tension after welding. A patch that is too thin can distort or corrode faster than the original.
Fit-up comes before welding
Use cardboard, poster board, or thin sheet to develop the shape. Transfer the template to compatible automotive sheet steel, then trim gradually. Keep the joint consistent and supported. Confirm door, hood, tailgate, lamp, wheel, and trim gaps before committing to welds.
Control heat in short, separated welds. Long continuous welds concentrate heat and can pull a quarter panel or door skin out of shape. Tack the section while checking alignment, then add short welds in a sequence that allows the surrounding metal to cool. Grind only enough to achieve the required finish; excessive grinding thins the weld area and creates another corrosion risk.
Before welding, remove coatings from the weld zone and follow the procedure appropriate to the metal and joint. Use fire protection, isolate batteries and sensitive electronics as appropriate, and inspect the opposite side for wiring, insulation, fuel-system components, and trapped debris. A fire watch is essential when sparks can enter cavities or reach old undercoating.
- Clamp or magnet-hold the section in its final position.
- Check the contour with a straightedge, profile gauge, or the adjacent trim.
- Place initial tacks at opposing points to limit movement.
- Recheck gaps and panel shape after each group of tacks.
- Complete short welds with cooling intervals.
- Grind and inspect for pinholes, undercut, incomplete fusion, or distortion.
A replacement quarter panel can create a different challenge: it may be dimensionally correct but require trimming at the roof rail, wheel arch, trunk opening, or rocker. Preserve factory drainage routes and avoid sealing a cavity that was designed to vent or drain. If the repair alters a hem flange, reproduce the flange’s function rather than merely copying its appearance.
Seal, prime, refinish, and protect both sides
Rust repair is incomplete until the repaired metal and the surrounding cavities have a coherent protection system. The exterior coating protects against chips and water. The backside protection addresses condensation, road spray, and hidden seams. The seam treatment prevents water migration through the joint.
Build the coating system in the correct order
Follow the specific technical data sheets for the products selected. A typical sequence may include cleaned steel, corrosion-resistant primer, seam sealer where appropriate, surfacer or filler, topcoat, cavity protection, and an exterior underbody coating. Do not assume that every product can be layered over every other product, especially when one layer remains soft, oily, or solvent-sensitive.
Seal the backside before it disappears from view. Once the panel is installed, access may be limited to a small drain opening. Plan wands, plugs, removable liners, and inspection openings before final assembly. Keep factory drain paths open; blocking them can turn a protective coating into a water-retention problem.
WaxOyl can be part of a corrosion-protection plan for suitable cavities and surfaces when applied according to its product instructions. It should complement—not replace—sound metal repair, clean drainage, correctly sealed seams, and a properly prepared exterior finish. For vehicles exposed to Massachusetts road salt, a broader rust prevention undercoating program can address accessible underbody areas beyond the repaired panel.
Do not apply a soft cavity product to a surface that must accept structural adhesive, welding, a rigid seam sealer, or a refinish coating unless the product system specifically allows it. Overspray on brake components, tires, exhaust parts, belts, sensors, and electrical connectors is unacceptable.
Use a finish inspection rather than trusting the shine
- Check the panel contour in reflected light from several angles.
- Confirm that the wheel opening and adjacent gaps remain symmetrical.
- Inspect the lower edge for a continuous, properly shaped seal.
- Verify that drains are open and liners are correctly clipped.
- Look behind the panel with a mirror or borescope before reinstalling trim.
- Clean coating from fastener seats, grounding points, and moving mechanisms.
An illustrative starting policy is to perform the first post-repair inspection after 30 days of normal driving and a second at the next seasonal service. Adjust that interval sooner if the vehicle sees brine, gravel roads, repeated wet storage, or a new chip at the repaired edge. The signal is not the calendar alone; it is moisture retention, coating damage, renewed bubbling, or blocked drainage.
Verify the repair and create a maintenance record
A professional result should be inspectable after assembly. Record the original corrosion location, the cut boundary, the materials used, photos before sealing, drain locations, and any areas that could not be accessed. This information helps the next technician and gives a used-vehicle buyer a more reliable corrosion history.
Use a practical handoff checklist
- Structure: no unresolved thinning or damage at nearby mounts, reinforcements, or frame sections.
- Metal: the repair boundary is welded or joined to sound steel, with no visible pinholes.
- Shape: doors, lamps, trim, tailgates, and wheel openings align without forced adjustment.
- Drainage: factory drain holes and water paths remain open.
- Coatings: primer, seam sealer, paint, and cavity protection are compatible and fully cured as directed.
- Contamination: no coating reaches brakes, tires, exhaust components, sensors, or electrical contacts.
- Documentation: photos and notes identify what was repaired and what should be watched.
Wash the repaired area gently at first and avoid directing high-pressure water into fresh seams or cavity openings. After exposure to salted roads, rinse the underbody and wheel wells when conditions allow, then let the vehicle dry. Washing does not remove the need for a sound repair, but it reduces the amount of corrosive residue available to remain in seams and packed debris.
Track changes rather than waiting for another blister. A simple record can include the inspection date, weather exposure, new chips, dampness inside a cavity, and photographs taken from the same angle. For a fleet, use the vehicle identification number and panel location so repeated corrosion on the same model can be recognized early. For a classic vehicle, keep the repair photographs with restoration records so future work does not cut through undocumented patches.
Illustrative starting policy: inspect salt-exposed vehicles at the end of winter and before the next winter, with an additional check after any impact that breaks the paint film. Shorten the interval when the vehicle is stored outdoors, driven on untreated gravel, or shows recurring moisture at the same seam. Lengthen it only when the repair remains dry, intact, and accessible for inspection over repeated checks.
What to do first: document, clean, and expose the boundary
Your first action should be to photograph the damage, wash away salt and mud, remove the trim or liner that hides the panel edge, and inspect both sides before buying parts or sanding the blister flat. Mark the visible damage, then expand the inspection until you reach firm, stable metal and understand where water enters. If the corrosion is near a frame rail, rocker reinforcement, suspension mount, body mount, or other load-bearing area, pause the body-panel plan and arrange a structural assessment.
For extensive corrosion on a frame or multiple hidden components, Bay State Rust Prevention provides rust removal, frame restoration, repair, and corrosion protection for vehicles in Worcester and Central Massachusetts. Use the site’s service information at baystaterustprevention.com to decide whether the next step is localized body-panel work, broader rust removal, or a coordinated underbody and frame repair.