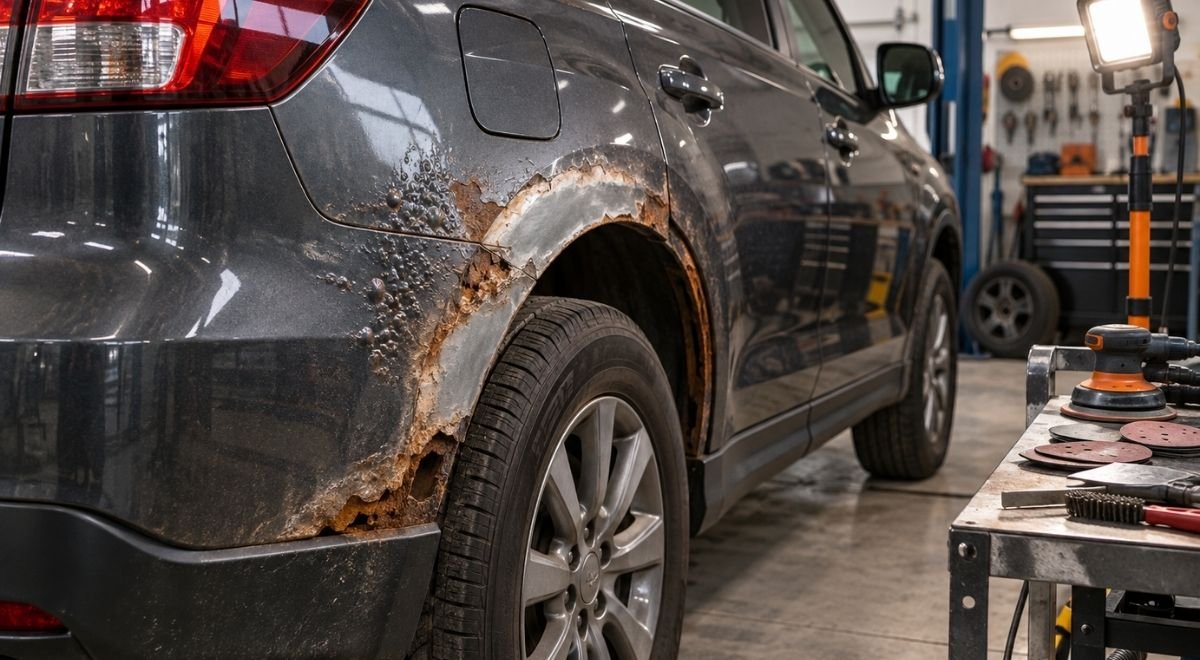
Quarter panel rust repair is not one job with one correct product. A small paint bubble may need a different decision than corrosion around a wheel arch, a rusted body mount, or a panel that has been repaired over old filler. The practical outcome of this guide is a documented repair path: identify how far the corrosion extends, separate cosmetic work from structural risk, choose a repair boundary, and protect sound metal from another winter of road salt.
That distinction matters in Central Massachusetts, where moisture and deicing material can remain trapped behind liners, seams, brackets, and overlapping steel. It also matters when you are evaluating a used truck, preparing a leased vehicle, managing a fleet, or restoring a specialty vehicle. The visible quarter panel may be only the access point to a larger corrosion problem.
Confirm the vehicle, location, and purpose before removing anything
Start with the job the vehicle must perform. A daily driver that needs dependable winter use, a leased vehicle that must meet return standards, and a classic vehicle being restored do not have the same acceptable repair boundary. Write that objective down before sanding or cutting. Otherwise, it is easy to spend time making a blister look presentable while missing corrosion behind the panel.
Map the quarter panel and nearby systems
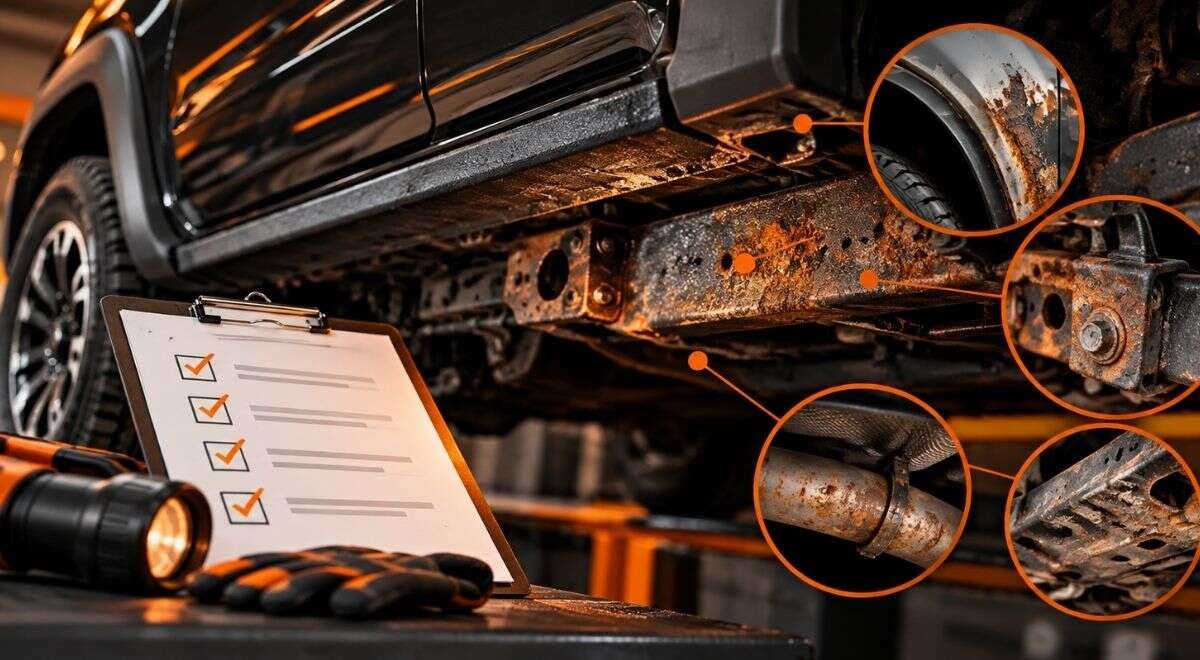
Record the vehicle identification number, mileage, model year, side of the vehicle, and the exact location of each visible defect. Photograph the area from several distances, then take close images with a ruler or other scale beside the damage. Mark whether the corrosion is on the outer skin, wheel opening, rocker junction, trunk opening, fuel-door area, roof seam, or lower quarter-panel flange.
Do not assume a corrosion mark belongs only to the quarter panel. The panel can overlap or sit beside:
- Wheel-house and inner-panel seams, where dirt and salt collect behind the outer skin.
- Rocker panels and body mounts, which may affect jacking and body support.
- Fuel-filler components, wiring, lamps, and other heat or ignition-sensitive equipment.
- Suspension attachment areas and load paths near the rear wheel.
- Drain holes and factory seam sealer, where blocked drainage can keep the metal wet.
For a used-car inspection, obtain the vehicle history and check open safety recalls by VIN through the National Highway Traffic Safety Administration’s official recall lookup. A recall result does not diagnose quarter-panel corrosion, but it can identify a separate safety issue that should not be confused with body repair; NHTSA provides the VIN recall search at nhtsa.gov/recalls.
Set an inspection record that another person can follow
Use a simple location code such as left-rear wheel arch, right-rear rocker junction, or trunk-opening seam. For each location, record the paint condition, metal condition, access limitation, suspected cause, and next action. This turns “there is rust in the back” into a decision that a repairer, buyer, fleet manager, or insurer can review.
| Inspection field | What to record | Why it changes the decision |
|---|---|---|
| Visible boundary | Bubble, blister, flake, perforation, or open hole | Affects whether the issue may be surface coating failure or metal loss |
| Panel relationship | Outer skin, inner wheel house, flange, rocker, mount, or seam | Separates cosmetic work from possible structural assessment |
| Access | Open, blocked by liner, blocked by trim, or inaccessible | Hidden corrosion cannot be cleared by inspecting paint alone |
| Moisture source | Debris pocket, failed seam, blocked drain, impact, or unknown | Repair can recur if the moisture path remains |
| Vehicle objective | Winter service, lease return, sale, fleet use, or restoration | Sets an appropriate finish and preservation standard |
| Next gate | Clean and reinspect, remove trim, refer to professional, or repair | Prevents premature sanding or coating |
Illustrative starting policy: photograph each affected area from three distances and use at least four location codes on a vehicle with multiple corrosion sites. Adjust that policy upward when corrosion crosses seams, when access is poor, or when a buyer or fleet record needs stronger documentation. The signal to change it is not the number itself; it is whether another qualified person could reproduce your inspection decision.
Clean and expose the corrosion without hiding its boundary
Dirt, wax, undercoating, loose paint, and old filler can make a small defect look stable. They can also conceal a larger one. The first physical stage is controlled exposure, not aggressive removal for its own sake. Clean the panel and the back side where accessible, then inspect again under good lighting.
Use the least aggressive method that answers the question
Begin with washing and drying. Remove loose debris from wheel-well pockets and inspect drain paths. If the coating is sound but dirty, cleaning may be enough for the first assessment. If paint is lifting, use a suitable hand tool or carefully controlled abrasion to expose the edge of the defect. Stop when the boundary is clear enough to make the next decision.
Do not seal over active corrosion just because the outer surface feels dry. A coating can reduce access for future inspection while leaving loose scale, salt, or moisture in the corrosion cavity. Products intended for corrosion protection have a role after preparation and assessment; they are not a substitute for determining whether metal has been lost.
- Wash before probing so grit is not driven into seams.
- Dry cavities and inspect from both sides when access permits.
- Look for a sharp paint edge, swelling seam sealer, pinholes, and layered repair material.
- Compare the damaged area with an undamaged section of the same panel.
- Keep removed flakes and debris out of drains, electrical connectors, and fuel-system areas.
Record what changed during cleaning
If a light scrape changes a bubble into a pinhole, that is useful evidence: the visible paint defect was not the full boundary. If cleaning reveals intact metal with only staining, the repair may be less extensive, but it still needs a sound adhesion and protection plan. If the surface opens into layered scale or a flexible panel edge, stop treating it as a simple spot repair.
Illustrative starting policy: stop hand preparation and move to a professional assessment when a defect opens beyond the original visible mark, when a probe reaches a cavity, or when the corrosion is within an illustrative 50 millimetres of a mount, seam, or suspension-related attachment. These are not universal engineering limits. Adjust them to the vehicle’s construction, the repairer’s inspection findings, and the manufacturer’s repair information. The signal for escalation is uncertainty about load path, access, or remaining metal—not a particular measurement alone.
Decide whether the problem is cosmetic, panel-related, or structural
Quarter-panel rust repair becomes safer and more economical when the visible defect is classified before a method is chosen. “Surface rust” is a description of appearance, not proof that the metal is sound. Conversely, a stained or pitted surface is not automatically a structural failure. The decision requires looking at metal thickness, panel function, adjacent joints, and access.
Use three practical categories
- Coating-level corrosion: discoloration or light oxidation with sound, stable metal after cleaning. The task is preparation, compatible corrosion control, sealing, and finish protection.
- Panel-level corrosion: pitting, perforation, swollen seams, or weakened outer skin where the quarter panel or a section of it may need metal repair or replacement. The repair boundary must reach sound metal and address the backside.
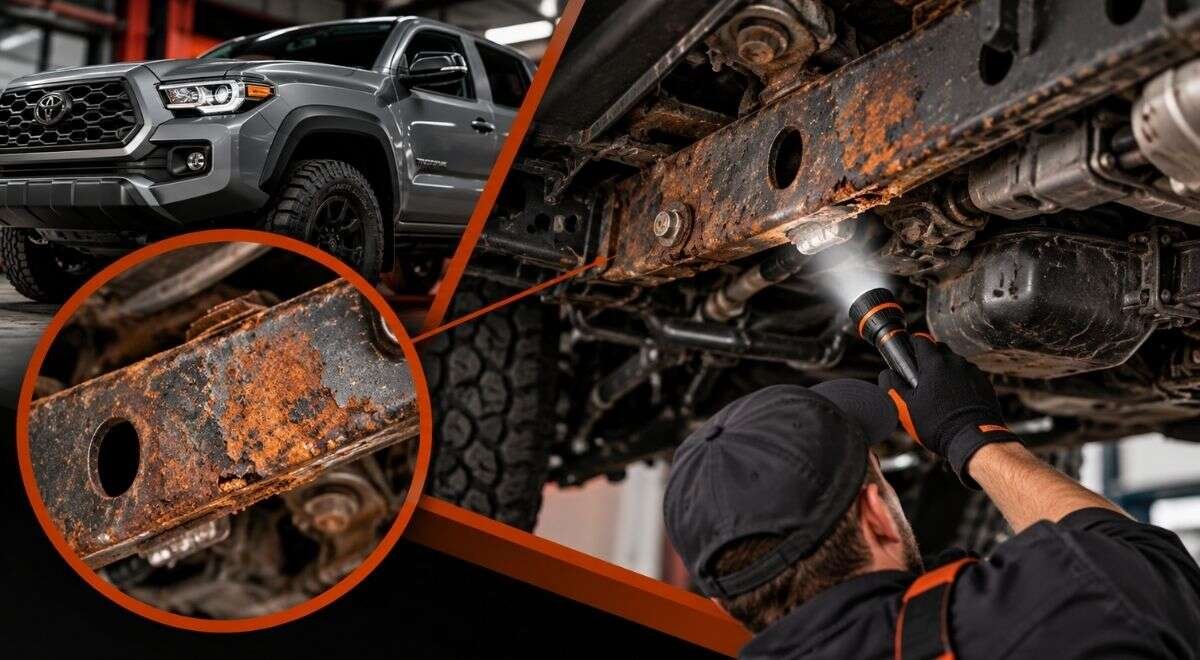
- Structural or attachment-area corrosion: deterioration involving an inner wheel house, rocker, body mount, suspension-related area, major seam, or load path. This needs professional assessment before cutting, welding, or coating.
Roadworthiness rules are not identical to cosmetic standards. Massachusetts describes its vehicle inspection program and safety inspection requirements through the state’s official information pages at mass.gov. Use the current state requirements as one input, but do not treat passing an inspection as proof that a quarter panel, inner structure, or frame is corrosion-free.
Check the backside and the cause, not only the visible face
Corrosion often progresses where two materials meet or where a coating has been damaged. Look for packed mud behind a liner, a leaking lamp or trunk seal, a failed seam, an impact crease, missing clips, and blocked drainage. On a truck or fleet vehicle, examine spray exposure from the rear wheels and the condition of adjacent frame components. On a classic vehicle, assume previous repairs may have changed drainage and access until proven otherwise.
A sound repair removes the cause as well as the damaged appearance. That may mean restoring a drain opening, replacing a damaged liner, correcting a seal, repairing a flange, or improving access for future inspection. If the source cannot be identified, document that limitation instead of promising that a coating alone will prevent recurrence.
Choose the repair boundary and method
Once the category is known, decide whether the appropriate outcome is preservation, localized metal repair, section replacement, or a broader restoration. The cheapest-looking method is not always the least expensive over the vehicle’s next winter. A thin outer skin over compromised inner metal may require more access than a visible patch suggests.
Compare the common approaches
| Approach | Use when | Main limitation or risk | Required verification |
|---|---|---|---|
| Clean, stabilize, and protect | Metal remains sound and the defect is coating-level | Will not restore lost thickness or close a hole | Reinspect edges, seams, and backside |
| Localized metal repair | Damage is contained and sound surrounding metal is accessible | Hidden corrosion may extend beyond the cut line | Confirm the repair reaches stable metal and can be protected on both sides |
| Section replacement | Outer-panel corrosion is broad or repeatedly returns | Fit, heat, distortion, seam protection, and finish quality matter | Inspect adjoining inner structures before final closure |
| Broader body or frame restoration | Multiple panels, mounts, inner structures, or frame areas are affected | Scope can expand after coatings and scale are removed | Document the full condition before committing to finish work |
For a vehicle that needs ongoing winter protection, consider the broader corrosion-control plan after the repair boundary is established. A professional rust prevention undercoating program can be relevant to cleaned, accessible areas, but undercoating should not be used to conceal uninspected scale, block drain paths, or cover a structural concern.
Worked example: hypothetical 2014 pickup assessment
The following is a hypothetical example, not a report about a real vehicle. Imagine a 2014 pickup used for a Worcester-area commute. The owner sees a blister near the left rear wheel opening and measures an illustrative three-inch visible bubble. After cleaning, the opening exposes an illustrative seven-inch region of pitted metal extending toward the inner lip. Those measurements are invented for the example to show how the decision changes when the boundary grows; they are not evidence about a particular truck.
The owner’s initial idea is to sand the bubble, fill it, and spray the area. The inspection record instead notes: outer skin corrosion, uncertain backside access, debris packed behind the liner, and proximity to a flange. The correct next step is not to approve a cosmetic patch. It is to remove or inspect behind the liner, determine whether the inner wheel-house metal and flange remain sound, and decide whether the outer panel can be repaired to stable metal.
If the inner structure is sound and the outer corrosion is contained, a qualified body repairer may define a replacement section or localized metal repair. If the corrosion reaches the inner panel or an attachment area, the scope changes and a frame or structural corrosion assessment may be required. The example’s lesson is the repair boundary follows the corrosion, not the first bubble you can see.
Put a firm boundary around DIY work
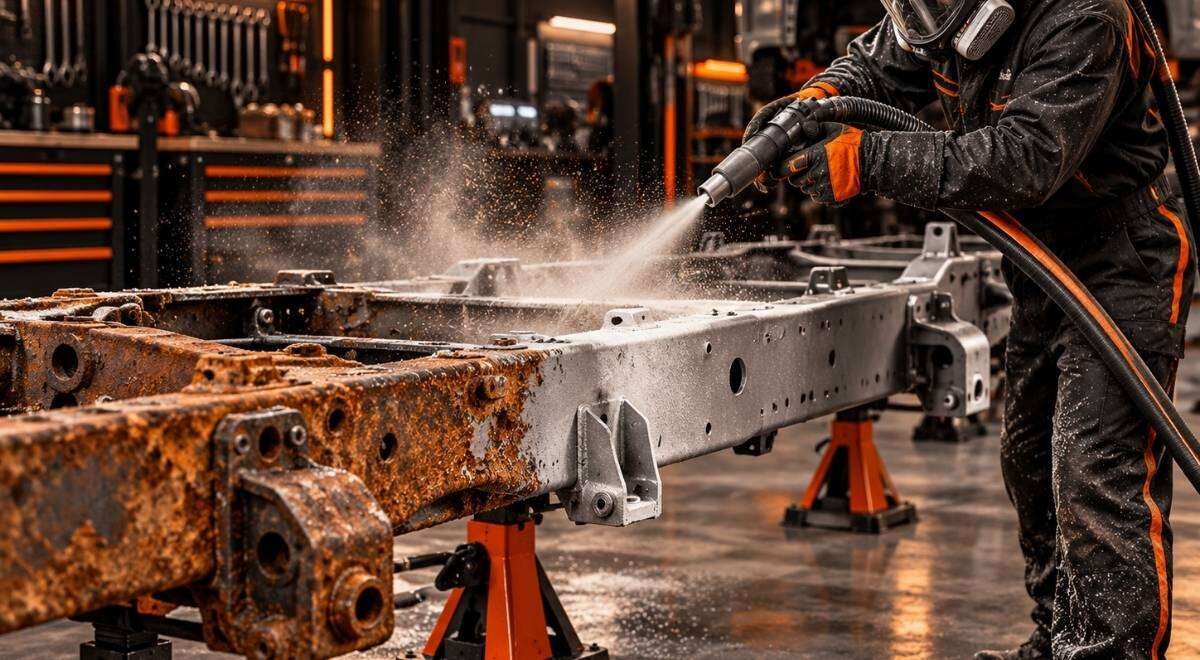
Cleaning loose dirt and taking photographs are reasonable owner tasks. Cutting, welding, abrasive blasting, and cavity treatment are different. They require suitable training, ventilation, personal protective equipment, fire controls, equipment maintenance, and a way to protect nearby systems. Welding and cutting near fuel, electrical wiring, airbags, pretensioners, brake lines, suspension components, or stored combustible material can create consequences that are not visible from the outside.
DIY boundary: do not cut, weld, blast, or inject treatment into a quarter-panel cavity unless you have the training, equipment, isolation procedure, ventilation, and vehicle-specific repair information to do it safely. For welding, structural corrosion, or abrasive blasting, direct the vehicle to a qualified repairer for assessment and execution.
OSHA’s welding, cutting, and brazing standard addresses fire prevention, ventilation, and related controls for hot work; review the official requirements at osha.gov. OSHA also identifies hazards associated with abrasive blasting, including dust, noise, compressed air, and exposure controls, at its abrasive blasting safety page. These sources do not turn a home garage into a compliant blasting or welding facility, but they show why the operations deserve more than a casual tool recommendation.
When to stop and refer the vehicle
- The defect is at or near a body mount, suspension attachment, rocker, frame, or inner wheel-house structure.
- You cannot inspect the backside without removing trim, a liner, a tank-related component, or other systems.
- Cutting or welding would be near fuel, wiring, restraint components, brake lines, or heat-sensitive parts.
- Old repairs, filler, layered patches, or severe scale prevent you from identifying sound metal.
- Abrasive blasting could spread dust or media into bearings, seals, drains, electrical components, or the work area.
- You cannot reproduce the manufacturer’s required repair method or verify the completed joint and protection.
Never use undercoating to hide a structural judgment you have not made. For a frame, mount, or inner-body concern, the right sequence is assessment, controlled removal of corrosion or coating as appropriate, repair by a qualified professional, inspection, and then corrosion protection.
Protect the repaired area and manage the next inspection
Corrosion control is a system, not a final spray can. The repaired area needs clean, stable surfaces; compatible primers, seam materials, coatings, or cavity protection; restored drainage; and an inspection plan. The exact products and application sequence should follow the repair system and vehicle requirements. Mixing products merely because each one sounds corrosion-resistant can create adhesion or curing problems.
Protect both sides without trapping the problem
On an accessible outer surface, protection may include a properly prepared substrate, compatible coating layers, sealed joints where appropriate, and a finish that can be inspected. On the backside, the priority is coverage of exposed metal and seams without blocking designed drains. A cavity treatment such as WaxOyl may be part of a professional corrosion-protection plan when the cavity is suitable, clean enough, and accessible; it should not be injected blindly into a space that contains wiring, drains, moving parts, or unresolved debris.
For frames and removable components, frame-off rust removal can provide a more complete view than treating only the visible underside. The value of removing components is access: it can expose hidden scale, old coatings, seam condition, and areas that cannot be inspected with the body assembled. It also increases the need for correct disassembly, support, reassembly, and protection of removed parts.
Create a reinspection policy
Illustrative starting policy: inspect a repaired or protected quarter-panel area at the beginning and end of each winter season, plus after any impact or water leak. For a fleet operating on heavily salted routes, increase the frequency when wash records, debris buildup, or new bubbling indicate a faster corrosion cycle. For a stored classic vehicle, inspect before storage and before road use. These are starting policies, not universal intervals.
- Photograph the same locations from the same angles.
- Check wheel-arch lips, drain openings, seam edges, and the backside where accessible.
- Look for new bubbling, lifted coating, staining, wet debris, or a returning seam line.
- Record leaks, impacts, liner damage, and unusual salt accumulation.
- Escalate when the defect grows, a cavity becomes visible, or a coating separates from its substrate.
The signal to adjust the inspection interval is evidence of changing exposure or condition: more winter mileage, a damaged liner, repeated wet storage, fleet route changes, or renewed corrosion. Do not let a calendar date replace what the vehicle is showing you.
What to do first with a quarter-panel corrosion problem
First, stop treating the visible bubble as the repair specification. Wash and photograph the area, record its location and vehicle objective, and arrange an inspection that includes the backside, nearby seams, wheel-house, rocker, mounts, and frame where relevant. If the corrosion is structural, inaccessible, or near fuel, electrical, restraint, or suspension systems, skip cutting and coating and use a qualified repairer.
For Central Massachusetts owners, fleets, restoration shops, and used-vehicle buyers, Bay State Rust Prevention can discuss corrosion assessment, rust removal, undercoating, frame-off work, and frame repair within that scope. Visit Bay State Rust Prevention to start with the condition of the vehicle rather than a cosmetic promise.