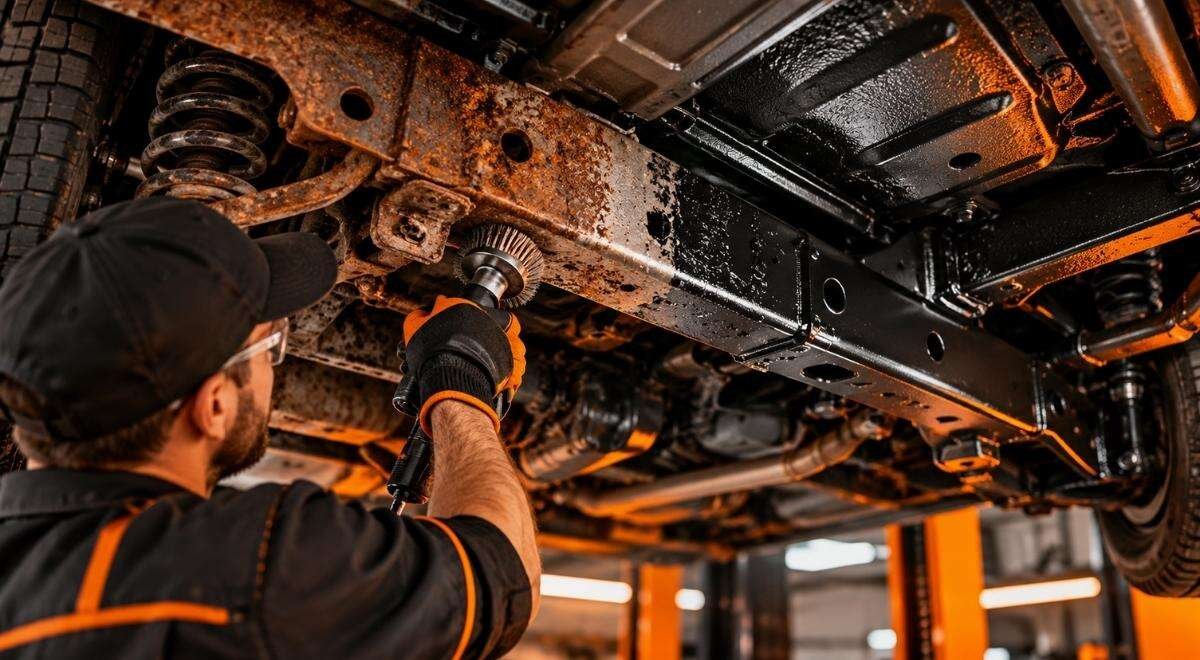
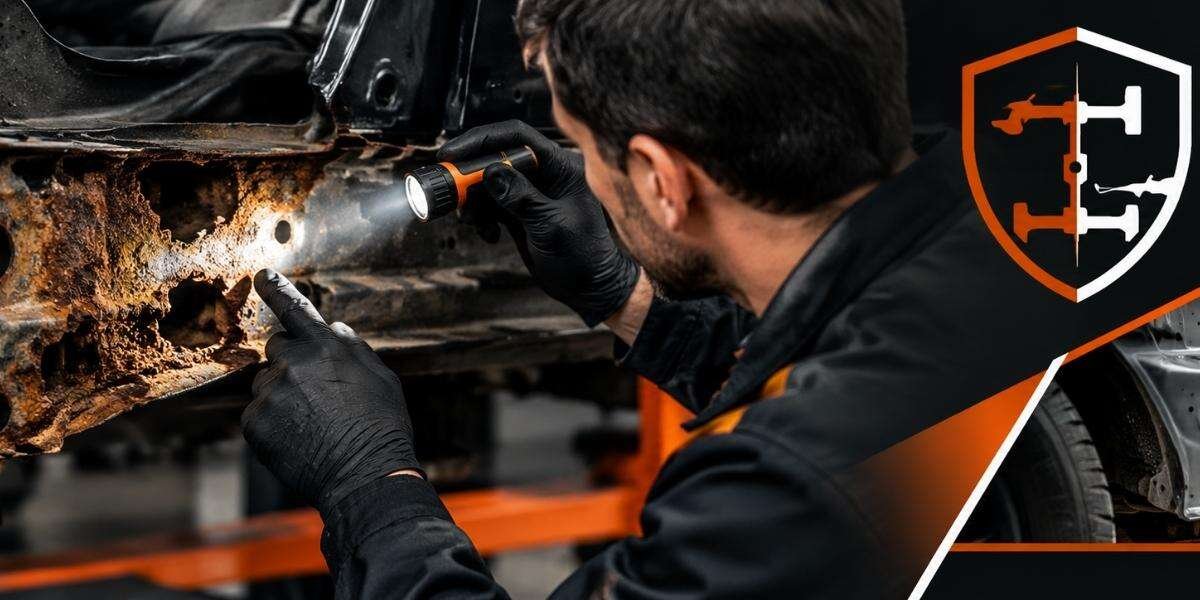
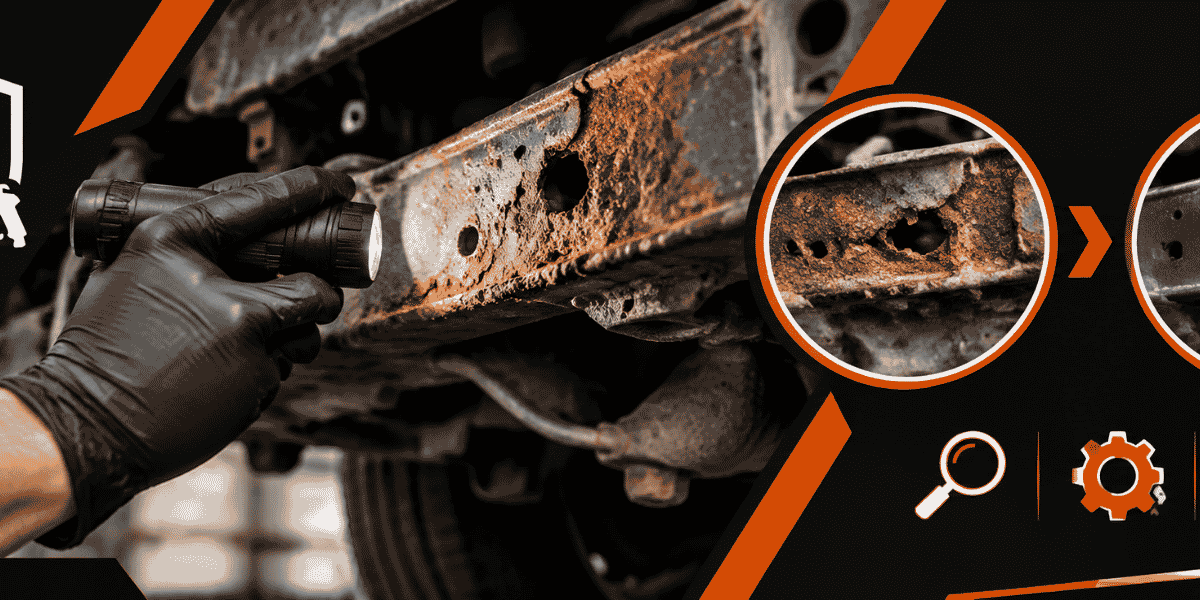
Chassis rust removal means exposing the affected structure, removing corrosion and old coatings where appropriate, assessing how much sound metal remains, and repairing weakened areas before applying protection. The key decision is whether the corrosion is limited to a surface that can be cleaned or has caused metal loss at a frame section, joint, or mounting point. Cleaning can reveal the damage; it cannot replace missing steel.
Identify the structure and map the rust first
Start by identifying which parts are affected. On a body-on-frame vehicle, the frame is a separate structural assembly. On a unibody vehicle, joined body panels and reinforcements carry structural loads. Crossmembers, suspension attachments, brackets, seams, and boxed sections may also be important, even if they are not what first catches the owner’s eye. “Chassis rust” is not a precise diagnosis: the location and condition of the affected metal determine what work makes sense.
Rust is a form of corrosion in which iron reacts with its environment to form iron oxides. Moisture and oxygen contribute to the process, and road salt can make wet conditions more corrosive. But the color or roughness of a surface does not tell you how much steel is left; corrosion products can obscure pits and edges. Encyclopaedia Britannica’s overview of corrosion explains the broader process.
Make an inspection map, not a severity guess
Before choosing a removal method, note the affected areas and what sits beside or behind them. A used-car buyer can ask to see the specific frame or structural areas described in an inspection report. A restoration owner can use a map to separate accessible surfaces from areas that may require parts to be removed. Useful places to document include:
- Frame rails, crossmembers, and the joints where they meet.
- Suspension or steering attachment points, including the surrounding metal.
- Seams, flanges, and overlapping panels where water or debris may remain.
- Accessible drain openings and boxed members, while recognizing that an exterior view does not show every interior surface.
- Old patches, undercoating, or other coatings that may conceal the condition beneath them.
Separate visible rust from evidence of damage. Flaking scale, deep pits, holes, cracks, distortion, or a loose-looking attachment are reasons to have the affected structure assessed before driving decisions or coating choices are made. Looking underneath while a vehicle is parked may not reveal the back of a bracket or the inside of a boxed section. A photograph can help locate a concern, but it cannot establish the condition of concealed metal.
Decide whether the work is cleaning, repair, or both
Rust removal takes corrosion and often old coating off a surface. It does not restore steel that has already been lost. That distinction matters most around structural joints and mounts: a cleaned surface may be suitable for preparation and protection, while a weakened section needs a repair assessment. Blasting is surface preparation, not structural repair.
Use what appears after cleaning to reassess
Scale and old coatings can hide the boundary between sound metal and damaged metal. Removing them may reveal deeper pitting, a perforation, a crack, or a previous repair that needs closer review. The removal process itself must also suit the part: aggressive abrasion can damage thin or already weakened material, while incomplete cleaning may leave corrosion or coating in a recess. Plan to inspect the exposed surface before deciding on the final repair and protection.
A practical decision path is:
- Accessible surface corrosion, with metal that appears sound: select a controlled removal method, prepare the surface for the chosen protection, and verify what areas were treated.
- Deep pitting or uncertain remaining thickness: expose the area enough for an informed assessment before deciding whether it can be protected or needs repair.
- Perforation, cracks, separation, or a damaged mount: treat the issue as a structural repair question, not as a reason to cover the area with undercoating.
- Rust behind attached parts or across hard-to-reach areas: ask whether additional access or disassembly is needed to inspect and treat the affected surfaces.
These are decision prompts, not a universal pass-or-fail test. The repair approach depends on the vehicle’s construction, the position and extent of damage, and what is found when the area is exposed. For commercial vehicles, federal inspection rules provide a specific reference point: 49 CFR § 393.201 addresses frames on commercial motor vehicles. It is not a general repair guide for every passenger vehicle, but fleet operators can use it when checking applicable requirements.
Choose a removal method based on access and material
Hand tools, mechanical abrasion, and abrasive blasting can each be useful in the right context. The choice depends on the metal’s condition and thickness, the shape of the part, what can be reached, and what needs to happen next. Control and access matter as much as speed: a method that works on a broad outer surface may not reach a seam or cavity, and a process suitable for one part may be too aggressive for another.
What blasting can do—and what it cannot
Abrasive blasting propels abrasive material against a surface to remove material such as coatings or corrosion. It can prepare accessible areas for inspection, but does not by itself show or treat every hidden surface. Nor does a clean finish prove the frame is structurally sound. OSHA’s abrasive-blasting guidance describes hazards associated with the process, including exposure to dust and abrasive materials. Its ventilation standard for abrasive blasting addresses controls for workplace blasting operations.
For that reason, blasting should be planned as controlled shop work rather than casual driveway cleanup. NIOSH’s Abrasive Blasting Safety and Health Requirements discusses exposure reduction and protective measures. Those sources concern worker safety, not vehicle repair quality; the useful takeaway for an owner is to ask how the work area, components, and people will be protected during the process.
- Broad, accessible frame surfaces: ask whether blasting or another controlled method suits the metal and coating condition.
- Thin edges or questionable sections: ask how the method will avoid damaging material that may already be weakened.
- Seams and boxed sections: confirm which areas can actually be reached, inspected, and treated.
- Nearby components: clarify whether they will be removed, shielded, or otherwise managed during cleaning.
Before approving the scope, ask what will be stripped and what will remain in place. Also ask how the shop will handle material that should not receive abrasive impact and how the exposed surface will be protected after assessment. Cleaning and protection need to be planned together: bare steel left exposed to moisture can begin corroding again.
Decide when frame-off access is worth the added work
Disassembly can make a difference when attached parts block inspection or prevent access to areas with corrosion. Frame-off work may expose more of the structure for assessment and removal, but it also adds teardown and reassembly to the project. It does not guarantee access to every internal cavity. The question is whether the expected gain in visibility and reach justifies the expanded scope for this vehicle.
For a restoration, broader access may help distinguish metal that needs cleaning from sections that require repair. For an owner addressing a limited, visible area, disassembly may not be necessary if the relevant structure can be assessed and treated in place. The decision should follow the corrosion map and inspection findings—not the assumption that every rusty vehicle needs a full teardown.
Bay State Rust Prevention lists frame-off vehicle disassembly, sandblasting for rust removal, bare-metal preparation, vehicle corrosion assessment, and automotive frame repair among its capabilities. Whether those steps fit a particular vehicle depends on its condition and the areas that need to be reached. Ask for the proposed work to identify what will be removed, what can be inspected, and what will remain inaccessible.
Coordinate structural repair before corrosion protection
Once rust and old coatings are removed, the exposed surface gives the repairer a clearer basis for deciding what metal remains sound. A spot that looked like surface rust may reveal a hole or deeper pitting; another may need cleaning and protection but no structural repair. Do not select the final coating before the condition is understood, because a coating can hide defects if applied before inspection and any necessary repair.
Where metal is compromised, the repair plan should address the damaged structure, not just its appearance. The appropriate approach depends on the vehicle and the damage location. A useful sequence to discuss with the shop is:
- Expose the affected area sufficiently for assessment.
- Record what was found, including any inaccessible surfaces or prior repairs.
- Complete any needed structural repair before covering the area.
- Prepare the repaired and cleaned surfaces for the selected protection.
- Document what was treated and what remains outside the agreed scope.
Ask how findings will be communicated after cleaning. Useful questions include:
- Which areas were inspected, and which could not be reached?
- Did the work reveal perforation, deep pitting, cracks, or previous repairs?
- Which areas need frame repair, and which are being cleaned and protected?
- What surface preparation and corrosion protection are planned after repairs?
Coordinating rust removal and repair in one work plan helps avoid protecting an area that still needs structural work. For shops and fleet managers, written findings can also help distinguish the work completed on one vehicle from work still needed on another. A coating is not a substitute for restoring compromised steel.
Match protection to the surfaces treated
Protection helps manage future corrosion; it does not reverse metal loss or make a vehicle immune to water, salt, dirt, and stone impact. Ask which surfaces the treatment covers and how those surfaces will be prepared. An exterior coating should not be assumed to reach panel overlaps, seams, or cavities. The application plan should distinguish accessible outer surfaces from enclosed areas that require a different approach.
Bay State Rust Prevention uses WaxOyl for corrosion protection and identifies rustproofing for vehicle seams, panels, joints, and cavities as a capability. The exact treatment scope depends on the vehicle and its condition. Owners comparing restoration work with prevention for a sound vehicle can review the site’s rust prevention undercoating page; it describes the undercoating offering, while the vehicle-specific coverage should be confirmed before work is authorized.
After the work, keep inspection findings and repair details with the vehicle’s service records. If the vehicle continues to be used on salted roads, periodic checks can help identify renewed corrosion or damage to treated areas. For leased vehicles or fleets, check applicable ownership, maintenance, or return requirements before authorizing permanent modifications.
Make the decision from the inspection, not the color of the underside. Limited accessible corrosion may call for removal and protection; hidden or widespread rust may justify more access; metal loss calls for repair assessment before coating. Bay State Rust Prevention provides corrosion assessment, frame-off rust removal, frame repair, and WaxOyl protection in its service offering. To ask whether those capabilities fit a vehicle’s condition, start at baystaterustprevention.com or review the frame-off rust removal page for the frame-off rust-removal service.