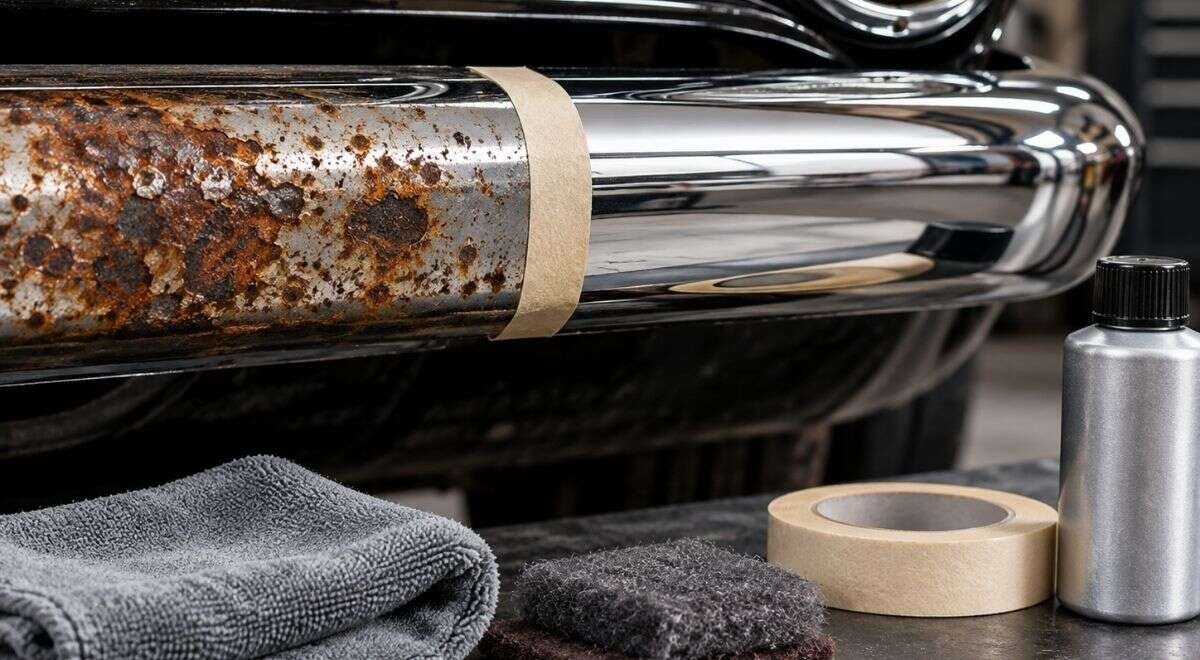
Chrome rust repair starts with deciding whether the corrosion is only on the surface or has penetrated the chrome plating. Clean, light orange staining can often be removed with a mild polish and protected afterward; bubbling, flaking, black pinholes, or deep pits usually require stripping and professional replating—or replacement. This guide shows how to inspect chrome trim, remove surface rust without destroying the finish, and identify when the rust has reached the steel underneath.
Identify the chrome part and the type of corrosion
Before reaching for steel wool or a power tool, determine what you are repairing. A chrome-plated bumper, grille, wheel, mirror cap, emblem, or exhaust tip may have several layers: a steel, aluminum, or plastic base; one or more metal plating layers; and the thin chrome surface that provides the familiar blue-white appearance.
Use the damage pattern as your first decision
- Surface haze or orange film: The chrome still looks continuous, and the stain does not catch a fingernail. This is the best candidate for careful cleaning and polishing.
- Raised bubbles or pinholes: Moisture has likely reached a layer below the chrome. Polishing may improve the appearance temporarily, but it will not rebuild missing plating.
- Flaking or exposed dark metal: The plating bond has failed. Aggressive polishing can enlarge the damaged area.
- Deep pits, holes, or distorted metal: The component needs restoration, replacement, or metal repair before plating.
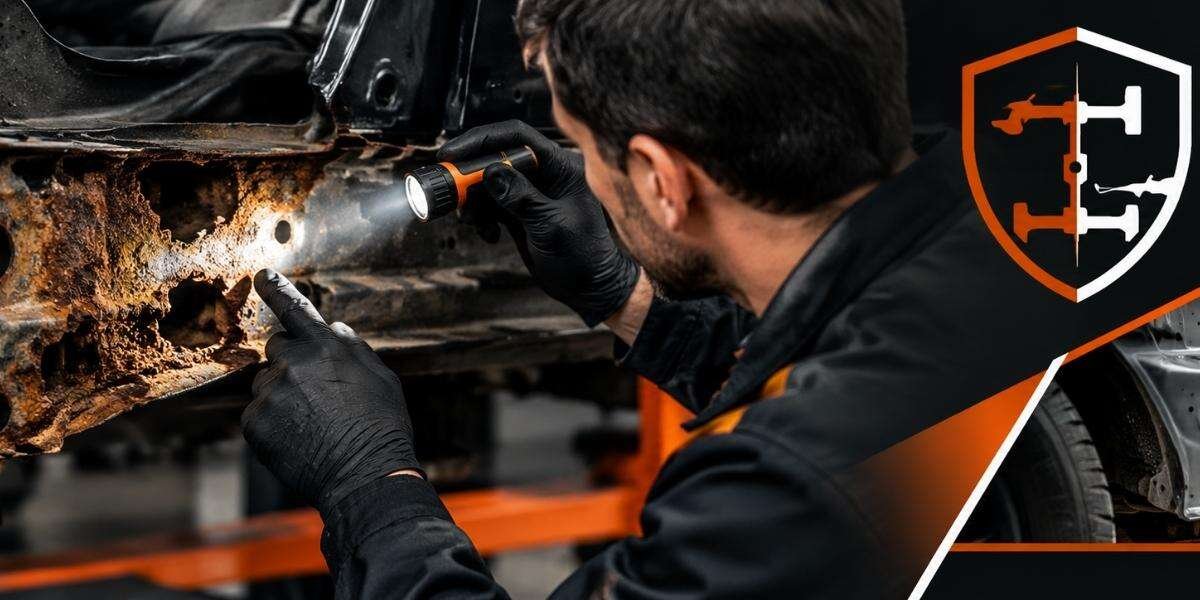
Look at the reverse side and mounting points as well. Rust around a bumper bracket or fastener can be more important than a blemish on the visible face. On a vehicle exposed to Central Massachusetts road salt, trapped brine behind trim can continue corroding the base metal even after the front surface looks clean.
Practical rule: If a fingernail catches an edge, assume the issue is more than removable staining until inspection proves otherwise.
Remove the part and document its condition
Removing chrome before cleaning gives you access to the back, seams, clips, and mounting holes where corrosion commonly starts. It also prevents polish, rust residue, or blasting media from spreading onto paint, rubber, glass, and wiring.
Record the repair before disassembly
- Photograph the installed position, fastener locations, gaps, and trim overlaps.
- Mark left and right parts with removable tape rather than scratching the surface.
- Bag hardware separately and note broken clips or seized bolts.
- Measure distorted brackets before attempting to straighten them.
- Check whether the part is original, previously replated, or an aftermarket replacement.
Use penetrating oil on seized fasteners and support long trim pieces so they do not bend while bolts are removed. If a bumper or grille is carrying sensors, lamps, or wiring, disconnect the relevant battery circuit according to the vehicle service information. Do not pry against the visible chrome edge; a small bend can become a permanent plating failure.
For a fleet truck or restoration project, create a simple condition record for every part. That prevents a good-looking replacement from being mixed with an original part that still needs repair on the back.
Clean contamination before choosing a rust-removal method
Road film, wax, grease, brake dust, and salt can make light corrosion look worse and can also hide cracks. Wash the part with a mild automotive detergent, rinse thoroughly, and dry it completely. Use a soft brush around seams and drain holes. Avoid household cleaners containing bleach, chlorine, or strong acids; unknown chemistry can stain plating or attack nearby materials.
Start with the least aggressive tool
Test an inconspicuous area first. A microfiber cloth and chrome-safe polish may remove loose oxidation without changing the surface. If that is insufficient, move to a soft nylon brush or a very fine synthetic abrasive used with light pressure. Work in short sections and wipe the residue away often so you can see whether the stain is actually changing.
Do not use a wire wheel on visible chrome. It can cut through thin plating, round crisp edges, and leave a surface that is difficult to replate. Coarse sandpaper has the same problem. If the component is valuable or has pits, stop before the damage expands and obtain a plating or restoration assessment.
OSHA identifies hazards from abrasive blasting dust and recommends controls such as isolation, ventilation, respiratory protection, and appropriate protective equipment; those requirements are especially relevant when stripping rust from removable parts in a shop. See the agency’s abrasive blasting safety guidance before using a blast cabinet or outdoor blasting setup.
Select polishing, chemical treatment, blasting, or replating
The correct method depends on the remaining plating, not simply how orange the rust appears. A repair that removes all visible rust but exposes the base metal is not a successful chrome restoration.
| Observed condition | Appropriate next step | Stop or escalation signal |
|---|---|---|
| Light film, smooth surface | Hand clean, use chrome-safe polish, rinse and protect | Finish becomes dull, scratched, or uneven |
| Small isolated spots, plating intact | Careful spot treatment and close inspection | Orange returns from a pinhole or edge |
| Bubbles, flaking, widespread pitting | Document and send to a plating or restoration specialist | Base metal is thin, perforated, or distorted |
| Heavy rust on a removable steel component | Controlled stripping or frame-off rust removal when the part is part of a larger restoration | Media enters bearings, threads, seams, or electrical components |
| Rust at a structural bracket or frame attachment | Structural inspection before cosmetic repair | Section loss, cracks, soft metal, or altered mounting geometry |
Abrasive blasting can be useful for steel parts that will be refinished, but it is not a magic way to restore missing chrome. Blasting removes corrosion and plating; it does not reproduce the copper, nickel, and chrome layers. A plater may need to straighten the part, repair pits, build the surface, polish it, and apply new plating.
For a classic bumper with scattered pinholes, the durable route is usually professional stripping, metal repair, surface preparation, and replating. For inexpensive trim with extensive corrosion, replacement may be more economical and less risky. For an original part with unusual contours or lettering, restoration may justify the additional work.
Treat the hidden corrosion and prepare for refinishing
Visible chrome is only one side of the corrosion problem. Inspect the back of the part, seams, folded edges, drain holes, and mounting tabs. Remove loose scale without thinning sound metal. If the component will be painted rather than replated, the coating system must be compatible with the prepared substrate and intended exposure.
Protect the repair from trapped salt and water
- Clear blocked drain paths before installation.
- Repair or replace missing clips and seals that allow movement.
- Separate dissimilar metals where the design permits and replace damaged isolators.
- Use corrosion protection on suitable hidden steel surfaces after preparation.
- Keep coating away from electrical grounds, threaded contact points, and sensor faces.
On a vehicle that sees salted roads, a broader rust prevention undercoating plan may be appropriate after the chrome repair. Undercoating should not be sprayed over active scale, wet seams, drain openings, or questionable structural metal. It is a barrier strategy, not a substitute for removing rust or repairing weakened steel.
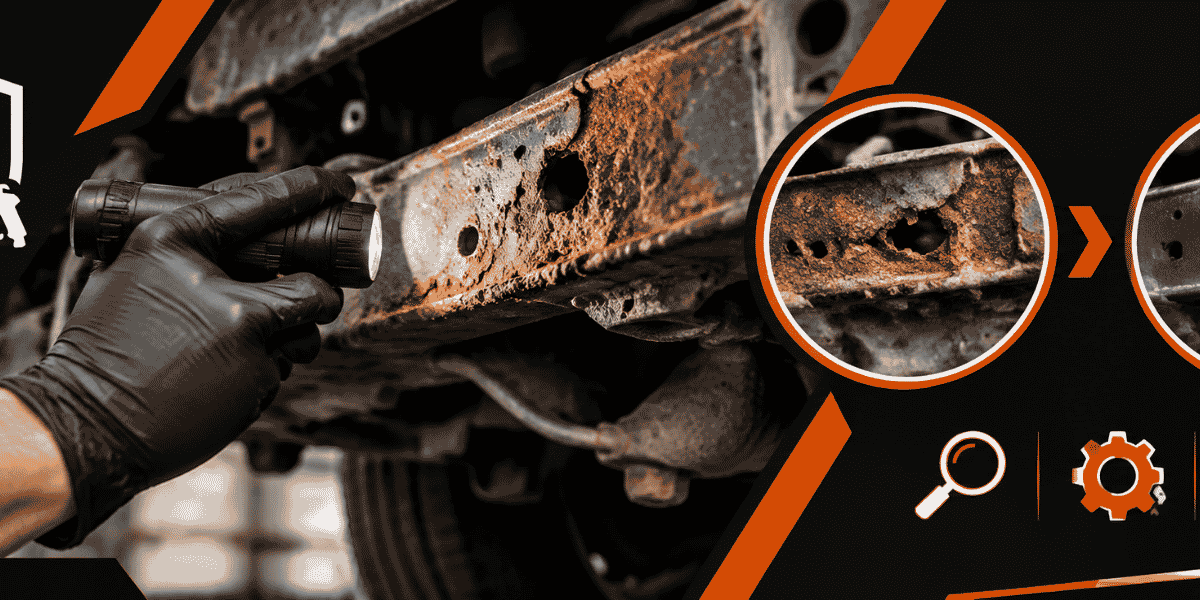
Where the project includes a frame or brackets, distinguish cosmetic corrosion from structural loss. A thin-looking flange, perforated crossmember, or cracked mounting point needs measurement and repair planning before any protective coating is applied. Covering it can hide the evidence needed for a safe repair.
Reassemble, inspect, and establish a maintenance policy
Before reinstalling the part, inspect the finish under bright, angled light. Check that no abrasive residue remains in seams, that mounting holes are open, and that clips will not rub through the finish. Use the photographs from disassembly to restore alignment rather than forcing the part into position.
Use an illustrative inspection policy, then adjust it
An illustrative starting policy for a daily-driven vehicle is to inspect vulnerable chrome and mounting areas at each seasonal wash and after the first winter salt exposure. For a collector vehicle stored indoors, inspection can be less frequent; for a plow truck, fleet vehicle, or truck driven on treated roads, inspect more often. These are starting policies, not universal thresholds. Adjust them when you see orange staining return, dampness trapped behind trim, loose fasteners, or salt residue that remains after washing.
- Rinse salt from undersides and wheel-area trim before it dries into seams.
- Dry around clips, bumper corners, and drain points.
- Address new bubbling early rather than polishing over it.
- Keep abrasive products away from adjacent paint and plastics.
- Photograph recurring spots so you can tell whether corrosion is spreading.
Protective products can slow renewed oxidation, but they cannot repair missing plating. Follow the product’s surface-preparation and compatibility instructions. If you are applying a wax-based corrosion protectant to hidden metal, keep it off visible chrome unless the manufacturer specifically approves that use.
For blasting and coating work, dust control is part of the repair, not an optional extra. NIOSH discusses the respiratory risks associated with abrasive blasting and the need for effective exposure controls in its abrasive blasting safety publication. If old painted parts may contain lead, EPA’s Renovation, Repair and Painting guidance explains why containment and lead-safe practices matter in applicable work.
What to do first with Chrome Rust Repair
Start by removing or closely inspecting the part and classifying the damage: smooth staining, isolated pitting, flaking plating, or structural corrosion. Photograph it, wash it, and test the mildest cleaning method in a hidden spot. If the surface is bubbled, deeply pitted, or attached to weakened steel, skip aggressive polishing and arrange a professional assessment for stripping, metal repair, replating, or replacement.
Bay State Rust Prevention serves Worcester and Central Massachusetts with rust removal, frame repair, frame-off sandblasting, and WaxOyl corrosion protection. For a chrome component connected to a larger rust-damaged vehicle, baystaterustprevention.com can help determine whether the first job is cosmetic cleaning, component restoration, or structural corrosion repair.