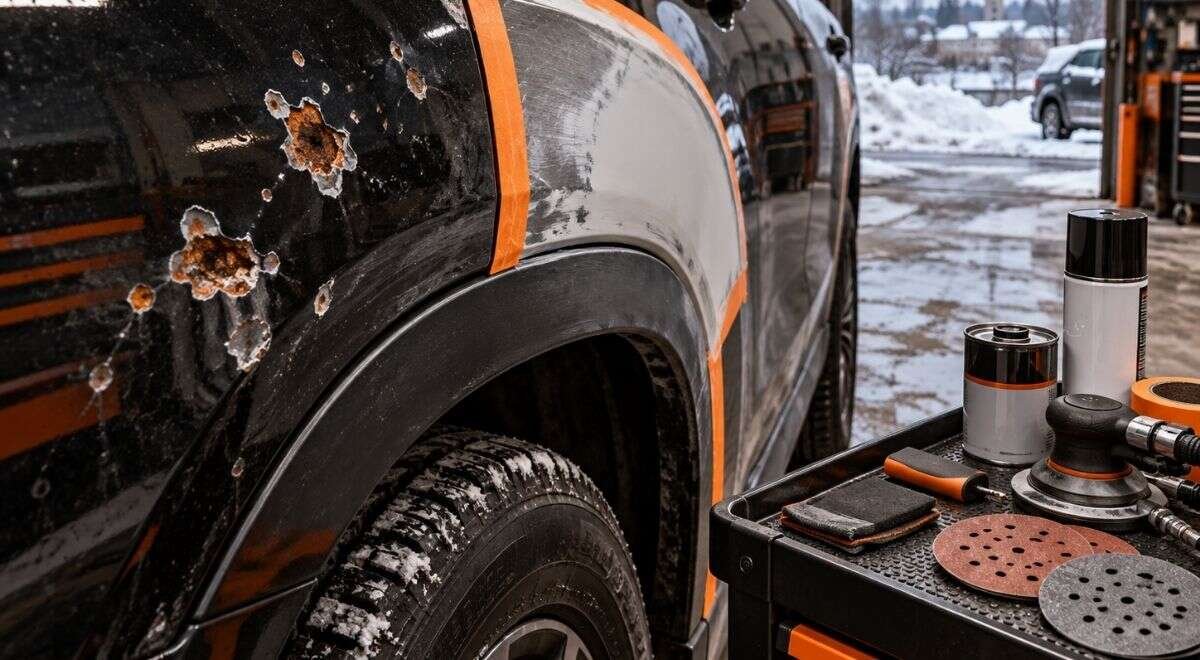
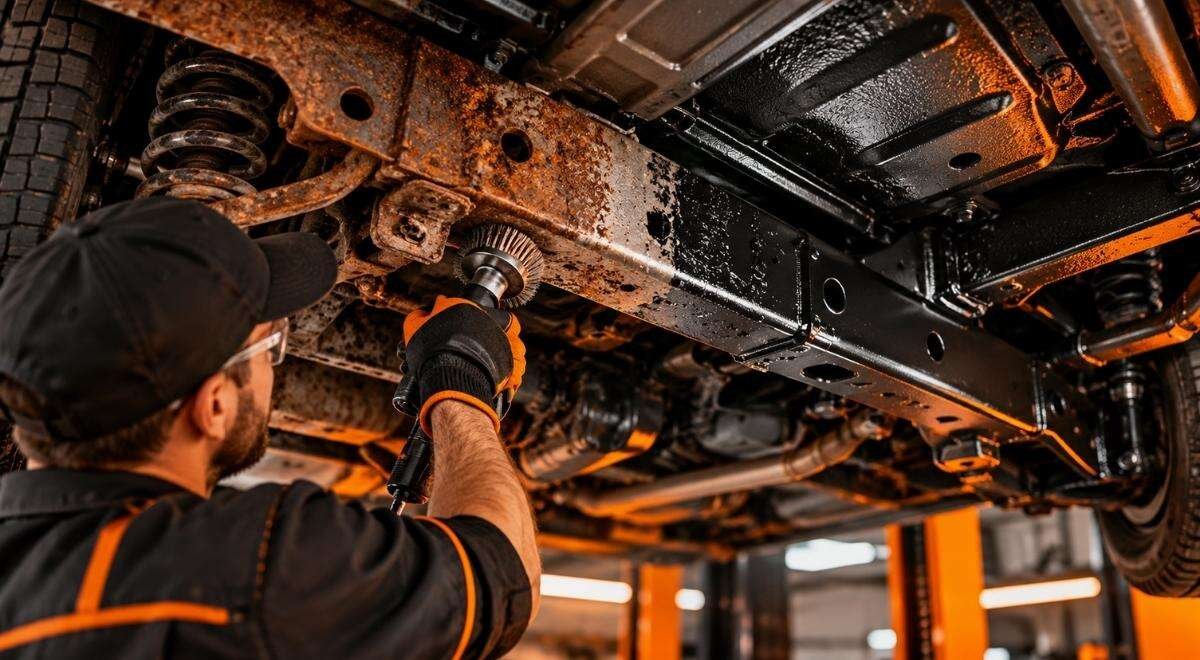
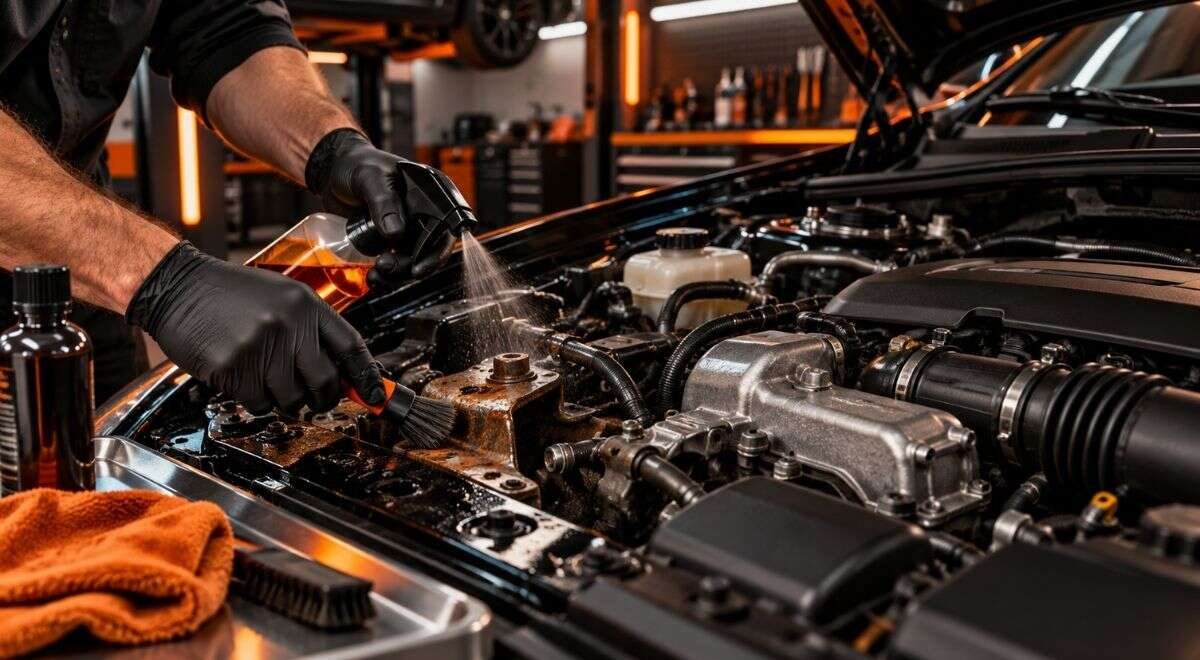
Paint chip rust repair starts with removing every trace of loose rust, not simply brushing touch-up paint over the chip. For a small surface chip, clean and dry the area, feather the paint edge, treat or mechanically remove corrosion, apply compatible primer and touch-up paint, then protect the surrounding panel. If the chip has bubbling, perforation, rust behind a seam, or corrosion near a frame or suspension mount, stop treating it as cosmetic and arrange a professional inspection before winter road salt reaches the exposed steel.
Inspect the chip and classify the damage
Park the vehicle in bright light and wash the area first. Road film can make a shallow paint defect look like deep corrosion, while a small bubble can conceal a much larger rust pocket. Photograph the spot before sanding so you can compare its size after the loose material is removed.
Separate surface rust from structural risk
Use the following decision points:
- Paint-only damage: the chip exposes clean metal, with no orange staining or lifting edge.
- Surface corrosion: orange or brown oxidation is present, but the metal remains firm and the corrosion stays within the chip.
- Layered corrosion: paint bubbles, rust extends under the surrounding finish, or a seam is swollen.
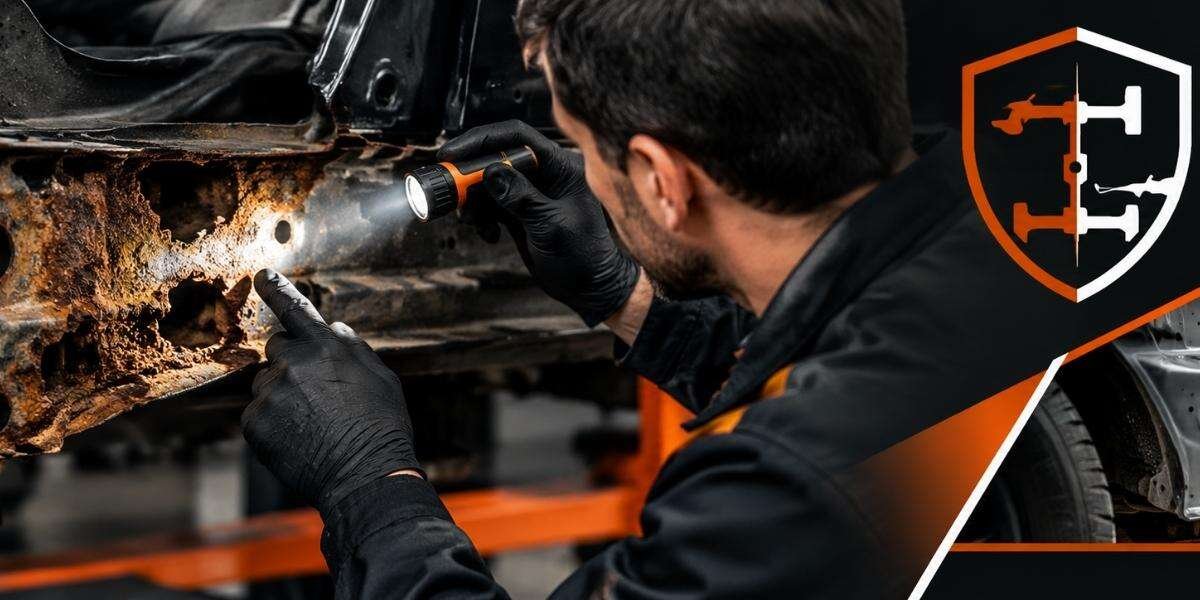
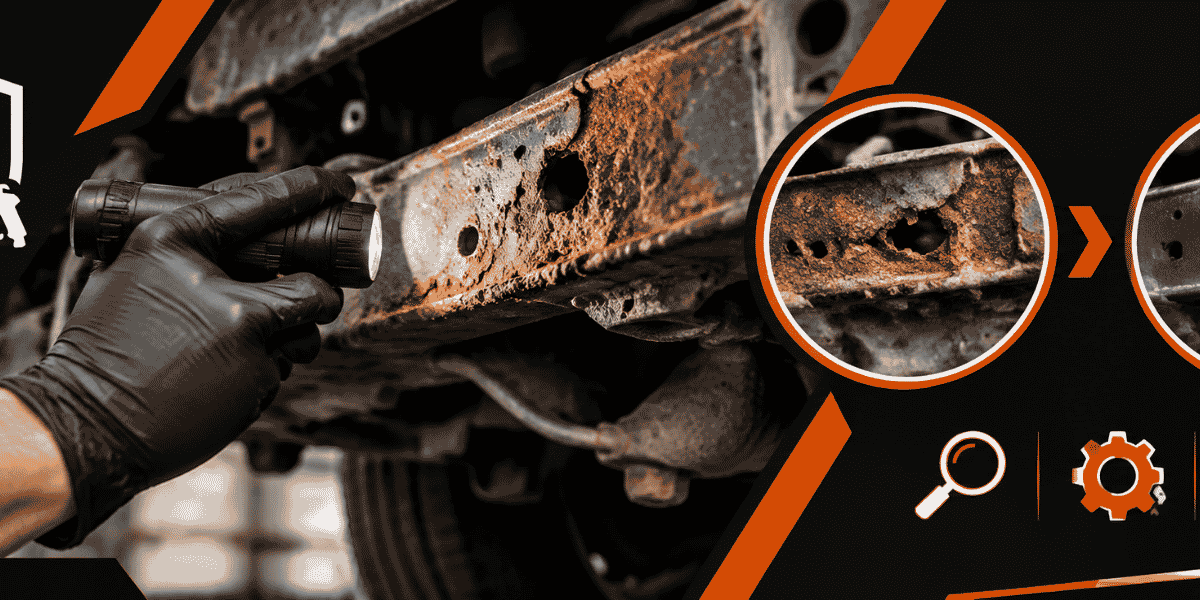
- Perforation or structural corrosion: the metal is holed, flakes away, feels thin, or sits at a frame, crossmember, spring mount, brake line bracket, or suspension attachment.
Do not poke aggressively at a frame or mounting point with a screwdriver. A weak panel can be damaged further, and a cosmetic repair can hide a safety issue. Check the vehicle identification number for open safety recalls before combining body work with underbody repairs; the National Highway Traffic Safety Administration provides the official recall lookup and recall guidance at NHTSA.gov. A recall is a separate issue from ordinary corrosion, but it should be resolved before restoration work obscures access.
Clean, dry, and map the repair area
Wash with automotive shampoo, rinse thoroughly, and allow the panel to dry. For grease or wax near the chip, use a paint-safe degreaser according to its label. Avoid using a dirty rag that transfers silicone, salt, or polishing residue back onto the exposed metal.
Make the repair boundary larger than the visible dot
Rust often travels beneath a lifted paint edge. Press masking tape around the area only after cleaning, then gently test the perimeter with a plastic pick or the edge of a plastic scraper. If the paint continues to lift, expand the repair until the remaining edge is firm. Do not trap moisture beneath tape; remove the tape as soon as the sanding and coating stage is complete.
For a Central Massachusetts vehicle, inspect more than the hood or door where the chip is visible. Salt-laden water reaches the lower fenders, rocker seams, wheel arches, tailgate edges, and the fasteners beneath a truck. A practical inspection list includes:
- lower door and fender lips;
- behind wheel-arch liners and splash shields;
- pinch welds and rocker seams;
- frame holes, brackets, and crossmember ends;
- brake and fuel-line clips near visibly rusty steel.
Keep a simple map with the location, approximate size, and damage category. As an illustrative starting policy, photograph and recheck any repair larger than a coin after the first wash and again before the next winter. Adjust that policy sooner if the edge bubbles, the stain returns, or the vehicle is driven through frequent brine or unpaved salty roads.
Remove corrosion instead of sealing over it
For a shallow chip, use fine abrasive paper or a small abrasive pad to remove the orange oxidation and feather the sound paint around it. Work slowly: the objective is firm metal and a gradual paint transition, not a large bare-metal crater. Blow or wipe away dust with a clean, lint-free cloth and approved surface cleaner.
Know when hand tools are not enough
Abrasive blasting can reach pits, seams, and brackets that hand sanding misses, but it requires containment, suitable respiratory and eye protection, and control of abrasive dust. OSHA identifies hazards associated with abrasive blasting, including airborne dust and noise; its safety guidance is available at OSHA’s abrasive blasting resource. That is why a small body chip and a rusted frame should not automatically be handled with the same tool.
For a pitted body chip, remove loose scale and expose the full edge of the corrosion. For a frame or bracket, stop when you see layered flaking, a hole, a distorted mounting surface, or a suspiciously thin section. Rust converter is not a strength repair. It may be part of a coating system on suitable surface corrosion, but it cannot restore lost steel or substitute for cutting, welding, and reinforcement designed for that vehicle.
Collect sanding dust, used abrasives, solvent rags, and contaminated material rather than washing them into a driveway drain. Disposal rules vary by material and location; the EPA’s household hazardous-waste guidance explains why leftover paints, solvents, and related products need responsible handling at EPA.gov.
Prime and refinish the exposed steel
Once the surface is clean, dry, and free of loose oxidation, apply a primer compatible with the metal, existing finish, and intended topcoat. Follow the product’s recoat window and temperature limits rather than relying on a generic drying time. Compatibility matters more than maximum film thickness: an unsuitable coating can wrinkle, remain soft, or lose adhesion at the feathered edge.
A controlled touch-up sequence
- Mask beyond the feathered repair, leaving no loose paint inside the work area.
- Apply thin primer coats to the exposed metal rather than flooding the chip.
- Allow the primer to cure according to its label.
- Apply matching color in light passes, extending slightly into the feathered zone.
- Apply the specified clearcoat if the paint system requires it.
- Remove masking before the final coating fully hardens, then inspect the edge.
Use a paint code from the vehicle manufacturer or a reputable automotive paint supplier; visual matching from a photograph is unreliable because age, sunlight, and prior repairs change the surrounding color. Do not polish or wax until the coating system has reached its stated cure condition.
For a leased vehicle, document the repair with dated photographs and keep product information. A neat repair may prevent spreading corrosion, but it does not automatically satisfy a lease inspection or accident-repair requirement. Ask the leasing company or body shop what documentation it expects.
Add protection where salt and moisture collect
Touch-up paint protects the repaired spot; it does not protect the entire underside. After the repair has cured, inspect adjacent seams and underbody areas for trapped mud, damaged factory coating, and rust around fasteners. Keep drain holes open. Plugged drains turn a small paint defect into a recurring moisture problem.
On a newer truck or daily driver, a professionally applied rust prevention undercoating can be considered after the surfaces are clean and stable. The coating must not cover wet dirt, active scale, drain openings, wiring connectors, exhaust components, or areas that need inspection. WaxOyl may be used as part of a corrosion-protection approach, but the product still depends on sound preparation and periodic inspection.
For an older vehicle with significant underside scale, ask for a condition assessment before coating. Encapsulating loose corrosion without removing it can make later inspection harder. A business fleet should also record the repair location, coating date, and next inspection trigger so one truck does not receive attention while the rest of the fleet deteriorates unnoticed.
| Observed condition | Best next action | Recheck signal |
|---|---|---|
| Clean chip, firm paint edge | Prime and touch up after cleaning | New orange staining or lifting edge |
| Small surface rust spot | Sand to firm metal, then use a compatible coating system | Rust returns through the finish |
| Bubbling seam or rust under the edge | Expand inspection; consider body-panel repair | Bubble grows or moisture appears from the seam |
| Flaking frame, hole, or weakened mount | Professional structural inspection and repair plan | Any change in thickness, shape, or attachment integrity |
| Extensive underside scale | Rust removal assessment before undercoating | Loose scale remains after cleaning |
Decide when the job needs professional rust repair
A do-it-yourself touch-up is reasonable when the defect is accessible, shallow, dry, and clearly limited to the paint and outer surface. Professional work becomes the safer choice when the corrosion is hidden by trim, reaches a seam, or affects a load-bearing component.
Bring these details to the inspection
- vehicle year, make, model, and mileage;
- where the chip or rust was first noticed;
- whether the vehicle has seen Central Massachusetts road salt or brine;
- photos before cleaning and after loose scale is removed;
- any symptoms such as alignment change, unusual noise, leaking lines, or a door that no longer fits correctly.
Ask the repairer to distinguish cosmetic rust removal from structural frame repair. A proper frame plan may involve removing coatings, measuring the affected section, cutting out unsound metal, welding approved replacement material, and restoring corrosion protection. If the underside needs broad access, frame-off rust removal may be more appropriate than trying to coat around components in place.
As an illustrative starting policy, fleet managers could inspect chips and exposed brackets at every scheduled oil service and perform a more complete underside review before each salt season. Adjust the interval based on the signal that matters: faster rust spread, repeated washing in brine, gravel-road use, or a vehicle that remains wet and dirty between trips. The right interval is the one that catches coating failure before steel loss, not a fixed calendar promise.
Start with one documented inspection today
First, wash the vehicle, photograph every chip and suspicious underside area, and classify each location as paint-only, surface corrosion, layered corrosion, or structural risk. Repair the clearly superficial spots only after they are dry and stable; route bubbling seams, perforation, and frame or suspension corrosion to a qualified inspection.
For Central Massachusetts owners who need more than touch-up work, Bay State Rust Prevention provides rust removal, WaxOyl corrosion protection, frame restoration, and repair planning. Start with the vehicle assessment and ask whether the appropriate next step is localized paint chip rust repair, broader rust removal, or frame work through baystaterustprevention.com.