
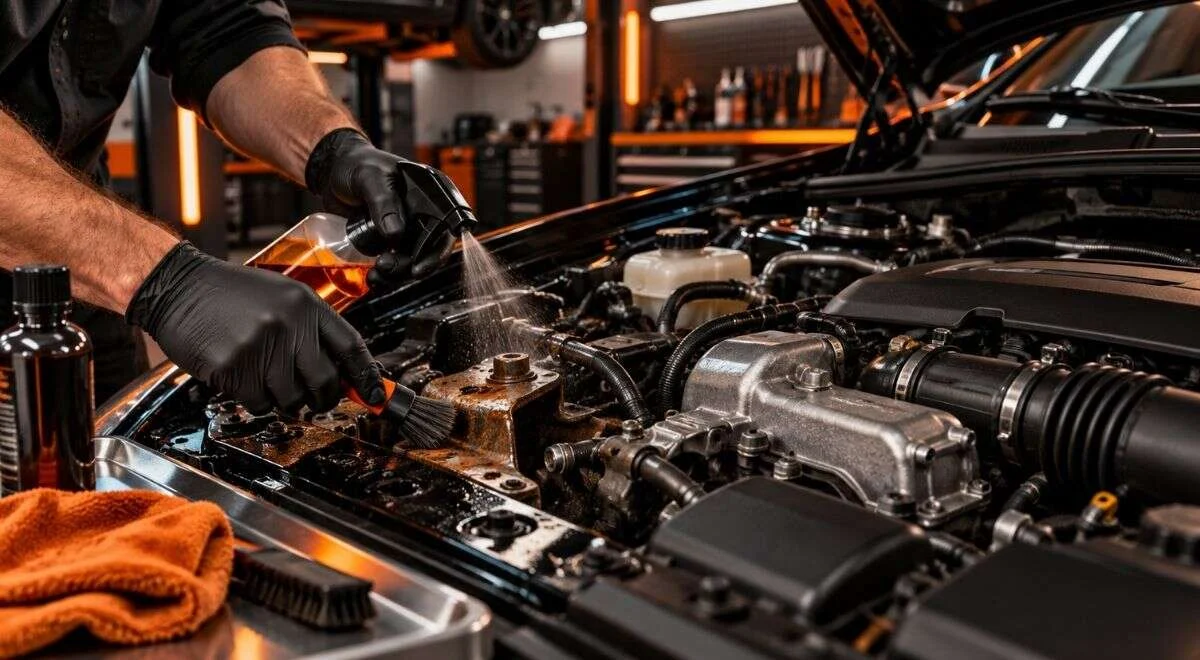
Surface rust repair starts with separating cosmetic oxidation from corrosion that has weakened the metal. For a small, solid-area spot, clean to bright metal, treat remaining oxidation, prime, paint, and protect the underside. If rust has created holes, thinned a frame, reached a suspension mount, or spread inside a boxed section, stop sanding and arrange a structural inspection before coating anything. That process can turn a flaky, spreading problem into a documented repair plan for a car, truck, classic vehicle, or fleet unit in Central Massachusetts.
Inspect the rust before choosing a repair
Rust is not a single repair category. Surface rust is usually discoloration, scale, or shallow pitting on metal that still has useful thickness. Perforation rust has opened the panel. Structural corrosion affects a frame rail, crossmember, body mount, spring hanger, steering component, or other load path. The correct treatment depends on which condition you have—not on how small the visible spot looks.
Use a visual and mechanical triage
- Wash away salt and mud, then let the area dry completely.
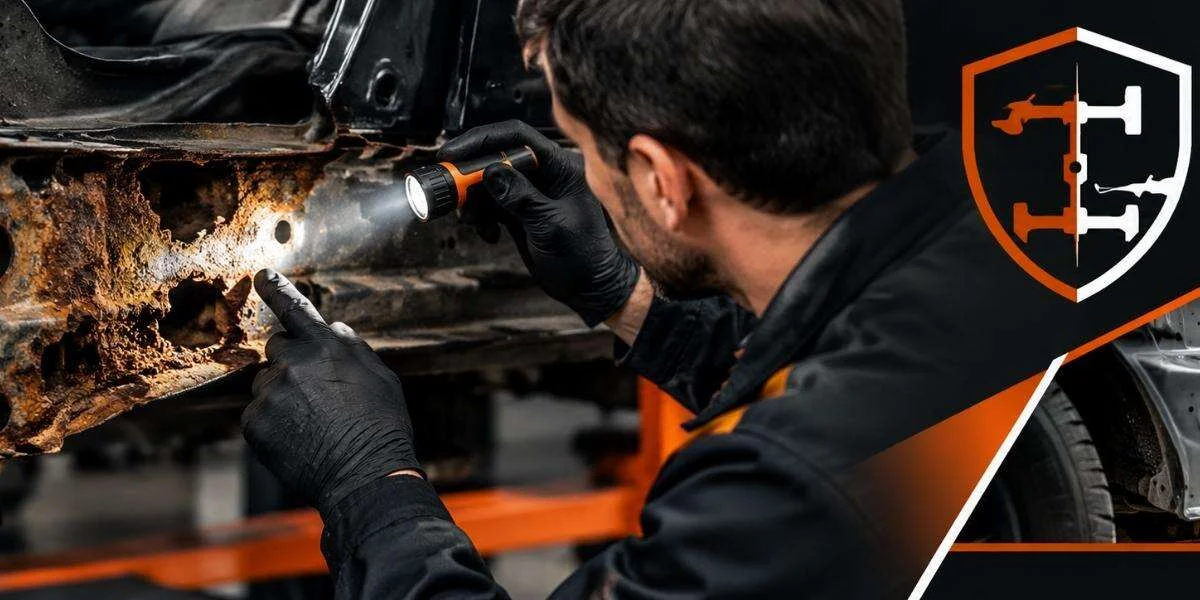
- Use bright lighting and inspect both sides of the panel or frame section.
- Probe loose scale with a pick or blunt screwdriver; do not use force that could create a false hole.
- Look for swollen seams, layered scale, cracked welds, distorted brackets, and rust trails from hidden cavities.
- Check whether the corrosion is near a brake line, fuel line, suspension mount, seatbelt anchor, or body mount.
A small bubble at the edge of a fender can be a paint-system failure, but it can also be corrosion advancing from the back side. A frame rail that looks merely brown may have deep delamination between its layers. NHTSA’s vehicle-safety resources explain why corrosion-related defects can become a safety concern rather than only a cosmetic issue; use that distinction when deciding whether a vehicle is safe to drive to a repair shop. NHTSA vehicle safety information is a useful official reference.
| Observed condition | Reasonable next decision | Do not do this |
|---|---|---|
| Light orange film, firm metal, no pitting | Clean, abrade, chemically treat if appropriate, then prime and coat | Paint over dirt, salt, or loose oxidation |
| Rough scale, shallow pits, solid edges | Remove scale mechanically and reassess the remaining thickness | Assume a converter replaces missing metal |
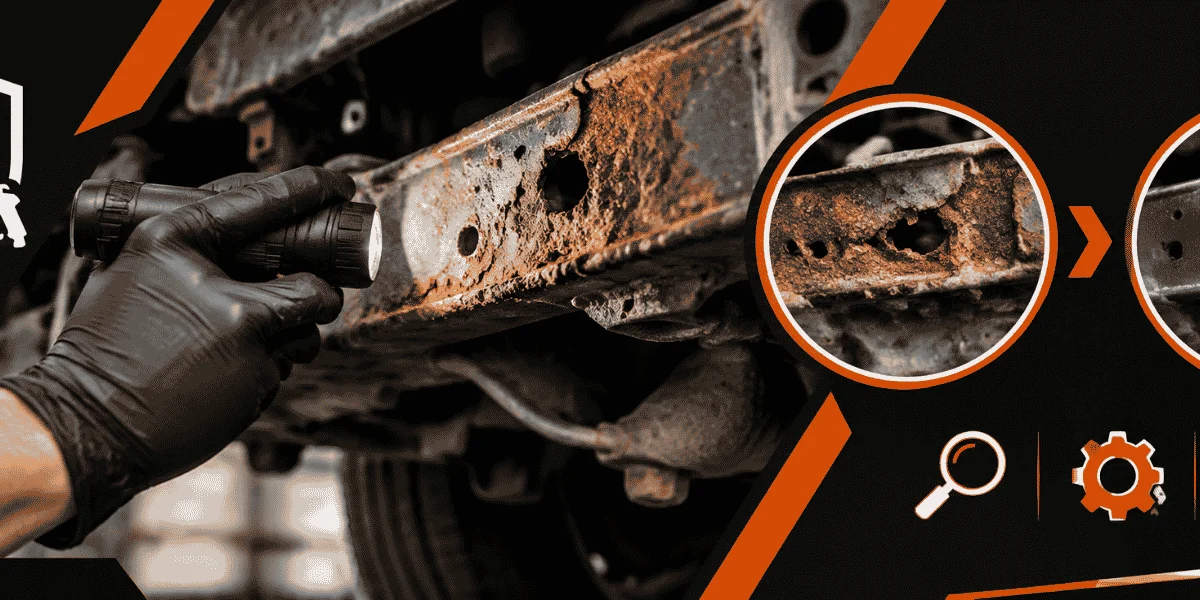
| Pinholes, holes, swollen seams, layered flakes | Obtain metal-repair or frame-repair evaluation | Seal it under rubberized coating |
| Corrosion at a mount, rail, crossmember, or suspension area | Stop and arrange structural inspection before driving or coating | Use undercoating to hide the condition |
Illustrative starting policy: treat any suspected structural rust as a professional inspection item, regardless of its apparent size. Adjust that policy when inspection reveals clean, thick metal away from load-bearing attachments; tighten it when scale is layered, access is limited, or the vehicle carries heavy loads.
Prepare the vehicle and work area
Good rust repair is mostly surface preparation. Salt, oil, old undercoating, trapped moisture, and abrasive dust can prevent a coating from bonding. On a daily driver, preparation also requires protecting brake components, electrical connectors, tires, glass, and the floor from contamination.
Clean without spreading the problem
Lift the vehicle only with equipment rated for its weight and support it at approved points. Remove wheel-well liners, shields, or trim when they block the rust boundary. Degrease first, rinse when the product requires it, and dry seams and boxed areas with controlled air. Do not blast a dirty, oily surface: it embeds contamination and makes the later inspection less reliable.
- Disconnect or shield sensitive electrical connectors near the work area.
- Cover brake rotors, pads, calipers, tires, exhaust openings, and exposed intake openings.
- Collect chips, spent abrasive, contaminated rags, and removed coating instead of washing them into a drain.
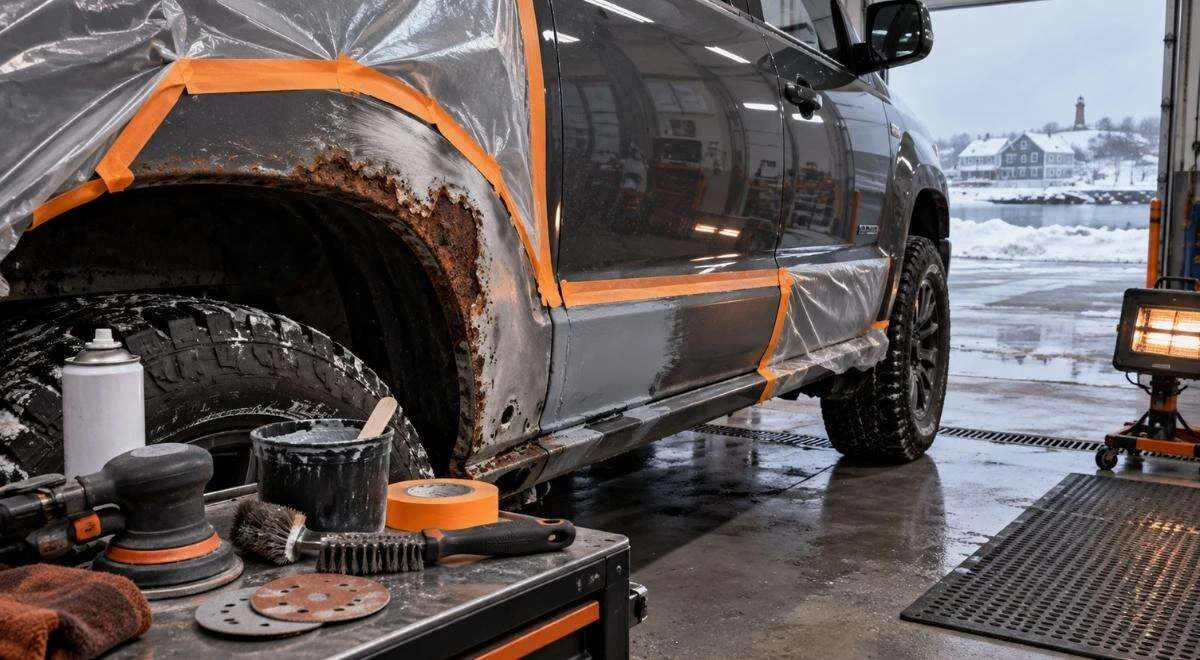
- Mark the repair boundary with removable tape before sanding so the edge does not disappear under dust.
- Photograph the condition before disassembly, especially for a classic vehicle or outsourced shop job.
Abrasive blasting creates airborne dust and can expose the operator to hazardous materials from old coatings and substrates. OSHA’s abrasive-blasting guidance covers ventilation, respiratory protection, protective clothing, and containment requirements: OSHA abrasive blasting safety. The practical consequence is simple: frame-off work belongs in a controlled setup with appropriate equipment, not beside an occupied driveway.
Do not blast blindly around seams, thin sheet metal, wiring, rubber components, or glass. A low-aggression method may be better for a body panel, while a frame removed for restoration may justify more extensive abrasive cleaning after vulnerable components are removed.
Remove corrosion until the remaining metal can be judged
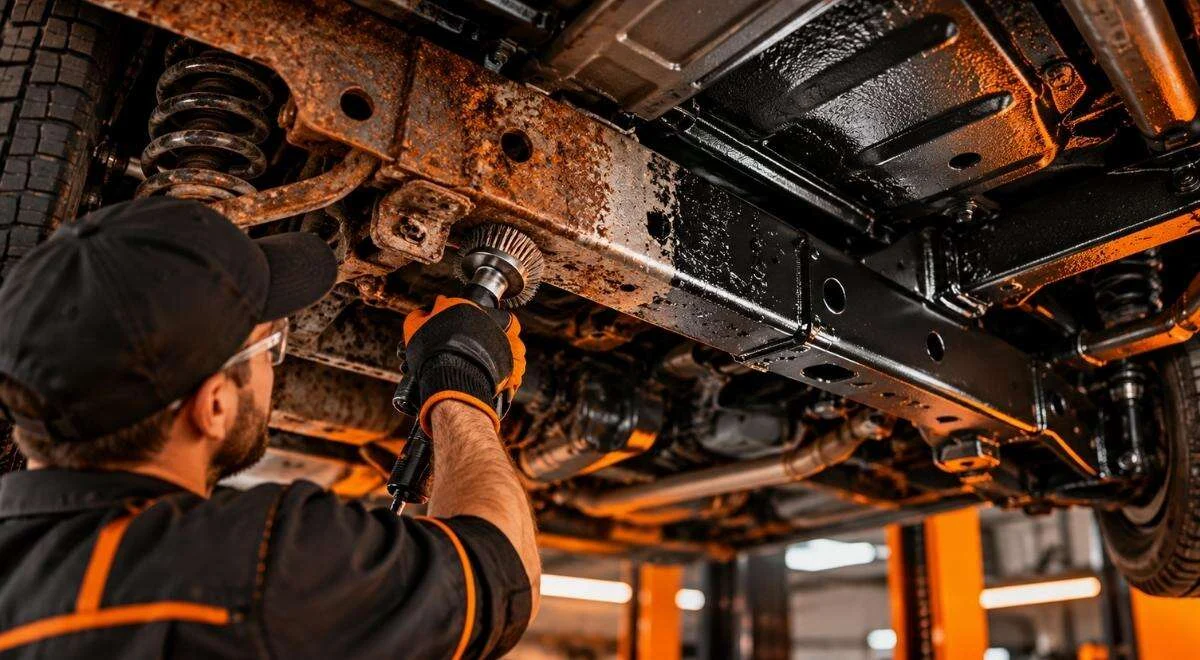
Choose the removal method according to the metal and the inspection goal. Wire wheels, abrasive discs, needle scalers, scrapers, media blasting, and careful hand sanding all have uses. The objective is not to make every surface visually uniform; it is to remove loose corrosion and old coating far enough to determine whether sound metal remains.
Match the tool to the part
- Hand tools: useful for edges, seams, and small spots where preserving metal matters more than speed.
- Rotary abrasives: effective on accessible scale, but aggressive discs can thin edges and erase evidence of pitting.
- Needle scaling: useful for heavy scale on robust frame sections; avoid delicate sheet metal.
- Abrasive blasting: appropriate for accessible components or a properly prepared frame-off project, with containment and media selected for the substrate.
- Non-abrasive cleaning: useful when dust, heat, or distortion would damage nearby parts, though it may not expose deep layered scale.
After cleaning, wipe and inspect again. A crater that remains dark at its bottom may be residual oxidation, a pit too deep to polish out, or a cavity open to the back side. If a frame section continues shedding layers, cleaning is revealing a thickness problem rather than creating one.
For a classic truck frame, for example, remove the bed and vulnerable hardware before choosing frame-off rust removal. That access lets a technician inspect the top of the rail, crossmember junctions, and body-mount areas instead of preserving rust where a shield or bed hides it.
Decide whether to treat, patch, or replace metal
Rust converter or encapsulating primer can be useful on properly prepared residual oxidation, but neither product restores lost thickness. Sheet-metal repair requires removing compromised material until a weldable edge is reached, forming a correctly fitted patch, and protecting both sides afterward. A frame repair requires a larger question: has the rail or attachment changed shape, alignment, or load capacity?
Worked example: a salt-exposed pickup
Suppose a 2014 pickup has surface scale along the outside of a rear frame rail and a swollen area near a spring hanger. Cleaning the outer face may make the rail look better, but the hanger location is a structural decision point. The correct sequence is to inspect the inner face and attachment, measure or compare the surrounding section, remove loose scale, and determine whether the hanger and rail remain sound. If there is perforation or section loss, a qualified repairer should engineer the patch or replacement—not simply fill the area with material and cover it.
For a small, non-structural body-panel spot, the sequence is different:
- Feather the paint edge and remove rust beyond the visible bubble.
- Confirm that the remaining steel is firm and free of pinholes.
- Apply the selected metal treatment according to its label and cure requirements.
- Prime, seal, paint, and protect the back side if access allows.
Never use coating as structural repair. A thick layer may conceal continuing corrosion and make a later inspection harder. If the repair is near a safety-critical attachment, documentation of the cleaned area, patch dimensions, welds, and final protection is more valuable than a smooth appearance alone.
Seal and protect the repaired surface
Once the metal is sound and clean, protection should account for water traps, stone impact, salt exposure, and future inspection. Use compatible primer, seam sealer, topcoat, cavity protection, or underbody coating according to the product instructions. The correct system varies by location: a wheel arch needs impact resistance, a boxed rail needs cavity coverage, and a visible body panel needs a paint-compatible finish.
For a Massachusetts daily driver, rust prevention undercoating should not be used to hide wet seams or active scale. Apply it only after the substrate is dry and the repair has been inspected. WaxOyl can be part of a corrosion-protection plan when selected for the location and applied over suitable preparation; it is not a substitute for removing loose rust or repairing weakened metal.
- Confirm the surface is dry, oil-free, and within the coating manufacturer’s application limits.
- Keep drain holes open in doors, rocker panels, tailgates, and boxed sections.
- Coat seams and exposed edges without creating a dam that traps water.
- Keep material away from brakes, exhaust heat sources, belts, and oxygen sensors.
- Record the products used and photograph the finished repair before reinstalling shields.
Environmental handling matters too. Used solvent, contaminated absorbents, and removed coatings may require controlled disposal rather than ordinary trash or a storm drain. EPA’s household hazardous-waste guidance explains why residents should check local disposal instructions for automotive chemicals and contaminated materials.
Verify the repair and create a maintenance plan
Verification is more than checking whether the surface looks black. Confirm that fasteners, shields, brake lines, and drain paths are correctly restored. Inspect the opposite side of repaired sections, especially where rust may have entered through a seam or cavity. On a frame repair, compare the repaired area with the original photos and retain the repair record.
Use a repeatable inspection checklist
- Is all loose scale gone from the repair boundary?
- Are there remaining holes, soft edges, or active rust trails?
- Are welds, patches, and brackets free of cracks or visible distortion?
- Are drain holes open and cavities protected without being overfilled?
- Are brake, fuel, electrical, and suspension components clean and undamaged?
- Has the vehicle been washed after winter salt exposure, including the underside?
Illustrative starting policy: inspect an underbody after the first major winter wash and again before the next salt season. Adjust the interval based on parking conditions, gravel-road use, water intrusion, fleet mileage, and whether fresh rust appears around fasteners or seams. A fleet truck that operates daily in treated roads needs a tighter inspection trigger than a summer-only collector vehicle.
For businesses and repair shops outsourcing work, ask for before-and-after photographs, the areas removed, the metal-repair method, coating products, and any locations that could not be accessed. That information helps prevent a future technician from mistaking a repaired section for original metal or repeating the same inspection from scratch.
Start with an inspection, not a coating
First, wash and dry the affected area, photograph it, and classify the corrosion as surface, perforating, or structural. If the location involves a frame, suspension mount, body mount, steering component, or a section that continues to shed layered scale, stop there and schedule an inspection before driving farther or applying undercoating.
Bay State Rust Prevention serves Worcester and Central Massachusetts with rust prevention undercoating, rust removal, frame-off sandblasting, and automotive frame repair. For a rust-damaged truck, classic vehicle, fleet unit, or restoration project, baystaterustprevention.com can help determine whether the next step is cleaning and protection or actual metal restoration.