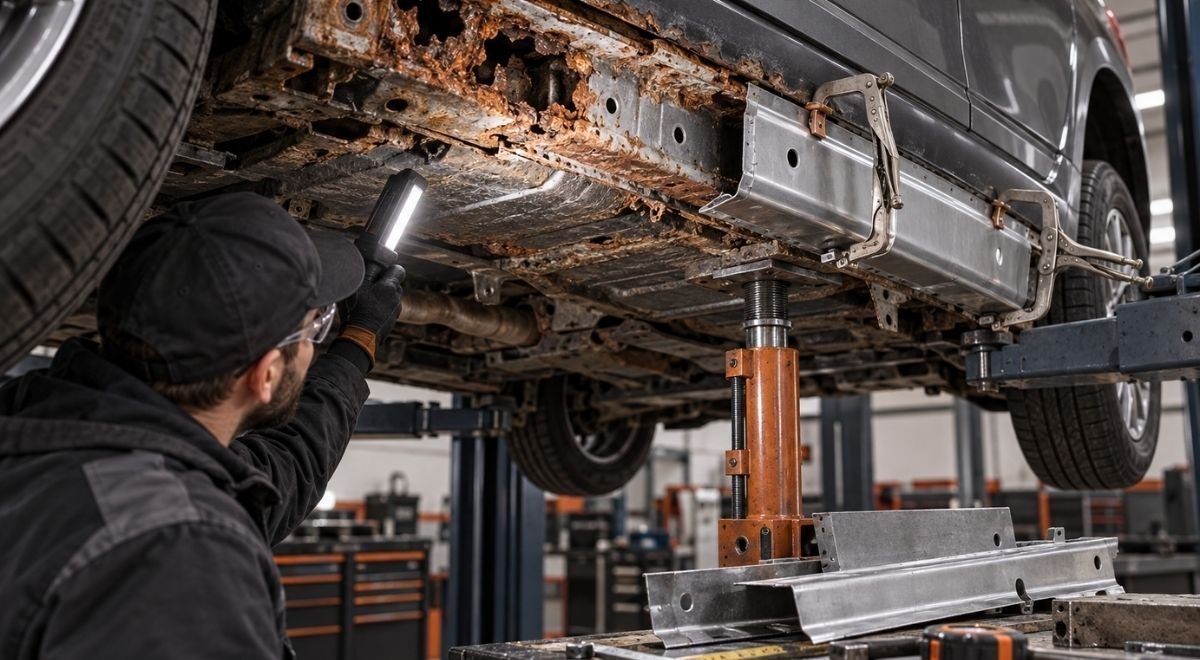
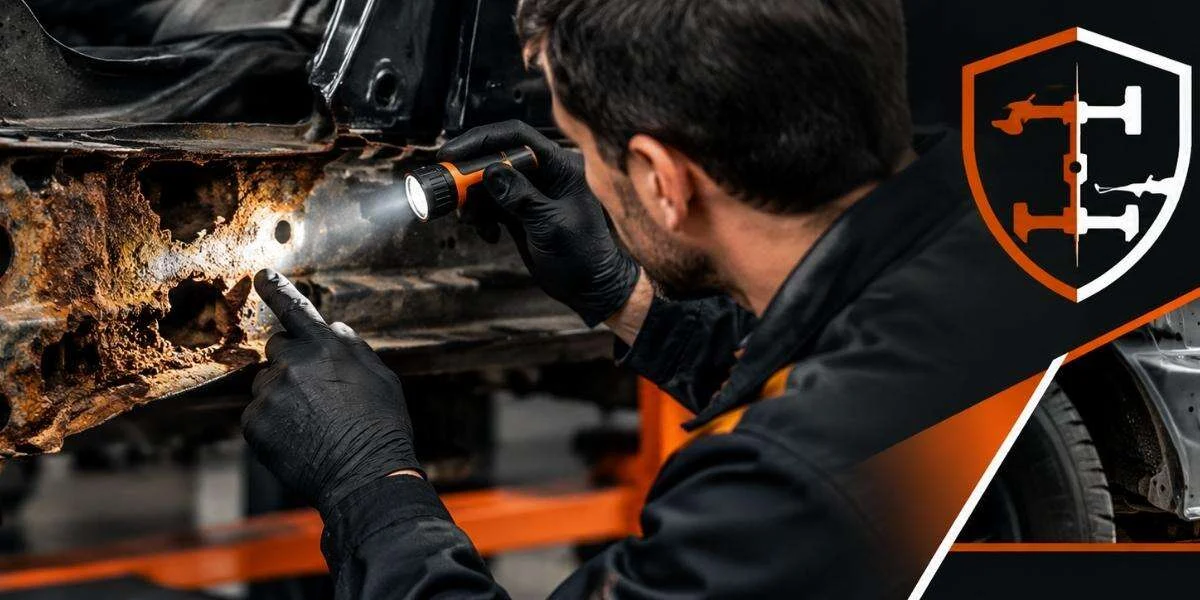
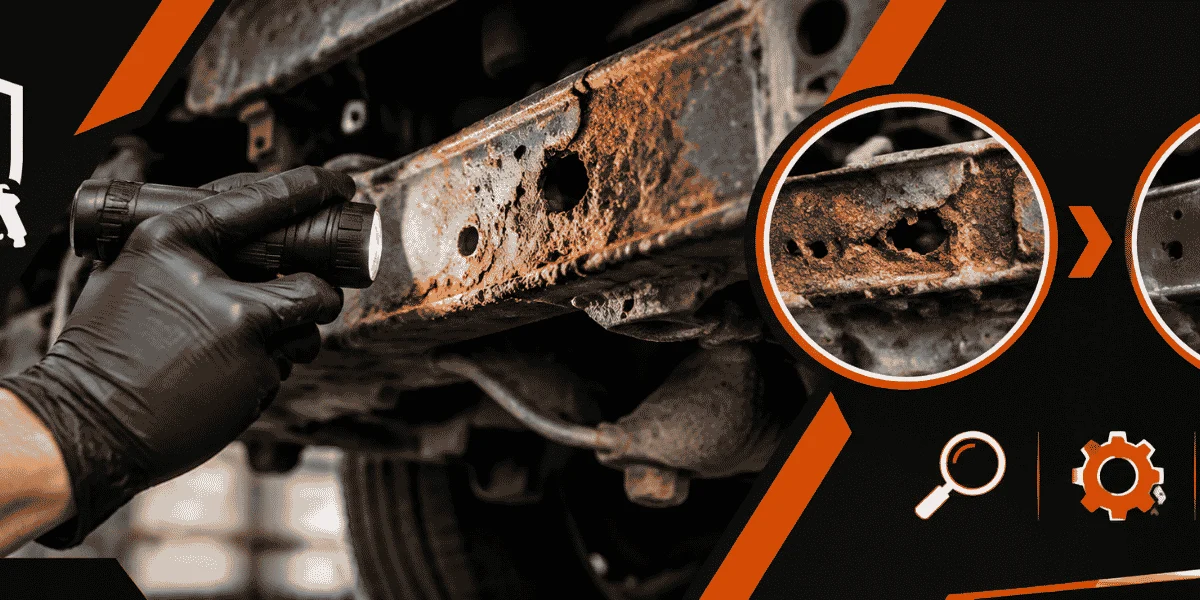
Unibody rust repair is the process of restoring corrosion-damaged areas in a vehicle whose body and structural frame are built as one engineered shell. That differs from repairing a traditional body-on-frame truck, where a separate steel frame carries much of the load beneath the body. On a unibody car, rust around a rocker panel, subframe mount, floor, strut tower, pinch weld, or suspension attachment can affect crash performance, alignment, door fit, water sealing, and long-term drivability—not merely appearance.
That distinction matters in Central Massachusetts, where winter salt, wet snow, road spray, and trapped moisture work into seams and boxed sections. A blister on the outside of a quarter panel may be cosmetic. A soft jack point or perforated suspension mounting area may indicate corrosion in a load path. The correct repair begins by identifying which kind of steel has been lost, what loads the area carries, and whether enough sound metal remains to make a durable repair.
What makes a unibody different from a separate frame?
A body-on-frame vehicle has a distinct chassis frame, usually made from rails and crossmembers, with the body mounted above it. A unibody vehicle uses stamped panels, reinforcements, rails, pillars, floor sections, and crossmembers joined into a single structural assembly. Some modern vehicles also use aluminum or ultra-high-strength steel in selected areas, but the repair principle remains the same: the surrounding structure is part of the vehicle’s load path.
Structural panels are not interchangeable with cosmetic panels
Outer door skins, fenders, and quarter-panel skins primarily control appearance and weather protection. Rocker reinforcements, floor rails, pillars, strut towers, seat mounts, suspension mounts, and bulkheads can transfer loads or maintain the shape of the passenger compartment. A repair that looks smooth from the outside can still be inadequate if rust remains behind the visible skin.
For example, corrosion at the bottom edge of a front fender may be limited to the fender itself. Corrosion at the adjacent rocker’s pinch weld may affect the designated lifting point and the rocker’s resistance to bending. Corrosion around a rear suspension mount may change the geometry of the suspension or allow a mount to move under braking and cornering.
Surface rust is not the same as section loss. Surface rust changes the color and texture of steel but may leave the original thickness intact. Scale rust lifts layers from the surface and can hide pits. Perforation means a hole has formed, while structural section loss can make a part unsafe before a hole is obvious.
- Cosmetic corrosion: paint bubbling on an outer panel with solid metal behind it.
- Localized pitting: shallow or scattered metal loss that may require cleaning, thickness assessment, and protective coating.
- Perforation: a through-hole in a panel, seam, or boxed section.
- Structural corrosion: thinning, cracking, distortion, or separation around a load-bearing attachment.
- Hidden corrosion: rust inside a rocker, floor cavity, boxed rail, or overlap seam that is not visible until access is created.
Federal vehicle-safety information is useful when corrosion has affected restraint, steering, suspension, or braking components. The National Highway Traffic Safety Administration provides recall and safety-defect lookup tools at NHTSA’s recall page; a recall search does not diagnose rust, but it can reveal a separate known safety issue before repair decisions are made.
Why the word “frame” can cause confusion
Owners often call every lower structural part a frame. That is understandable, but a technician needs more precision. A unibody may contain front and rear rails, subframes, subframe brackets, rocker reinforcements, floor crossmembers, and suspension towers. Some subframes bolt to the body and can be replaced separately. Other rusted sections are welded into the body shell and require controlled cutting and replacement.
Ask whether the damaged part is:
- an easily removable bolt-on subframe;
- a welded body section that contributes to the shell’s strength;
- a suspension or steering attachment point;
- a jack point or pinch weld used during lifting;
- an exterior panel with little structural responsibility; or
- a cavity that requires internal cleaning and corrosion protection after repair.
Why rust in a unibody becomes a safety and value issue
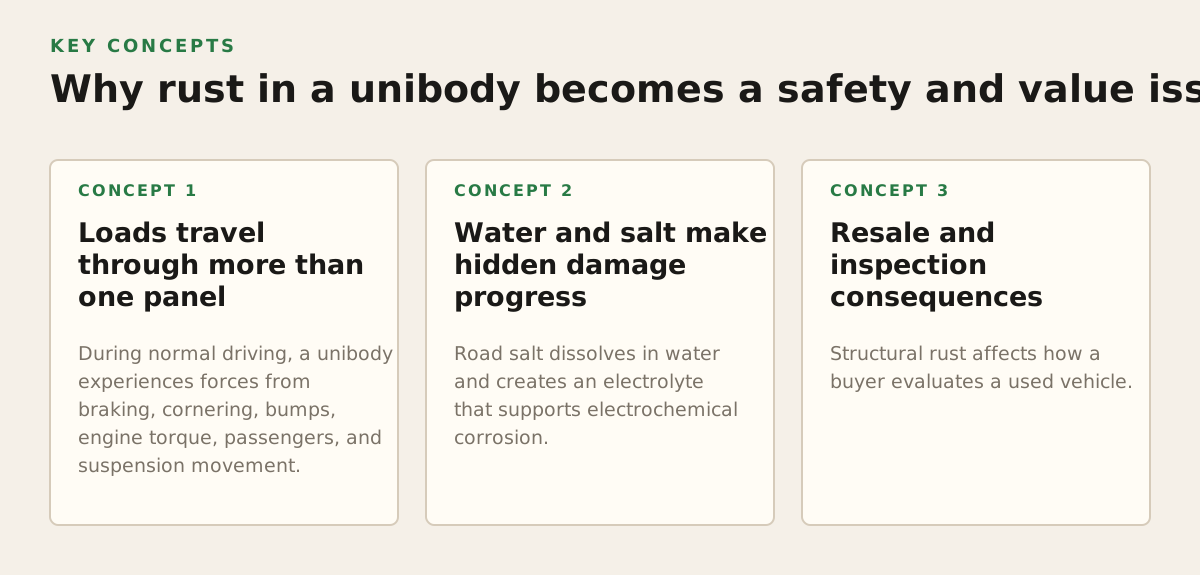
Rust creates trouble through several mechanisms at once. It removes steel, expands at seams, breaks coatings, holds moisture, and allows salt solution to travel farther than the original visible damage. When corrosion affects a unibody attachment, the problem is not simply that the metal is thinner. The shape, stiffness, and continuity of the structure may also have changed.
Loads travel through more than one panel
During normal driving, a unibody experiences forces from braking, cornering, bumps, engine torque, passengers, and suspension movement. Those forces are distributed through overlapping panels and welded joints. If one panel has lost material, neighboring panels may carry loads they were not intended to carry alone. A cracked seam or detached reinforcement can therefore matter even when the remaining outer metal appears substantial.
Corrosion near a suspension mount deserves particular attention. The mount must hold alignment under changing loads. Rust can reduce the effective thickness around a bolt hole, enlarge the hole, or separate a bracket from the floor or rail. The driver may notice tire wear, a clunk, steering pull, or altered alignment, but those symptoms are not proof of the cause. Inspection has to connect the symptom to the actual structure.
Water and salt make hidden damage progress
Road salt dissolves in water and creates an electrolyte that supports electrochemical corrosion. The solution enters seams and remains there longer when dirt blocks drainage. A rocker panel can rust from the inside when drain holes clog, while a floor can corrode from above because wet carpeting or an unsealed leak keeps the metal damp.
The Federal Highway Administration discusses the use and corrosion implications of winter maintenance chemicals in its technical material on highway deicing, including chloride exposure and its effects on infrastructure: FHWA’s winter maintenance and deicing research. Vehicle corrosion is not identical to bridge or highway corrosion, but the practical lesson is relevant: repeated chloride exposure combined with moisture is a system problem, not a one-time stain.
Rust often advances from the least visible side. A bubbling seam may be the final stage of corrosion that began between overlapping layers. Grinding only the exposed surface can leave an active edge underneath the paint. Applying undercoating over loose scale can seal in moisture and make later inspection more difficult.
Resale and inspection consequences
Structural rust affects how a buyer evaluates a used vehicle. A buyer may accept repaired cosmetic rust if the work is documented and the underlying metal is sound. They should be much more cautious about unverified repairs near suspension mounts, seatbelt anchors, steering components, floor rails, and lifting points.
Before buying a rust-prone vehicle, request:
- photographs taken before metal was removed or repaired;
- the locations and approximate dimensions of replaced sections;
- information about whether the repair was welded, bolted, or patched;
- evidence that the inside of boxed sections was cleaned and protected;
- an inspection of the opposite side and nearby seams; and
- confirmation that the vehicle can be lifted safely at approved points.
A clean-looking underbody is not automatically a sound underbody. Thick coatings can obscure scale, previous patches, or drain holes. A careful inspection may require removing loose coating, lifting interior trim, examining the opposite side, or using controlled access rather than relying on a flashlight from below.
How professional Unibody Rust Repair is evaluated
A durable repair starts with diagnosis, not welding. The goal is to establish the boundary between sound steel and compromised steel, identify the source of moisture, and understand whether the damaged area connects to a calibrated crash or suspension structure.
1. Inspect the whole corrosion pathway
Begin with the vehicle on a lift or supported in a manner that does not depend on the questionable area. Inspect the exterior, underside, interior floor, wheel wells, seams, drain holes, and adjacent components. Rust at one end of a rocker may continue inside the cavity. Rust around a windshield or sunroof drain may have a different source than salt intrusion from below.
The inspection should document:
- the visible location and approximate size of each affected area;
- the direction from which moisture likely entered;
- nearby wiring, fuel lines, brake lines, airbags, and heat-sensitive components;
- the condition of factory seams, flanges, and reinforcements;
- the opposite side of the vehicle for comparison; and
- any deformation, cracking, loose brackets, or alignment symptoms.
A small inspection opening can reveal whether the reverse side is clean, scaled, or already perforated. That opening must be planned so it does not cut through a hidden line, wiring harness, reinforcement, or airbag component.
2. Separate loose scale from usable steel
Cleaning can involve scraping, brushing, mechanical abrasion, media blasting, or carefully controlled abrasive removal. The method depends on access, metal thickness, nearby components, and the amount of contamination. Heavy blasting can distort thin sheet metal or drive abrasive into cavities, while light cleaning may leave scale that prevents an honest assessment.
When abrasive blasting is used, the operator must control dust, visibility, respiratory exposure, noise, and spent media. The Occupational Safety and Health Administration’s abrasive blasting guidance covers hazards and protective measures for this work at OSHA’s abrasive blasting safety page. That is one reason frame-off or extensive underside work should be planned as a controlled repair operation rather than treated as casual driveway cleaning.
3. Decide whether to preserve, patch, section, or replace
The decision depends on the remaining steel and the function of the part. A small non-structural perforation may be addressed by cutting back to sound metal and welding in a correctly fitted section. A long rocker reinforcement, distorted rail, or compromised suspension mount may require a larger replacement section or a manufacturer-approved component.
Cutting back to sound metal is essential. Welding over a thin rust edge produces a weak perimeter and often traps corrosion between layers. The replacement piece should fit closely, follow the original shape, and restore the intended load path. A flat plate laid over a curved or boxed member may add thickness in one location while leaving the original rust active underneath.
Illustrative examples—not universal repair thresholds—show why location matters:
- A 40 mm bubbling area on an outer rear quarter skin may be a cosmetic panel repair if the inner wheelhouse and rocker are solid.
- A 75 mm perforation at a jack point may require removal of surrounding scale, inspection of the rocker reinforcement, and replacement of more than the visible hole.
- A 120 mm rusted section around a suspension bracket may require removal of the bracket, dimensional checks, and restoration of the bracket’s original position—not simply a cover plate.
- A 300 mm deteriorated rocker cavity may need access from multiple sides, internal cleaning, drain restoration, welded section replacement, and cavity protection.
These numbers are illustrative examples for explaining scope, not a universal rule. The vehicle’s construction, steel grade, damage location, and repair information control the decision.
4. Control heat, alignment, and contamination
Welding introduces heat into thin sheet metal and can cause distortion, burn-through, coating contamination, or damage to nearby wiring and interior materials. A structural repair may require measured fit-up, staged welds, temporary bracing, or a sequence that maintains door gaps and suspension reference points.
Before welding, remove flammable contamination and shield components that cannot be removed. After welding, inspect the welds for incomplete fusion, porosity, undercut, cracks, and missed sections. A bead that looks large is not automatically strong; a clean joint with appropriate penetration and correct fit-up matters more than appearance.
Repair information is vehicle-specific. Modern vehicles may use different steel strengths in adjacent panels, and some areas are designed to deform in a controlled way during a crash. Do not assume that a repair method suitable for an older mild-steel rocker is suitable for a newer high-strength structural member.
Where common rust repairs break down
Many disappointing repairs fail for predictable reasons. The work may stop at the visible edge, use the wrong material, block drainage, or apply protection before the structure is actually sound. Understanding these failure modes helps a vehicle owner evaluate an estimate and helps a repair shop decide when to outsource specialized corrosion work.
Covering rust instead of removing it
A patch over loose scale can look acceptable after paint and coating are applied. The original corrosion remains between the layers, however, and moisture can continue to move through seams. Expanding rust may eventually lift the patch or push it away from the surrounding panel.
Warning signs include:
- fresh coating without photographs of cleaned metal;
- patch edges that follow a rust bubble instead of a clean cut;
- large quantities of seam sealer hiding the repair perimeter;
- drain holes covered by coating or weld spatter; and
- an estimate that lists “undercoat” but does not describe metal repair.
Using fiberglass, filler, or thin sheet as structural steel
Body filler and fiberglass can restore shape on a cosmetic panel, but they do not recreate a load-bearing steel section. A thin overlay may also conceal continued rust and create a moisture pocket. Structural repairs need a properly fitted metal section joined to sound metal using an appropriate method for that vehicle and location.
That does not mean every visible rust mark requires cutting. It means the repair material and process must match the function of the part. A cosmetic quarter-panel finish and a suspension-mount restoration are different jobs with different inspection requirements.
Ignoring the source of moisture
Repairing a floor without fixing a leaking windshield, door seal, sunroof drain, heater case, or windshield cowl can restart corrosion from the inside. Likewise, repairing a rocker without clearing blocked drains leaves the new section in the same wet environment as the old one.
Trace moisture by inspecting higher areas, looking for dirt tracks, checking drain paths, and examining interior dampness. Do not rely on a hose test that floods the vehicle indiscriminately. Controlled testing is easier to interpret and less likely to introduce a new problem.
Protecting the outside but not the cavity
Paint and underbody coating protect exposed surfaces, but boxed sections need access to their inner surfaces. After welding, the repair may need seam sealing where appropriate, compatible primer and paint, and a cavity wax or corrosion-protection material that can reach the internal steel. Protection must not block required drains or trap water against an unprepared surface.
For vehicles that are structurally sound but regularly exposed to Massachusetts road salt, a planned rust prevention undercoating treatment can be part of the maintenance strategy. It is not a substitute for removing active scale or repairing weakened metal; it is most useful after the underlying surfaces, seams, and drainage paths have been addressed.
How practitioners apply the repair and corrosion-protection plan
A practical repair plan should tell the owner what will happen in sequence and where uncertainty remains. It should also distinguish a safety-critical repair from optional cosmetic restoration. This is especially important for fleets, restoration shops, and owners of vehicles that are too valuable or too specialized to replace casually.
Phase one: establish a safe baseline
Record the vehicle identification, mileage, visible rust locations, symptoms, and any prior repairs. Photograph the underside before cleaning. Confirm whether there are open recalls or safety campaigns using the vehicle identification number through NHTSA’s official lookup tool. Recall information does not replace a structural inspection, but it can change the order in which safety concerns are handled.
For a fleet, record the same locations on every vehicle. A repeated rust pattern near rear doors, step brackets, battery trays, or body mounts may point to a design, washing, loading, or drainage issue. Consistent records make it easier to decide whether to repair one vehicle, revise washing practices, or establish a seasonal inspection policy.
Phase two: expose and measure the real damage
Remove loose coating and corrosion until the repair boundary is visible. Where access is limited, create only the openings needed to inspect the inner structure. Measure reference points before cutting if the area affects a suspension mount, door opening, pillar, rail, or subframe attachment.
Do not use the lift point being repaired as the only support point. Support the vehicle according to a safe plan that does not transfer its weight through weakened metal. Disconnect, shield, or remove nearby components when heat, sparks, abrasive media, or chemicals could damage them.
Phase three: restore the section and its geometry
Cut out compromised metal with a controlled perimeter that reaches sound steel. Prepare replacement material that matches the original shape and function. Recreate flanges, bends, drain paths, brackets, and reinforcement relationships rather than merely filling the opening.
For a structural area, verify alignment before final welding. Doors should retain appropriate gaps, suspension reference points should remain where intended, and brackets should not be pulled into a new position by weld shrinkage. A restoration shop may use jigs, measurements, or manufacturer repair dimensions when the affected area is part of a larger structural assembly.
After joining the metal, inspect both sides where possible. Remove weld residue and sharp edges, then apply compatible corrosion protection in the correct sequence. Seam sealer belongs on appropriate joints after the surface is prepared; it should not be used as a substitute for a sound weld or to conceal an unfinished perimeter.
Phase four: protect, document, and schedule follow-up
Protection should include exposed surfaces and accessible cavities, with drainage preserved. Products must be compatible with the primer, paint, seam sealer, and future inspection needs. A soft wax-style cavity product may be appropriate inside a protected section, while a high-build coating may be more suitable for an exposed underside—but the choice depends on the surface and repair system.
Document the finished work with photographs of the repair before coatings hide it. Note which areas were replaced, which were cleaned and retained, where protection was applied, and which areas remain too corroded for safe use. That record helps with future inspections and gives a buyer or another shop a useful repair history.
A maintenance schedule is particularly valuable for vehicles driven through winter. An illustrative starting policy—not a universal benchmark—could include an underside inspection before winter, a rinse that reaches wheel wells and drain areas after salt exposure, and a spring inspection for new bubbling, damaged coating, or blocked drains. The correct interval depends on mileage, storage, washing access, vehicle design, and how much existing corrosion remains.
For extensive corrosion, access and cleaning can determine the quality of the repair. A shop handling a restoration project may recommend frame-off rust removal when ordinary underside cleaning cannot expose the structure adequately. That level of work is different from applying a protective coating to an already sound vehicle.
Choosing the right scope for the vehicle
Repair is usually most defensible when the vehicle has a sound drivetrain, meaningful remaining value, unusual specifications, sentimental importance, or a body that can be restored without chasing corrosion through every major structure. Replacement may be more practical when rust affects multiple suspension attachments, both sides of the shell, pillars, floor rails, and hidden cavities at the same time.
Ask for a written distinction between:
- areas that are structurally unsafe now;
- areas that are repairable but likely to spread;
- cosmetic areas that can wait;
- coatings or protection that should follow metal repair; and
- conditions that could expand the scope after cleaning.
For Central Massachusetts owners, the most reliable approach is to treat structural corrosion as a metalwork and inspection problem first, then a coating problem. Bay State Rust Prevention can evaluate rust-damaged vehicle structures, perform metal restoration and frame-related work, and apply WaxOyl-based corrosion protection where appropriate. See baystaterustprevention.com for rust prevention, rust removal, and repair options suited to vehicles operating in the region.