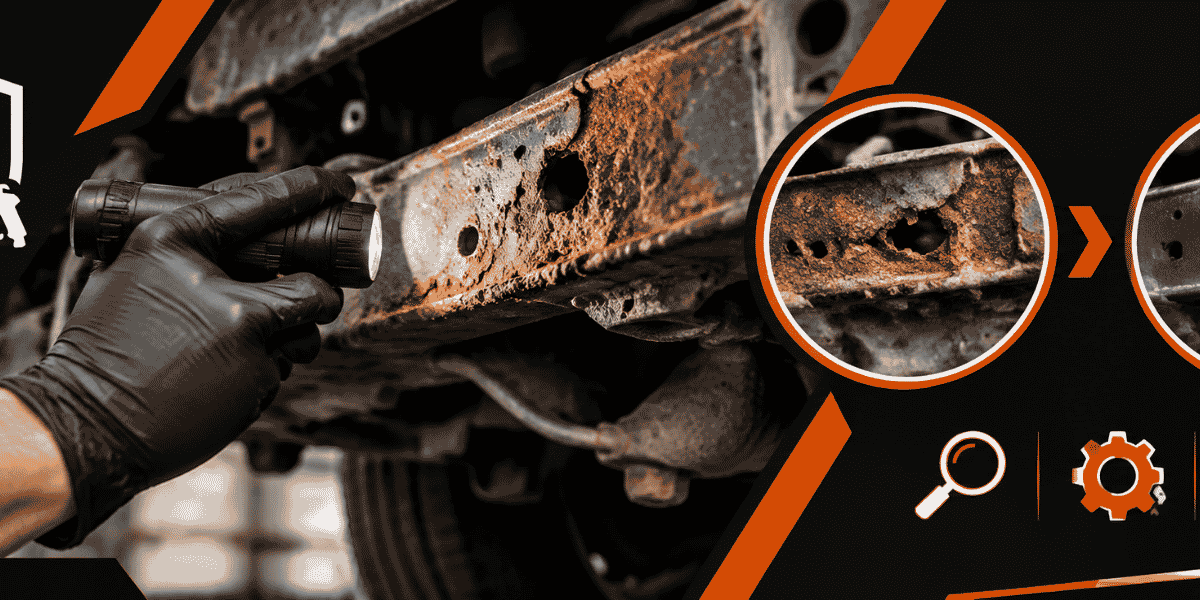
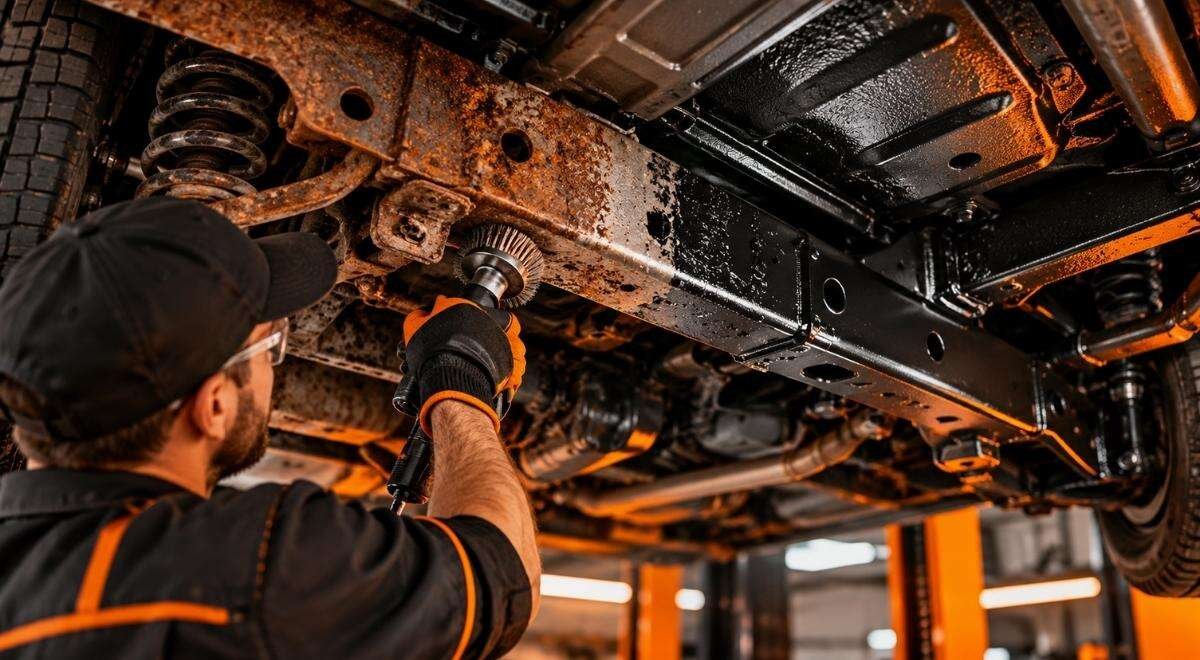
Subframe rust repair is not a cosmetic project. The useful outcome is a documented decision: determine whether corrosion is surface-level, repairable, or unsafe to treat without replacement; prepare the metal correctly; and leave the vehicle with a realistic corrosion-prevention plan. That process matters especially in Central Massachusetts, where winter road treatment can leave salt residue in seams, boxed sections, brackets, and drain areas long after the pavement looks dry.
This guide is for owners deciding what to do with a salt-damaged car, truck, classic vehicle, or fleet unit. It also applies to repair shops and restoration businesses that need a practical way to triage outsourced rust removal. Bay State Rust Prevention provides rust prevention undercoating, rust removal, frame-off sandblasting, and frame repair for Worcester and Central Massachusetts. Ask about subframe scope before authorizing work: a subframe is a particular structural assembly, and its condition, construction, and required repair method must be evaluated rather than assumed to fit every frame-repair service.
Triage the corrosion before choosing a repair
Separate surface rust from structural loss
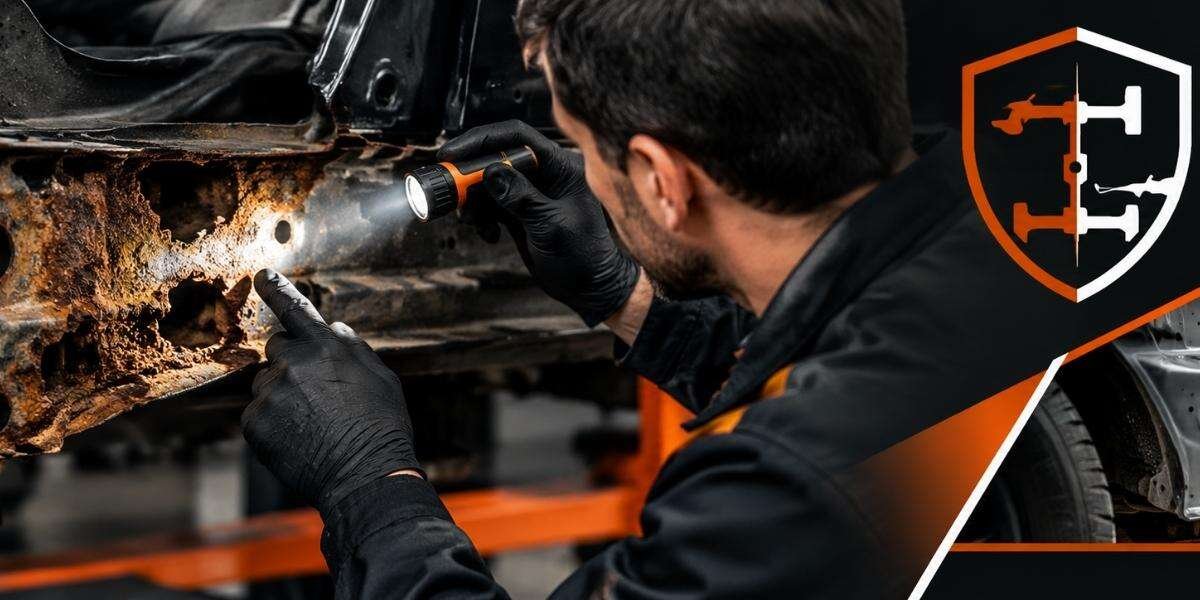
Begin with the vehicle safely supported and the affected area visible. Dirt, undercoating, oil, and scale can make a sound part look worse—or hide a perforation. A visual inspection through a wheel opening is useful for screening, but it is not enough to approve a structural repair.
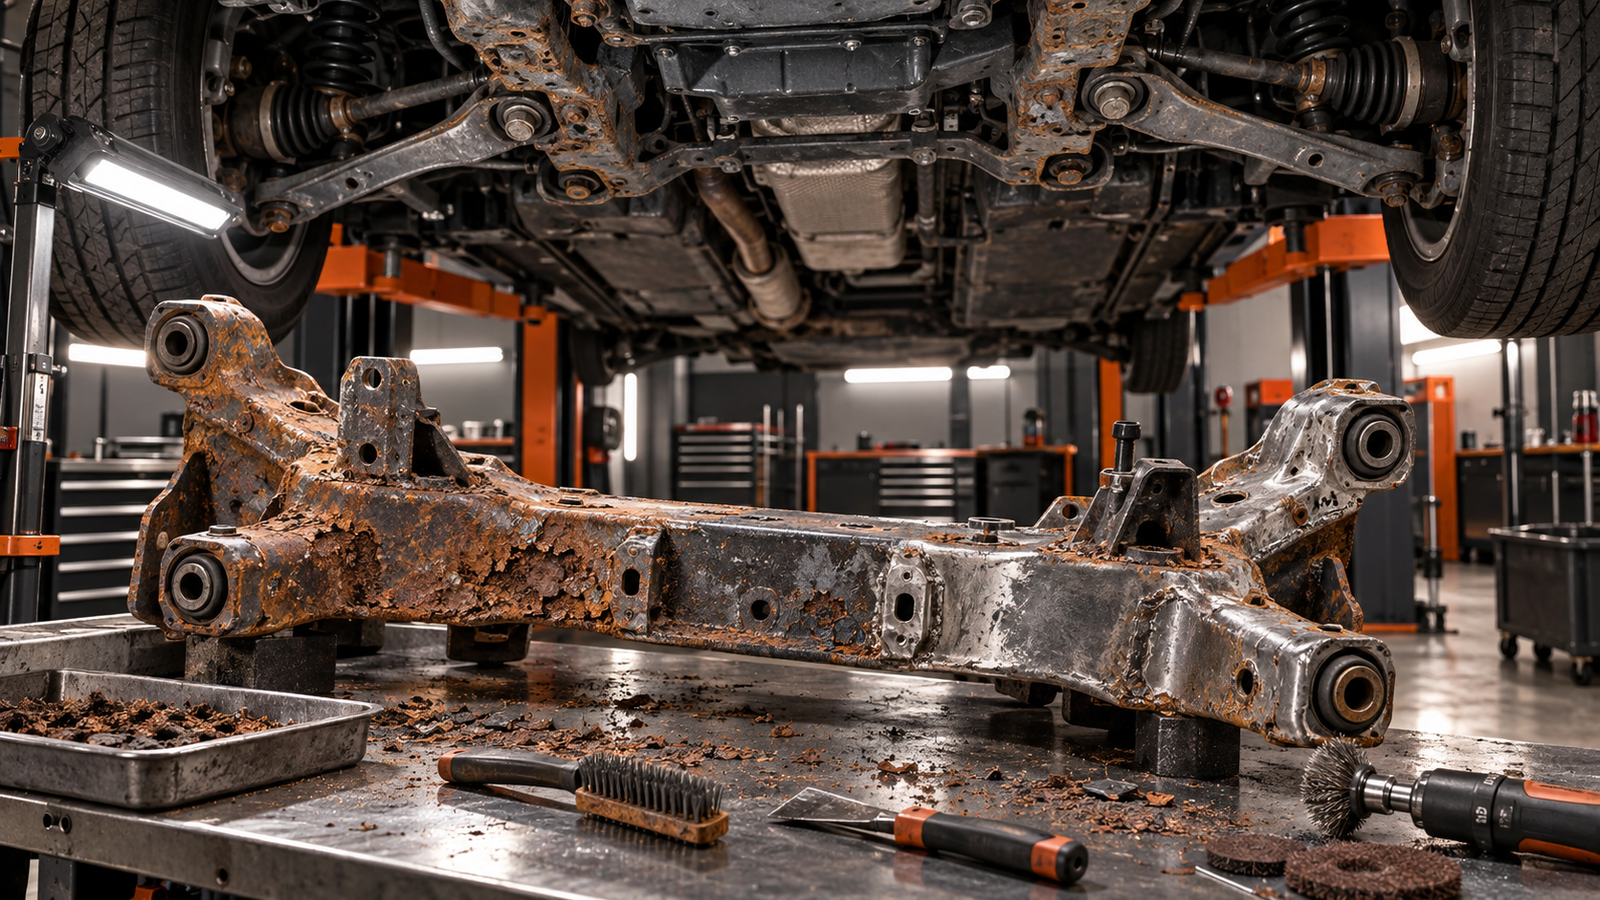
Surface oxidation usually appears as discoloration, light scale, or a rough film with the original metal shape still intact. More serious corrosion can produce layered scale, swelling at seams, holes, split weld flanges, distorted mounting points, or a section that has lost its original profile. Loss of shape is more important than rust color. A dark brown surface is not automatically unsafe, and a black-painted part is not automatically sound.
Use the following first-pass checklist without scraping aggressively into a load-bearing area:
- Record the vehicle identification number, mileage, location, and whether the vehicle is driven in winter.
- Look for rust around suspension mounts, steering mounts, subframe bolts, crossmembers, and body-to-frame attachment points.
- Check whether a drain hole is blocked by mud, scale, or old coating.
- Look for cracks, buckling, separated seams, elongated bolt holes, or a mount that no longer sits square.
- Note whether corrosion is isolated or appears on several interconnected components.
- Photograph the area before washing, scraping, or removing any coating.
Identify the red flags that change the job
A perforation in an open, nonstructural bracket is a different problem from perforation at a control-arm mount. The same amount of visible rust can have very different consequences depending on load path and geometry. Do not rely on a generic “percentage of rust” rule; use the vehicle’s construction and the location of the damaged metal.
Pause normal driving and obtain a qualified structural assessment when you see:
- A loose, cracked, or visibly displaced suspension or steering mounting point.
- A subframe or crossmember that contacts another component because its shape has collapsed.
- Metal tearing around a fastener, enlarged bolt holes, or missing sections at a mount.
- Fresh movement, clunking, pulling, uneven tire wear, or changed steering after an impact or repair.
- Brake, fuel, electrical, or air-conditioning lines trapped against a heavily corroded area.
For a 2026 Massachusetts vehicle, the official state inspection information is a useful reminder that inspection is a safety screening process, not a substitute for a complete restoration plan; review the current requirements at Mass.gov’s Massachusetts Vehicle Check information. A passing inspection does not prove that every enclosed cavity has been cleaned or that future corrosion has been stopped.
Document the damage and confirm what assembly is involved
Map the load path, not just the visible hole
“Subframe” can mean different things depending on the vehicle. Some vehicles use a removable front or rear cradle. Others use a welded crossmember, a bolt-on support, or a structural section integrated into the body. Before requesting a quote, identify the manufacturer’s name for the part and whether it carries suspension, steering, engine, differential, or body loads.
Use the service manual, parts catalog, or a trusted repair professional to confirm:
- Whether the damaged part is removable or welded into the body structure.
- Which suspension and drivetrain loads pass through it.
- Whether replacement alignment shims, spacers, braces, or one-time fasteners are involved.
- Where factory seams, drain holes, and access openings are located.
- Whether a related component is also corroded and would undermine a repair.
Photograph before and after every major step. Take wide images that establish location, medium images showing the surrounding assembly, and close images with a ruler or other scale. Record the vehicle’s ride height, alignment symptoms, warning lights, and any noises before disassembly. For a fleet, add the unit number and operating route so the repair history can be connected to exposure.
Ask the right scope question early
Bay State Rust Prevention’s supplied service scope includes frame repair and restoration of rust-damaged vehicle frames and components. That does not establish that every subframe design, mount repair, welding procedure, or replacement operation is offered. Ask whether the specific subframe and damage pattern fit the shop’s confirmed scope before presenting it as a subframe repair job. Send clear photographs, the year and model, the location of the damage, and whether the component is removable.
A useful inquiry includes these details:
- “Is this a removable front or rear subframe, or part of the body structure?”
- “Is the damage at a suspension, steering, drivetrain, or body mount?”
- “Is the part already removed, or would removal be required?”
- “Do you evaluate the surrounding frame and components for related corrosion?”
- “Is the recommended outcome cleaning and protection, metal repair, or replacement?”
That conversation prevents a common failure: sending a shop photographs of a rust hole without explaining that the hole sits beside a control-arm mount. Location and function determine scope; the word “subframe” alone does not.
Choose repair, replacement, or postponement using evidence
Use a decision record instead of a guess
The choice is not simply “rusty” versus “not rusty.” It is a comparison of remaining sound metal, access, geometry, repairability, part availability, and the consequences of disturbing adjacent fasteners. A repair that restores appearance but leaves a weakened mounting area is not a successful structural outcome.
| Observed condition | Evidence to collect | Likely decision direction | Question to resolve |
|---|---|---|---|
| Light oxidation with intact shape and no mount damage | Cleaned inspection area, photographs, sound-metal check | Rust removal and corrosion protection may be appropriate | Can all surfaces, seams, and drain paths be reached? |
| Deep scale but continuous metal around a noncritical section | Thickness and profile assessment after cleaning | Professional evaluation for localized repair or treatment | Will cleaning reveal perforation or loss of section? |
| Perforation near a suspension, steering, drivetrain, or body mount | Mount geometry, fastener condition, surrounding metal, alignment symptoms | Structural repair or replacement assessment | Is the subframe design and repair method within the confirmed shop scope? |
| Collapsed section, torn mount, distorted geometry, or widespread thinning | Measurements, component comparison, service information | Replacement or a specialist structural plan | Can the original load path and alignment be restored reliably? |
| Rust hidden beneath thick coating or packed debris | Controlled removal and reinspection | Defer final pricing or approval until metal is visible | What damage is concealed beneath the coating? |
The table is a decision artifact, not a set of universal thresholds. These are illustrative starting policies: for example, a fleet might require a second review whenever corrosion reaches a mount, while a private owner might schedule a specialist inspection at the first sign of structural distortion. Adjust the policy when inspection reveals movement, thinning, cracks, or geometry changes. A numeric rule such as “repair anything under a certain hole size” is unsafe without knowing the section, load, and vehicle design.
Work through one realistic example
Consider a 2014 all-wheel-drive crossover used for a 2026 Worcester-area commute. The owner sees bubbling paint near the rear subframe and asks for undercoating. Photos show scale around one mounting ear, a blocked drain opening, and a small gap at a seam. The correct next step is not to cover the area.
- Identify whether the rear assembly is a removable subframe and locate the suspension loads carried by the affected ear.
- Check for altered alignment, uneven tire wear, looseness, or noise.
- Remove enough contamination and loose scale to determine whether the metal remains continuous.
- Measure or compare the mount geometry before deciding whether cleaning and protection are sufficient.
- Ask Bay State whether this specific subframe condition fits its confirmed frame-repair scope, or whether the owner needs a replacement or another structural specialist.
If cleaning reveals intact metal away from the mount, corrosion removal and protection may be sensible. If the ear is split or the bolt hole has elongated, an attractive coating would not solve the load-path problem. Do not use undercoating to postpone a structural decision.
Prepare the metal so the repair can be inspected
Expose sound metal in a controlled sequence
Preparation is where many rust jobs become difficult to verify. Washing removes salt but does not remove layered scale. Scraping may expose a hole but can also dislodge brittle metal. Abrasive blasting can reveal the true surface, but it creates dust, heat, rebound, and containment requirements.
A practical sequence is:
- Wash away salt, mud, oil, and loose debris, then allow cavities and seams to dry.
- Remove detachable shields and liners when safe and appropriate, labeling fasteners and noting their original positions.
- Strip loose coating and scale gradually, stopping to photograph newly exposed damage.
- Clean around drain holes, seams, mounts, and boxed sections rather than focusing only on the visible center of a rust patch.
- Reinspect for perforation, cracks, thinning, distorted geometry, and trapped contamination.
- Only after the metal is understood, choose repair, replacement, or a preservation treatment.
For extensive corrosion or restoration work, Bay State’s frame-off rust removal service is relevant to ask about when access and the vehicle’s condition justify more complete disassembly. “Frame-off” should be treated as a scope discussion, not an automatic recommendation for every daily driver. The right level of disassembly depends on whether hidden surfaces, body mounts, and enclosed sections are part of the corrosion problem.
Control blasting and chemical-preparation risks
Do not blast a complete vehicle casually in a driveway. Abrasive media can enter bearings, electrical connectors, door mechanisms, brake components, and enclosed cavities. It can also make a previously hidden defect visible only after substantial cleanup. The U.S. Occupational Safety and Health Administration describes respiratory, noise, eye, skin, and abrasive-blasting hazards in its official abrasive blasting guidance. That guidance supports using appropriate containment, ventilation, protective equipment, and work controls rather than treating blasting as ordinary pressure washing.
Before authorizing preparation, clarify:
- Which parts will be removed and which will remain installed.
- How bearings, bushings, seals, wiring, fuel systems, and brake systems will be protected.
- How spent abrasive, rust scale, and contaminated wash water will be collected.
- How the shop will verify that cavities and seams are dry before protection is applied.
- What happens if blasting reveals a larger structural defect than the photographs showed.
Clean metal is an inspection requirement, not merely a cosmetic preference. If a coating is applied over scale, the coating may hide the next stage of corrosion and make later inspection harder. If preparation exposes a new mount failure, stop and revise the decision record.
Repair the structure first, then protect accessible metal
Keep structural restoration separate from corrosion prevention
A structural repair must restore the intended shape, attachment, and load path for that vehicle. The appropriate method may involve a replacement assembly, engineered section repair, or another procedure determined by a qualified professional familiar with the vehicle. The method cannot be selected responsibly from a photograph or from rust color alone.
When discussing a repair, ask how the shop will address:
- Original mounting dimensions and alignment references.
- Weld access and protection of nearby wiring, fuel, brake, and heat-sensitive components.
- Hidden corrosion inside boxed sections and behind overlapping plates.
- Fasteners that are seized, stretched, damaged, or specified for one-time use.
- Post-repair inspection, alignment, and any required road-safety checks.
Do not ask for a “patch” without describing the function of the damaged area. A cosmetic plate over a perforated mount can trap moisture and create false confidence. Conversely, replacing an entire assembly may be unnecessary if a qualified assessment confirms that the affected area is nonstructural, accessible, and repairable. The repair must follow the load path, not the outline of the rust stain.
Apply corrosion protection only after verification
Once structural work is complete and the metal is clean and dry, protection should be selected according to access and exposure. Bay State Rust Prevention uses WaxOyl for corrosion protection, and its rust prevention undercoating service is relevant for owners who want a planned treatment after the underlying condition has been evaluated.
Protection is most useful when it reaches the surfaces that actually collect salt:
- Exposed frame and subframe surfaces that can be inspected later.
- Seams and brackets where water can remain after winter driving.
- Accessible cavities with a confirmed drainage path.
- Edges around repaired sections, provided the repair and coating system are compatible.
- Areas behind removable shields after the shields are cleaned and refitted.
Do not seal a wet cavity or coat over active oil, loose scale, or a blocked drain. Preservation is a maintenance layer, not a substitute for metal preparation. Also ask how the coating will affect future inspection: a protective treatment should not make it impossible to see a crack, leak, loose fastener, or newly developing perforation.
Verify the result and build a salt-season maintenance plan
Inspect the finished work before the vehicle returns to service
Request photographs of the prepared area, repaired section, and final protection. Compare them with the original damage map. The goal is not a glossy finish; it is evidence that the agreed surfaces were addressed and that the structural question was closed.
A completion checklist should include:
- All fasteners, shields, liners, and clips are correctly refitted.
- Drain holes and access openings remain open unless the vehicle design specifically requires otherwise.
- No coating has been placed on friction surfaces, exhaust components, sensors, tire surfaces, or other incompatible areas.
- Wiring, brake lines, fuel lines, steering parts, and moving joints have appropriate clearance.
- The repaired area has been photographed and its future inspection points identified.
- Any alignment, warning-light, noise, or handling concern has been addressed before normal use.
If the work involved a removable subframe or suspension mount, ask whether an alignment check is required. The need depends on what was removed, disturbed, or repaired. Do not invent a universal mileage or time interval: use the vehicle manufacturer’s service information and the repair professional’s instructions.
Create an adjustable prevention policy
For a privately owned vehicle, a practical starting policy could be a visual inspection at the beginning and end of each Massachusetts winter. For a fleet, an illustrative starting policy might be to photograph high-risk areas during scheduled service and trigger a detailed inspection whenever a driver reports a new noise, pull, vibration, or visible coating failure. Those intervals are illustrative starting policies, not universal benchmarks.
Adjust them when the signal changes. Increase inspection frequency if vehicles travel salted roads daily, use unpaved yards, carry heavy loads, operate near coastal air, or show recurring mud retention. Reduce the interval between inspections after a repaired mount, a collision, flood exposure, or a coating breach. The useful trigger is evidence of changed exposure or changed condition—not a calendar date alone.
Owners can reduce repeat damage by:
- Rinsing salt from underbody areas when conditions allow, with attention to seams and wheel wells.
- Checking that drain paths remain open after off-road or winter driving.
- Repairing damaged shields and liners instead of leaving corrosion-prone areas exposed.
- Recording new rust in the same locations so progression can be compared honestly.
- Scheduling an inspection before applying a new coating over an older one.
For a used-car buyer, this same record is valuable evidence. Ask for underside photographs, repair invoices, the identity of any replaced structural assembly, and an explanation of whether coating was applied before or after rust removal. A clean-looking coating is not proof of sound structure; the inspection history and visible preparation matter more.
What to do first with a suspected subframe problem
Make the first call an evidence-based scope check
Start by photographing the suspected damage without covering or scraping it, then identify the exact assembly, mounting point, vehicle year and model, and any steering, alignment, noise, or handling symptom. Do not authorize undercoating until the metal has been inspected and the structural question has been answered.
Send those details to a qualified repair provider and ask directly whether the specific subframe condition fits its confirmed scope. For Worcester and Central Massachusetts owners, Bay State Rust Prevention can discuss the supplied services—rust removal, frame repair, frame-off sandblasting, and corrosion protection—while the vehicle-specific subframe decision should be confirmed before work begins. Visit Bay State Rust Prevention to discuss the condition and the appropriate next step.