
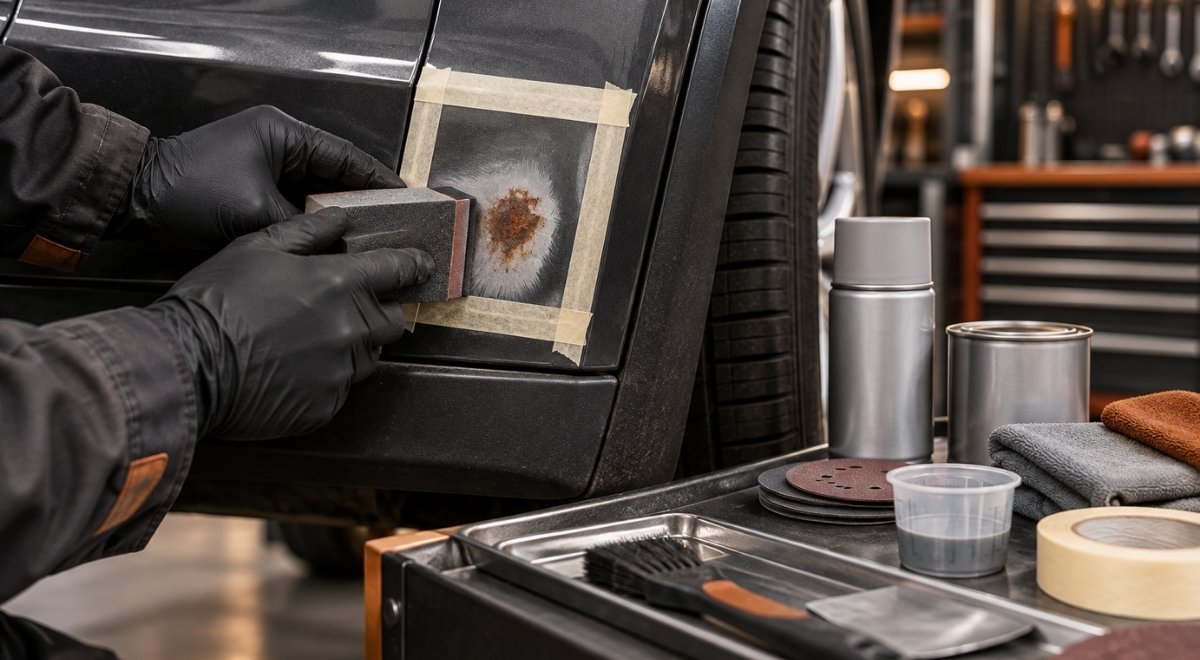
Roof rust repair car work is easiest to manage before a blister becomes a perforation, a leaking seam, or corrosion around a roof support. This guide gives Central Massachusetts vehicle owners a practical sequence: inspect the damage, determine whether the roof is cosmetic or structural, remove corrosion, repair the metal correctly, seal the underside, and create a maintenance plan that accounts for winter salt.
A roof repair is not automatically a simple sanding job. Rust around a windshield opening, sunroof cassette, roof seam, drip rail, antenna, roof rack mount, or roof reinforcement can continue underneath apparently sound paint. The correct repair depends on where the water enters, how far corrosion has traveled between layers, and whether the remaining metal can accept a durable repair.
Map the rust before touching the paint
Start with a clean, dry vehicle in bright, indirect light. Wash away salt and road film, then let the roof dry completely. Photograph every affected area from a distance and close up. Include the windshield edge, roof rails, drip rails, sunroof perimeter, roof rack mounts, antenna base, and the inside of the headliner if access is possible.
Do not begin with a grinder. First identify the likely water path. A small bubble beside a roof seam may be fed by a failed seam sealer, while a rust spot in the center of a roof panel may come from a stone chip, trapped moisture under a vinyl attachment, or an old repair. The visible spot is often only the exit point.
Use a simple inspection grid
- Roof skin: look for bubbles, pinholes, cracking paint, sanding scratches, and shallow dents that hold water.
- Edges and seams: inspect the drip rails, windshield and back-glass channels, roof-to-quarter-panel seams, and roof rack mounting points.
- Openings: check the sunroof frame, drain exits, antenna gasket, and any roof-mounted lighting or accessories.
- Interior evidence: look for a damp headliner, stained trim, mold odor, wet insulation, or water marks after rain.
- Underside evidence: examine roof bows, reinforcement braces, wiring channels, and the upper pillars when trim can be removed safely.
As an illustrative starting policy, photograph each rust area from at least three angles and mark its approximate length and width before disassembly. Adjust that policy upward when the vehicle has multiple roof accessories, a sunroof, previous bodywork, or signs of interior water entry. The signal to expand the inspection is not the number on a ruler; it is evidence that corrosion or moisture crosses a seam, opening, or structural attachment.
Salt exposure matters in Worcester and Central Massachusetts because winter driving deposits chloride-bearing residue in seams and cavities. The Massachusetts Department of Transportation describes its winter operations and snow-and-ice treatment responsibilities, which helps explain why a vehicle can receive repeated contamination even when the roof appears dry after a storm. That residue should be removed before you judge the condition of the metal.
Do not confuse surface staining with a safe roof
Orange discoloration can be superficial, but a hard paint bubble usually indicates corrosion products have formed under the coating. A magnet can help identify a steel panel, but it cannot tell you whether the steel is thin. A pick or screwdriver should not be used aggressively on a customer vehicle because it can turn a contained defect into unnecessary damage.
Use a blunt inspection tool only to identify a clear void after loose coating has been removed. If the tool sinks into a seam, the metal flakes, or pressure produces a new hole, stop treating the job as cosmetic. A perforation changes the repair category: filler and paint may hide the opening temporarily but will not restore the roof panel or seal the water path.
Decide whether the problem is cosmetic, perforated, or structural
Before choosing materials, separate three different jobs. A small chip with firm surrounding paint may need localized corrosion removal and refinishing. A roof panel with holes needs a metal patch or panel replacement. Corrosion at a roof bow, pillar, windshield flange, or sunroof frame may require body-repair expertise because those areas affect alignment, sealing, and occupant protection.
| Observed condition | Likely repair direction | Decision signal | Do not do this |
|---|---|---|---|
| Discolored paint, no lifting edge, firm metal | Clean, treat, prime, refinish, and inspect again | Coating and metal remain sound after cleaning | Do not trap contamination under a new topcoat |
| Blistering, flaking, or a small pinhole in the roof skin | Cut back to sound metal, weld or patch, seal, and refinish | Corrosion extends beyond the visible bubble | Do not bury the hole with body filler |
| Rust at a windshield flange, roof bow, pillar, or sunroof cassette | Disassemble and assess alignment and structural attachments | Seam movement, water entry, thin metal, or compromised attachment | Do not grind blindly around glass or structural seams |
| Old repair with layered filler, cracked paint, or uneven roof contour | Expose enough area to assess the previous repair | New rust follows a repair edge or trapped seam | Do not assume the visible rust is the original defect |
The National Highway Traffic Safety Administration provides a vehicle recall lookup. Use it when a roof, sunroof, glass, or water-management issue might relate to a known safety campaign, especially before disassembling a newer vehicle or a leased vehicle. A recall check is not a substitute for an inspection, and a recall result does not establish that a particular rust spot is covered.
Worked example: a bubble beside the windshield
Imagine a 2016 pickup used on Route 9 and local unpaved roads. The owner sees a two-inch paint bubble at the front roof edge, but the headliner is dry. The first inspection reveals cracked seam sealer near the windshield flange and rust dust under the edge of the glass molding.
- Record the bubble, molding condition, and windshield perimeter before removing anything.
- Check whether the glass edge, flange, or roof skin has thin or perforated metal.
- Determine whether the windshield must be removed to expose the full flange safely.
- Plan the repair around the water path, not merely the visible bubble.
- After metal repair, restore seam sealing and verify that water drains away from the opening.
In this example, sanding the two-inch bubble and applying paint would leave the cracked flange underneath. The repair decision is driven by the failed seam and hidden corrosion, not by the apparent diameter of the bubble.
Prepare the vehicle, work area, and safety controls
Roof repairs create dust, sparks, sharp edges, solvent vapors, and sometimes hazardous coating debris. Remove roof racks, antenna components, trim, and accessories only when you can preserve their fasteners and sealing surfaces. Protect the glass, interior, paint that will remain, and nearby vehicles from abrasive dust.
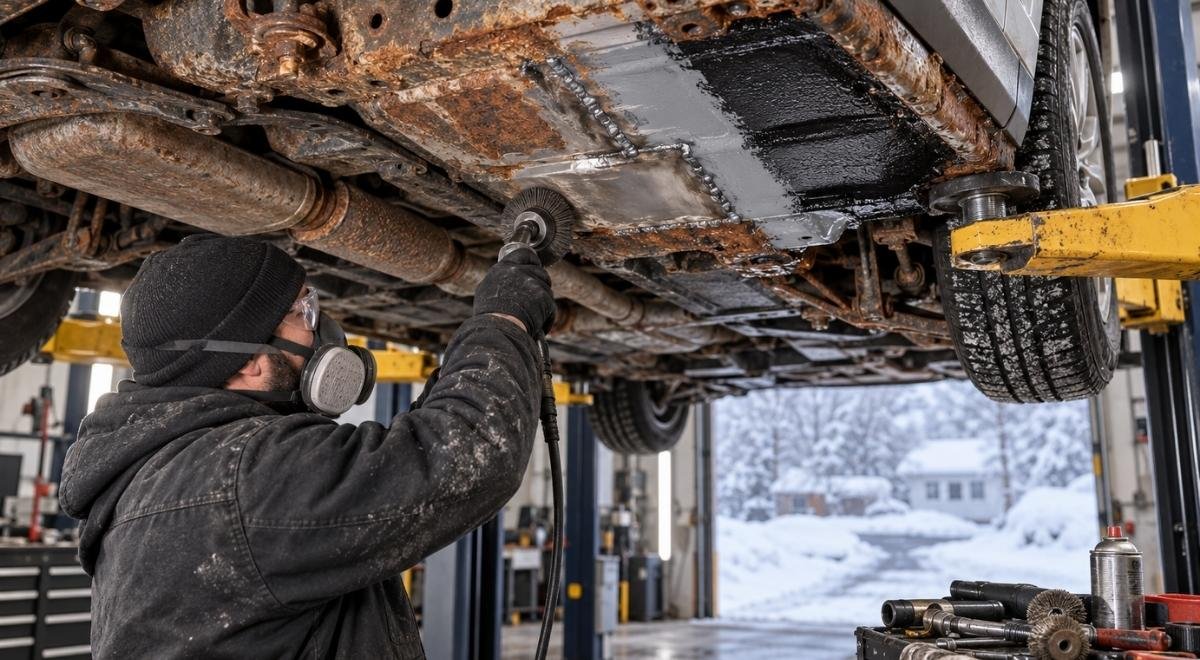
Abrasive blasting deserves special caution. The Occupational Safety and Health Administration’s abrasive blasting safety guidance addresses hazards including airborne dust, noise, compressed air, and protective equipment. The National Institute for Occupational Safety and Health also publishes guidance on controlling exposure during abrasive blasting in its NIOSH abrasive blasting document. Those controls are relevant even when the repair area seems small.
Build a controlled work setup
- Use a dry, well-ventilated workspace with enough height to inspect the roof without leaning on the panel.
- Wear eye protection, hearing protection, gloves suitable for sharp metal, and respiratory protection selected for the actual dust and coating hazards.
- Mask glass and openings before grinding, sanding, or blowing debris.
- Use extraction or dust control rather than directing contaminated dust into the shop.
- Keep ignition sources away from solvents, seam sealers, and coatings.
- Collect abrasive media, paint chips, and rust residue rather than washing them into a drain.
- Disconnect or protect electrical components before removing roof-mounted accessories.
As an illustrative starting policy, do not begin grinding until all trim, glass edges, drains, and interior surfaces within the likely dust path are protected. Adjust the containment area when the coating is unknown, the repair is near a windshield or sunroof, or the vehicle has visible previous paint layers. The signal to increase controls is airborne dust, residue entering the cabin, or uncertainty about the old coating—not the size of the rust spot.
Older vehicles can carry layers of unknown paint, filler, underseal, and replacement parts. If you cannot identify the coating or control the dust, outsource the metal preparation rather than creating a contamination problem in a home garage. The same caution applies to fleets: a vehicle that returns to service with abrasive media in drains or electrical cavities may develop a second problem that is harder to trace than the original rust.
Remove corrosion without thinning sound metal
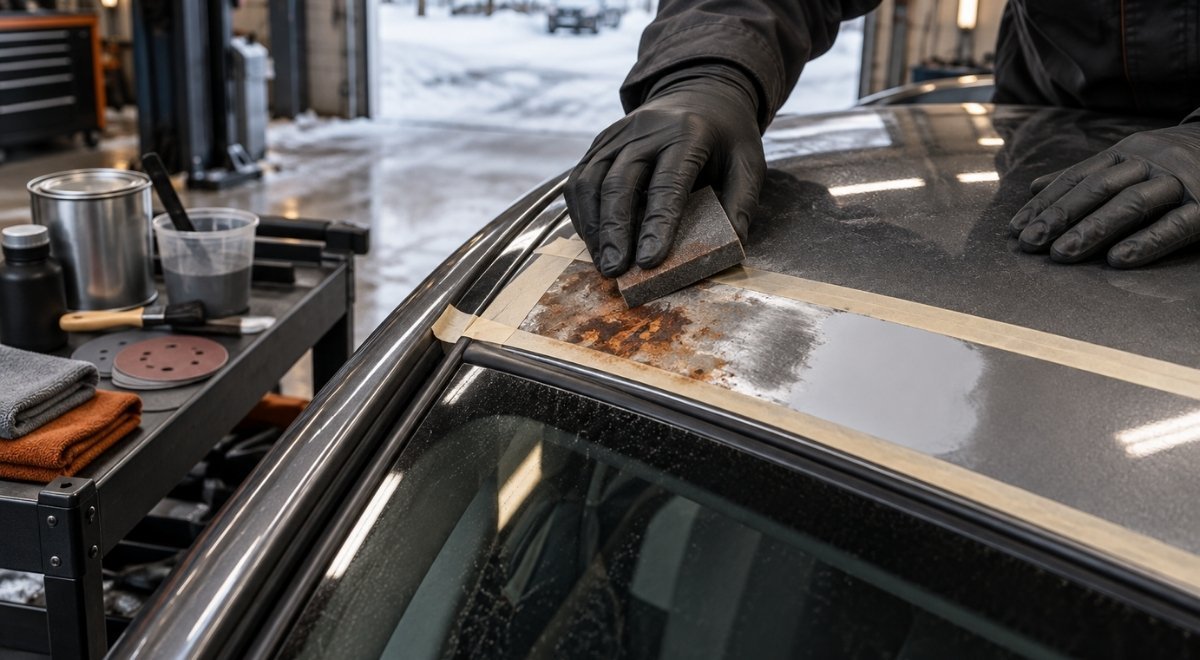
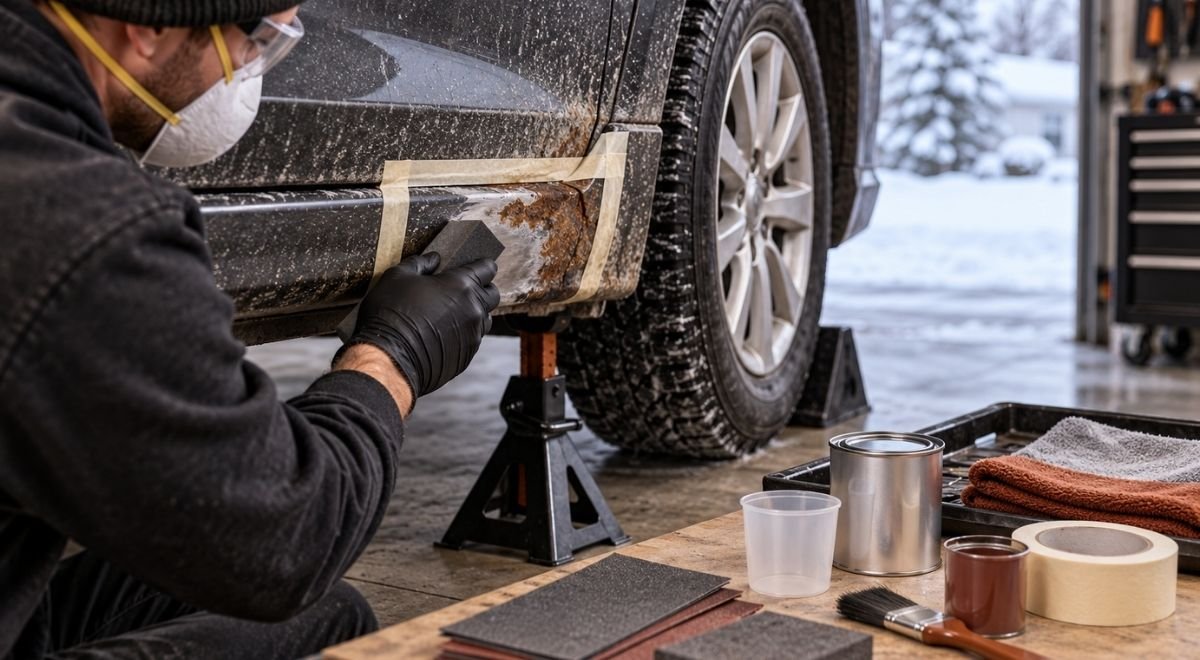
Expose enough metal to understand the boundary, but do not automatically strip the entire roof. Begin by removing loose paint and failed seam sealer. Use a scraper, abrasive disc, or suitable sanding method in stages. A wire wheel can polish the surface of rust and make it look cleaner without removing corrosion from pits, so visual shine is not proof of a sound substrate.
The goal is clean, stable metal with a defined repair edge. If the metal is pitted but firm, a suitable corrosion-treatment process may be part of the system. If the metal flexes, flakes, has pinholes, or is paper-thin, stop surface preparation and plan a cut-out, patch, or panel replacement.
Use the right repair boundary
- Feather paint edges gradually so the final coating does not create a visible hard ridge.
- Remove seam sealer that has lifted or allowed moisture underneath.
- Open a small inspection window around a bubble instead of sanding only the center.
- Preserve factory drain paths and avoid filling channels that must carry water away.
- Mark the boundary of sound metal before cutting so the patch is not fitted to corroded edges.
As an illustrative starting policy, expand the inspection area at least one inch beyond the visible paint failure before deciding that the metal is sound. That is not a universal corrosion boundary. Adjust it when rust staining continues under intact paint, when a seam is involved, or when tapping and inspection reveal thin metal farther away. The signal is the condition of the substrate after coating removal.
Do not use body filler as a metal-replacement strategy. Filler can level a properly repaired panel, but it has little value if moisture remains behind the repair or if the panel continues to flex. Likewise, applying a converter over loose scale does not convert the loose scale into a durable foundation. Follow the chosen product’s preparation and recoat instructions rather than combining incompatible cleaners, primers, and sealers.
Repair the roof metal and restore the water barrier
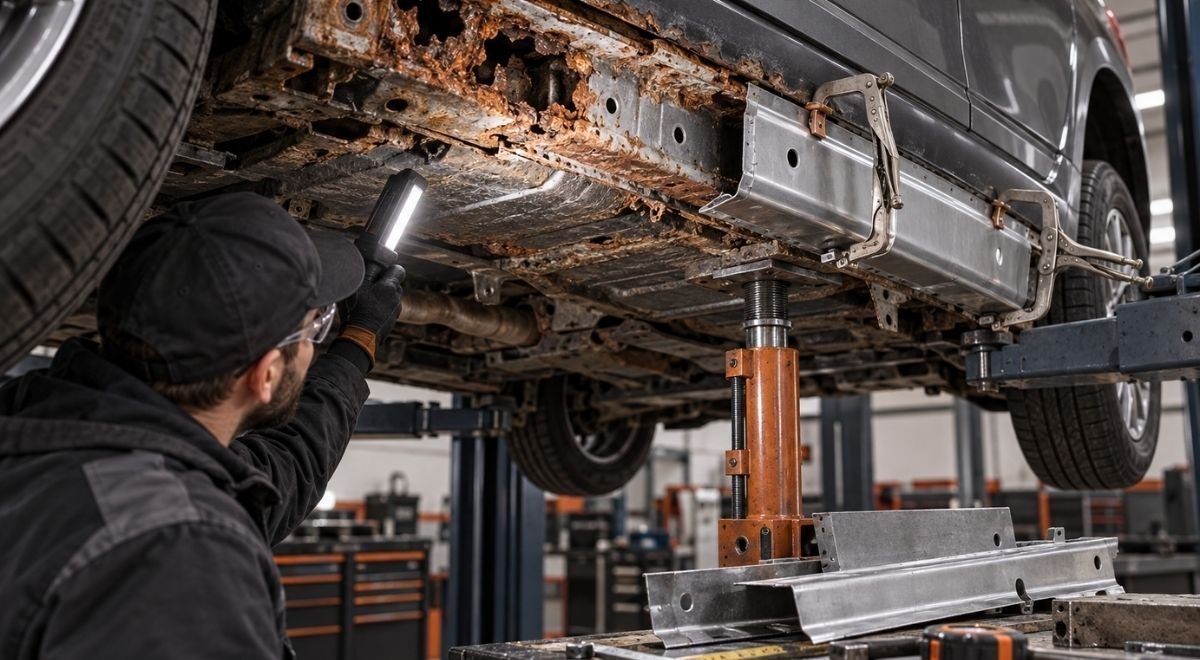
Once the rust boundary is known, choose between localized welding, a properly fitted patch, replacement of a roof section, or replacement of the roof panel. The choice depends on panel thickness, access, curvature, proximity to glass, the presence of roof bows, and how much original metal remains.
A patch should fit sound metal with a controlled gap appropriate to the welding method. Excessive heat can warp a broad roof panel; too little penetration can leave a weak or porous joint. A professional repair sequence generally considers access from both sides, corrosion protection inside the cavity, weld finishing, panel contour, and the ability to reseal the outer surface.
Handle seams, glass, and roof accessories as systems
Roof corrosion often returns because the original moisture path was never corrected. A sunroof drain that empties into a clogged channel, a damaged antenna gasket, or a poorly sealed roof rack fastener can feed a new repair. Near glass, the repair must also preserve the bonding flange and avoid contaminating surfaces that require a specific glass adhesive system.
When a roof panel, flange, or pillar has structural involvement, do not improvise with a cosmetic patch. A vehicle body depends on panel geometry and joined sections, and a repair that changes the roof contour can affect glass fit, door alignment, wind noise, and water management. If the repair reaches a roof bow or pillar, obtain an appropriate body-repair procedure for that vehicle or refer the work to a qualified repair facility.
After metalwork, restore the layers in a deliberate order:
- Clean and prepare the repaired metal according to the primer system.
- Apply corrosion-resistant primer to exposed metal and protected backside areas where accessible.
- Rebuild seam sealing without blocking factory drains or creating a water pocket.
- Level minor surface imperfections only after the metal repair is stable.
- Apply compatible surfacer, paint, and clear or other specified topcoat layers.
- Protect hidden cavities and backside seams with a suitable corrosion-protection product.
For a vehicle that must survive Massachusetts winters, the underside of a repaired roof seam deserves as much attention as the visible paint. A service such as rust prevention undercoating can be considered after the repair has cured and the surfaces are clean and compatible with the protection system. The timing should follow the coating manufacturer’s cure guidance, not a convenient calendar date.
Verify the repair, then prevent the next failure
Inspection does not end when the paint looks smooth. Check the roof in the same places that were documented before repair. Confirm that trim sits flat, drains are open, roof accessories are sealed, and the headliner or insulation is dry. Look for sanding dust in channels and for seam sealer that has bridged a drain opening.
Use a controlled water check
As an illustrative starting policy, wait until the coating system has reached the product’s stated cure condition, then perform a gentle water check in sections rather than spraying the entire vehicle at once. Adjust the waiting period when temperature, humidity, coating thickness, or product instructions require more cure time. The signal to stop is water appearing inside, collecting at a seam, or failing to exit through the intended drain.
- Keep the interior trim accessible during the first water check.
- Start below the suspected entry point and work upward or from the edge toward the center.
- Use dry tissue or an inspection strip around the headliner, glass edge, and pillar trim to reveal small leaks.
- Check the cabin after the test, not only while water is flowing.
- Record the test location and result for future service history.
For road-salt prevention, wash the roof seams, wheel wells, rocker areas, and underbody when conditions allow. Do not direct high-pressure water into a failed seal or electrical connector. A clean vehicle makes new bubbles easier to spot, while an unmaintained seam can hide under a film of salt and road grime.
An illustrative maintenance policy might schedule a visual roof and seam inspection at the start and end of each winter season, with an additional check after a collision, roof-rack installation, windshield replacement, or hail event. Adjust that frequency when the vehicle is parked outdoors, driven on treated roads daily, used by a fleet in repeated short trips, or showing any new moisture. The signal is exposure and recurrence, not a universal month count.
For extensive corrosion on a classic vehicle or a roof assembly with widespread scale, localized sanding may create a patchwork of temporary fixes. In that situation, frame-off rust removal may be the more rational scope when the vehicle is already being disassembled and the owner needs the frame, body components, and hidden surfaces evaluated together. A larger intervention costs more time and disassembly, but it can reveal corrosion that spot repairs would leave behind.
Document the result and decide what to do first
Create a repair record with before-and-after photographs, the areas opened during inspection, the water test result, products used, and any remaining defects. This matters for a leased vehicle, a fleet vehicle, a restored classic, and a used-car purchase. A record distinguishes repaired corrosion from untreated corrosion and gives the next technician a starting point.
Use this decision checklist before authorizing work:
- Is the roof merely stained, or does the metal lift, flake, flex, or perforate?
- Does corrosion touch a windshield flange, sunroof frame, roof bow, pillar, or roof-rack mount?
- Is there evidence of water inside the vehicle?
- Can the work area be contained safely from dust, sparks, and coating debris?
- Will the repair restore both the metal and the original water path?
- Has the underside, cavity, seam, and drain system been included in the plan?
- What condition will trigger a follow-up inspection?
For a small, isolated defect on firm metal, schedule an inspection promptly and avoid covering it with a sticker, wax, or fresh paint. For bubbling around glass or a sunroof, stop assuming it is cosmetic and have the flange or cassette assessed. For perforated metal, extensive roof rust, or corrosion connected to a frame or pillar, request a written scope that separates metal repair, water sealing, refinishing, and corrosion protection.
Bay State Rust Prevention serves Worcester and Central Massachusetts with rust prevention undercoating, rust removal, frame-off sandblasting, and automotive frame repair. For a roof defect that may be connected to broader corrosion, start with an inspection and discuss the complete repair path through baystaterustprevention.com, rather than treating the visible bubble as the entire problem.