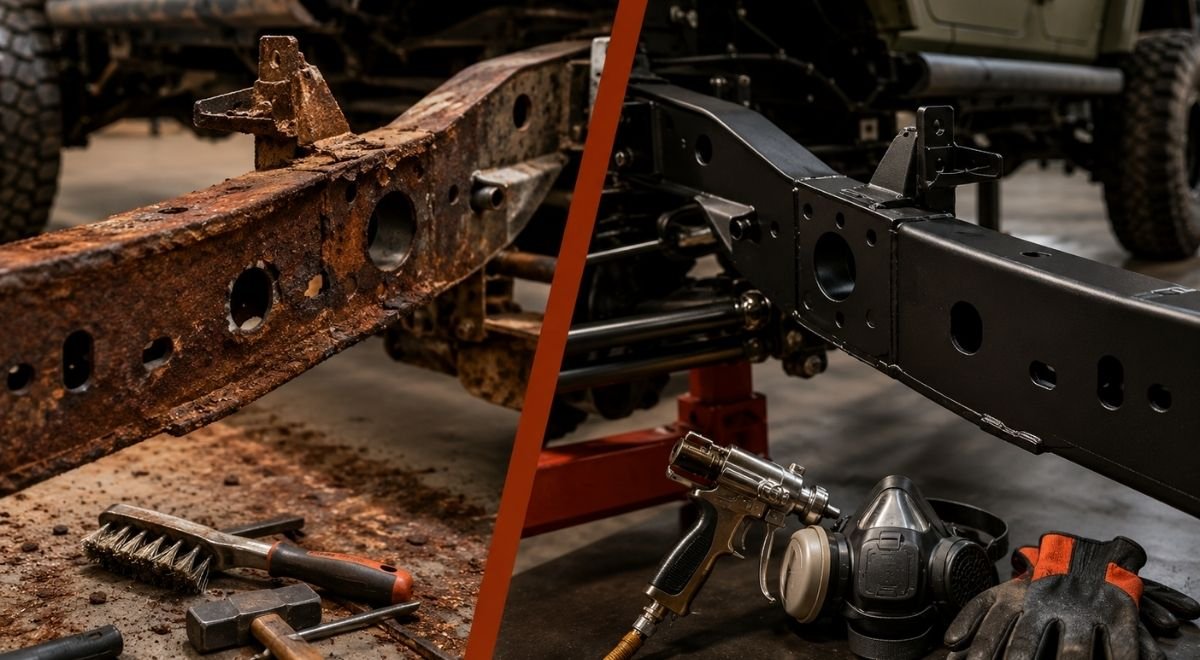
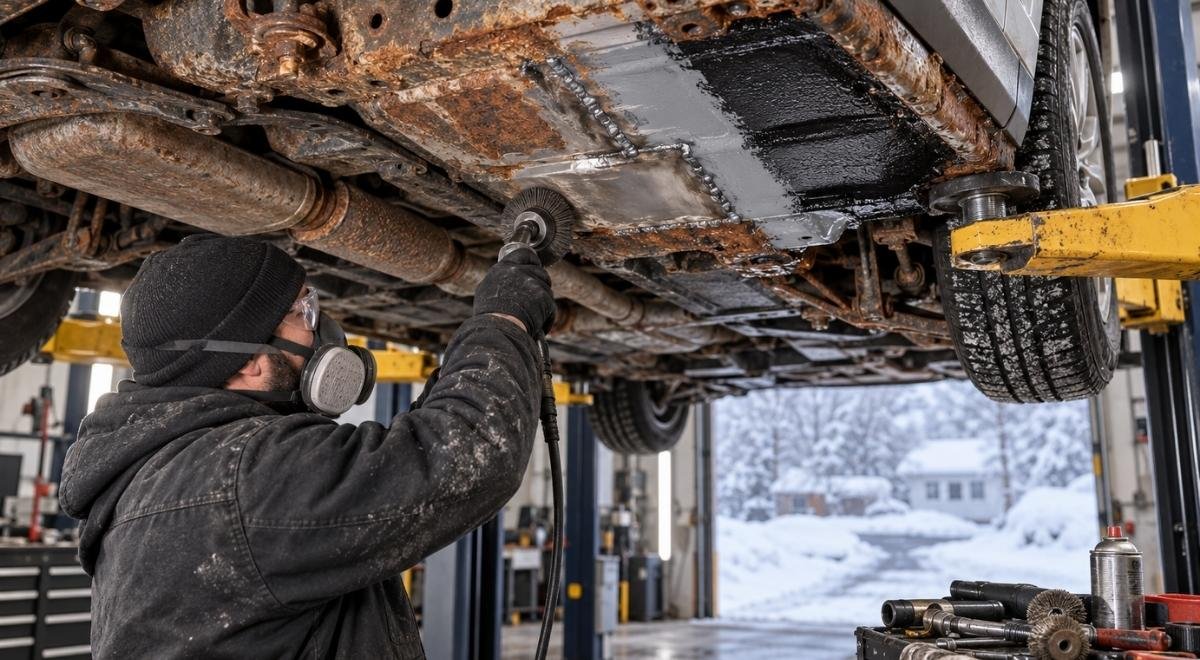
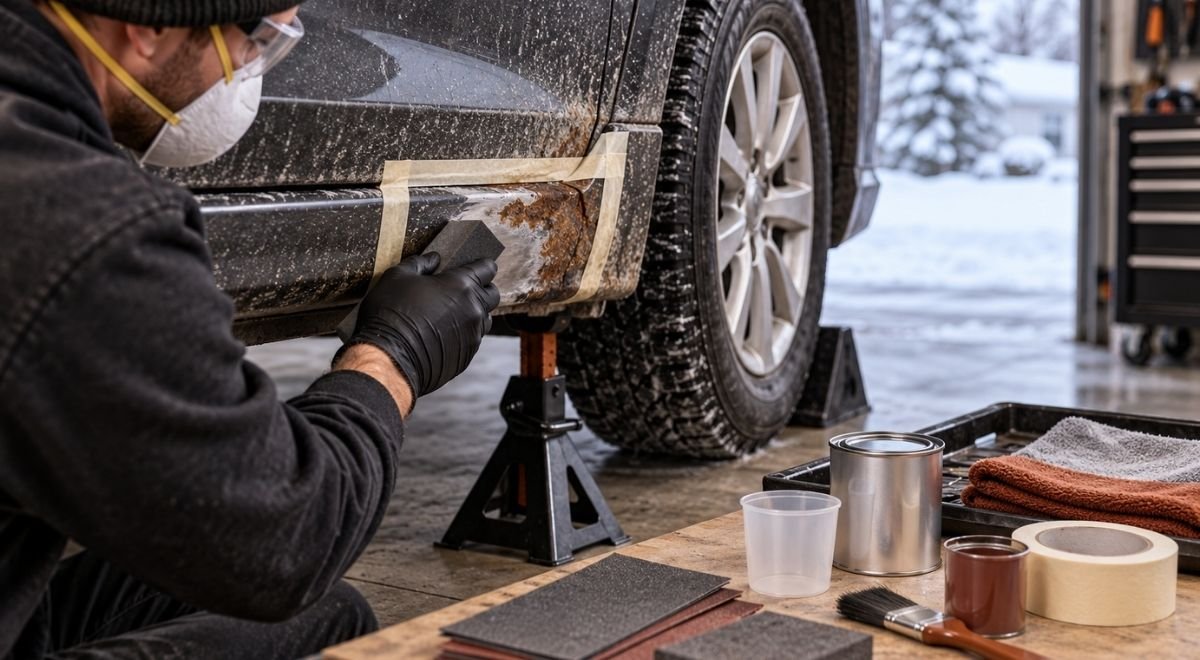
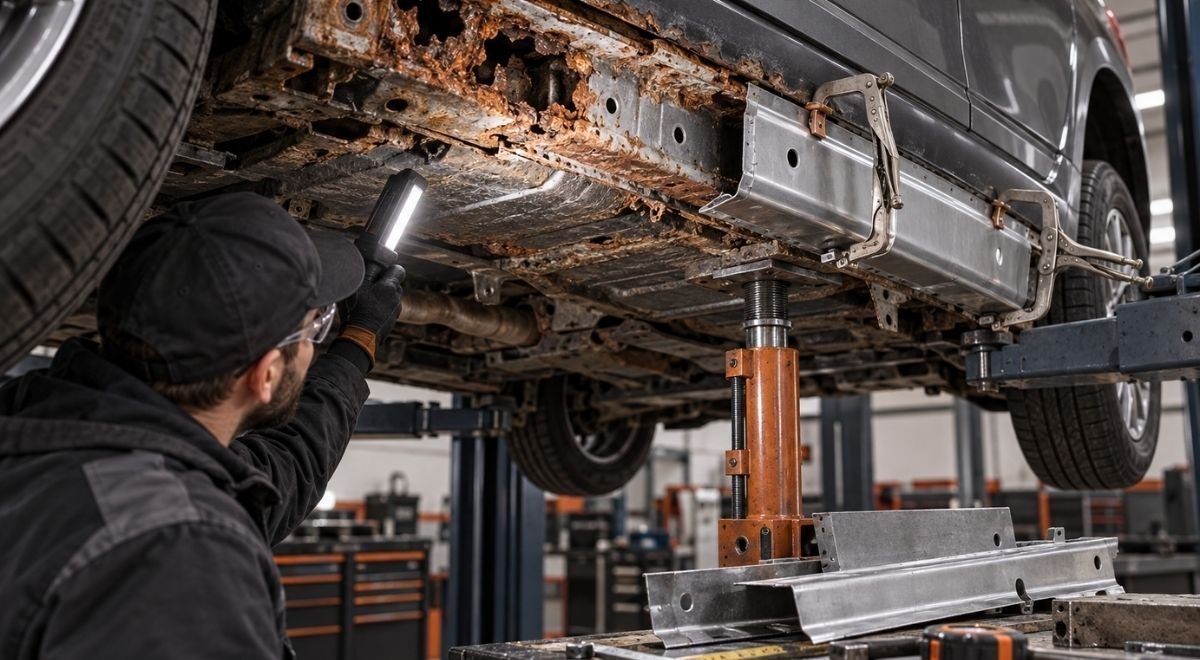
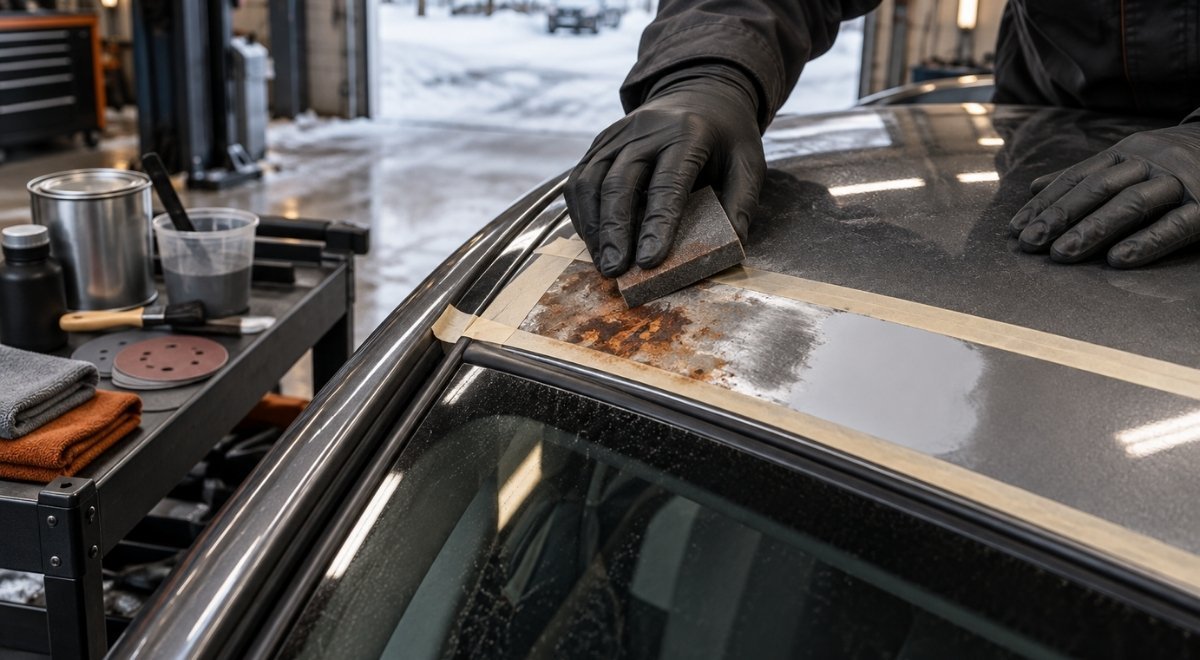
When jeep frame rust repair is done correctly, the goal is not simply to make corrosion look better. The goal is to determine whether the frame can safely be restored, remove weakened steel, rebuild the load path, and protect the repaired areas from Central Massachusetts road salt. This guide gives Jeep owners a practical sequence for moving from a rusty frame to a documented repair decision, whether the vehicle needs a localized section, a larger frame replacement, or a frame-off restoration.
Frame corrosion is a structural problem with a cosmetic symptom. Flaking scale, swollen seams, holes, and cracked brackets can indicate that the steel has lost useful thickness in places you cannot see from outside. Massachusetts requires vehicles to pass a safety and emissions inspection, but an inspection sticker should not be treated as a substitute for a detailed frame assessment; the state’s inspection program describes the inspection process and requirements at Mass.gov. A sound repair begins before anyone cuts, welds, or applies coating.
Define the repair objective before touching the frame
Separate appearance work from structural work
Start by writing down what the Jeep must do after repair. A weekend restoration, a daily driver, a plow vehicle, and a trail Jeep do not place identical demands on a frame. The repair plan should account for towing, suspension modifications, winches, heavy bumpers, loaded cargo, and any future use that adds stress to the chassis.
The first decision is whether you are pursuing cosmetic stabilization, safe structural restoration, or a complete frame rebuild. Cosmetic stabilization may be reasonable for light surface oxidation on sound steel. It is not a solution for perforation, cracked suspension mounts, or an open box section full of loose scale.
- Cosmetic condition: surface rust, intact edges, and no measurable section loss after cleaning.
- Repairable structural condition: localized thinning or perforation with enough sound steel around it to establish a reliable repair boundary.
- Major restoration condition: corrosion across multiple rails, crossmembers, spring hangers, control-arm mounts, or boxed sections.
- Replacement candidate: widespread section loss, severe distortion, repeated cracking, or corrosion that leaves no trustworthy reference for rebuilding the original geometry.
Do not use a coating to answer a structural question. Undercoating can hide a developing problem and can make later inspection harder if it is applied over loose scale or active corrosion. A protective treatment such as rust prevention undercoating is most useful after cleaning, repair, and inspection—not as a substitute for those steps.
Set a stop-work rule
Before disassembly, establish conditions that will pause the project for a qualified structural evaluation. An illustrative starting policy is to stop when you find a cracked suspension attachment, a rail that moves under controlled load, corrosion extending through several adjoining faces, or a repair boundary that would remove the original alignment reference. These are not universal engineering thresholds. Adjust the policy upward when the Jeep carries heavy equipment, has modified suspension geometry, or shows prior collision damage.
Also record the Jeep’s identity and configuration. Photograph the VIN plate, frame number if present, suspension arrangement, body mounts, brake lines, fuel lines, and aftermarket brackets. A frame can be repairable while the vehicle is still a poor project if hidden damage, parts availability, or prior modifications make correct reassembly uncertain.
Inspect the entire frame, including the places that trap salt
Clean enough to see, but do not erase evidence
Raise and support the Jeep using safe points appropriate to its condition. Remove loose dirt and undercoating with hand tools, controlled scraping, or suitable mechanical methods. Avoid beginning with aggressive blasting everywhere: the pattern of lifted coating, rust bleed, and previous welds can help identify where water entered and where earlier repairs failed.
Inspect the frame in a repeatable circuit rather than jumping between interesting holes. Work from the front crossmember rearward, then inspect the opposite rail in the same order. Look at the top, bottom, inner, and outer faces of each accessible section. Boxed rails require particular attention because the exterior may appear acceptable while the interior retains wet salt and rust scale.
- Front frame horns, tow-hook areas, and bumper mounting plates.
- Steering gear, track-bar, control-arm, and sway-bar attachment points.
- Engine and transmission crossmember supports.
- Body mounts, fuel-tank supports, and brake-line clips.
- Rear spring hangers, shackle mounts, shock mounts, and trailer-hitch attachments.
- Crossmember seams, drain openings, overlapping plates, and factory cavities.
- Previous patches, weld toes, bolt holes, and areas covered by thick undercoating.
Use a pick or small hammer carefully to distinguish bonded coating from sound steel. A dull sound, a soft edge, or a tool that enters a seam deserves mapping. Do not mistake a hard outer shell for adequate thickness. Corrosion can leave a thin skin over a cavity, especially around lap joints and boxed rails.
Map severity instead of relying on photographs alone
Make a frame map with four labels: surface oxidation, scale with sound steel, perforation, and structural attachment damage. Mark each defect on both photographs and a sketch. Measure the length and width of visible damage, note which faces are affected, and identify nearby components that will need removal for access.
An illustrative starting policy is to take inspection measurements at every major attachment and at regular intervals along a visibly corroded rail. That interval is only a planning aid, not a pass/fail standard. Tighten the spacing when corrosion is irregular, layered, or concentrated around seams; widen it only where the steel is visibly uniform and clean.
For a formal decision, a qualified repairer may use thickness measurement, controlled test holes, or comparison with an undamaged reference section. A thickness reading is meaningful only when the surface is clean and the operator understands the limitations of the tool. A number without location, surface condition, and comparison is not a repair plan.
Decide whether to clean, patch, section, or replace
Use the remaining steel and the load path as the decision points
There are four common paths:
- Clean and protect: appropriate when corrosion is superficial and the frame retains sound edges, faces, and attachments.
- Localized patch: appropriate when damage is confined, the surrounding frame is sound, and the repair can be shaped and welded without trapping another corrosion pocket.
- Section repair or component replacement: appropriate when a rail end, spring hanger, crossmember, or extended portion has lost integrity but the rest of the frame provides a reliable alignment reference.
- Frame replacement or full restoration: appropriate when corrosion is widespread, geometry is compromised, or repeated patches would create a heavier, less inspectable structure.
The key question is not “Can a piece of plate cover the hole?” It is “Can the repair restore the original load path and geometry with a clean, inspectable transition?” A flat plate over a thin, flaking rail may hide the defect while leaving the weak material inside. A patch that ends at a highly stressed bracket can also move the failure point to the patch edge.
| Observed condition | Likely path | What must be confirmed | Reason to change course |
|---|---|---|---|
| Light surface rust; edges and mounts intact | Clean, inspect, protect | Sound steel after scale removal | Pinholes, soft seams, or hidden cavity corrosion |
| One small perforation in otherwise uniform rail | Localized structural repair | Sound boundary beyond the cut line | Damage continues under coating or around a mount |
| Rust at a spring hanger or control-arm bracket | Component/section repair | Attachment geometry and surrounding rail integrity | Bracket movement, rail distortion, or broad thinning |
| Multiple rails and crossmembers perforated | Frame-off restoration or replacement | Reference dimensions and donor/component suitability | No stable datum remains for alignment |
This table is a planning artifact, not an engineering certification. If the Jeep is used for towing, carries a winch or plow, or has altered suspension loads, use a more conservative decision. The signal to adjust is not the age of the Jeep; it is the number and importance of affected load paths.
Worked example: a salt-damaged rear frame section
Consider a 2004 Jeep used year-round near Worcester. The outside of the left rear rail has a two-inch opening near the shackle hanger, but scraping reveals scale on the inner face and a previous patch ahead of the opening. The owner initially asks for a plate over the hole.
A responsible assessment changes the scope. The shackle hanger transfers suspension loads into the frame, so the repair boundary cannot be chosen from the visible hole alone. The old patch is removed or opened for inspection, the hanger is checked for movement and alignment, and the rail is cleaned until sound steel is identified. If the original rail remains strong beyond the hanger, a section repair with controlled alignment may be reasonable. If the hanger, adjacent rail faces, and crossmember are all compromised, a larger section or replacement component becomes more defensible.
The lesson is practical: the visible hole is the starting point, not the size of the repair. The final scope follows the load path, the remaining steel, and the ability to verify alignment after welding.
Prepare the Jeep and the work area for safe access
Plan disassembly around heat, dust, and trapped contamination
Frame repair often requires more preparation than owners expect. Remove or shield fuel-system parts, brake hoses, wiring, rubber components, body mounts, and other heat-sensitive items near cutting and welding. Confirm that no combustible liquid, vapor, or residue can be heated by a grinder, torch, or weld arc. A fire watch and appropriate extinguishing equipment are part of the job, not optional accessories.
Blasting and grinding create different hazards. OSHA’s crystalline silica resources explain that abrasive blasting and other operations can generate respirable silica hazards, with controls depending on the material and process; consult the applicable OSHA silica guidance before selecting media or equipment. Do not use an unknown abrasive in an enclosed shop and assume a dust mask solves the problem.
- Confirm ventilation, containment, and dust collection before blasting.
- Use eye, hearing, respiratory, and skin protection matched to the process.
- Keep compressed air from spreading contaminated dust through the shop.
- Cover openings so abrasive cannot remain in fuel, brake, or electrical systems.
- Mark body and suspension reference points before separating components.
- Photograph bracket orientation, shim locations, routing, and fastener positions.
If old paint may contain lead, especially on an older restoration, treat removal as a potential lead exposure issue rather than guessing from appearance. The EPA’s Renovation, Repair and Painting program explains lead-safe work requirements for covered renovation activities and why containment and cleanup matter. Vehicle work may not fit every residential rule in that program, so verify the applicable requirement for the site and project.
Preserve alignment references before cutting
Measure diagonals between repeatable points, record ride-height or body-reference measurements, and photograph the frame on a level setup. Use temporary braces or a fixture when removing a crossmember or a section that controls suspension or body alignment. Do not assume the body itself is a reliable fixture if mounts are rotten.
An illustrative starting policy is to take at least two independent measurements for every critical bracket before cutting. That is not a universal specification. Increase the number when the frame is visibly twisted, when multiple components are removed at once, or when aftermarket suspension parts make factory dimensions uncertain. The signal for adding measurements is disagreement between reference points—not a particular Jeep model year.
Remove corrosion and expose a weldable repair boundary
Choose cleaning intensity according to the information you need
Begin with the least aggressive method that reveals the steel. Scraping and wire work can identify loose scale. Mechanical abrasion can expose edges and prior welds. Controlled abrasive blasting can remove remaining coating and corrosion from complex surfaces, but it also removes evidence and can thin already weakened steel if used carelessly.
For a body-on repair, access may be limited by the tub, fuel tank, or suspension. For widespread damage, a frame-off rust removal process can make the entire structure visible and allow the frame to be rotated, measured, and cleaned more consistently. That larger scope is justified when hidden faces, multiple mounts, and internal cavities determine the repair decision—not merely because a bare frame looks cleaner.
After cleaning, inspect again. Rust scale can conceal elongated cracks, pinholes, and weld discontinuities. Mark the final cut line well into sound material, then verify that the line does not terminate at a corner, bracket edge, or existing weld unless the design specifically accounts for that transition.
Do not weld contamination into the repair
Oil, wax, undercoating, moisture, abrasive residue, and loose oxide can compromise a weld or create inclusions. Clean the surrounding area and protect newly exposed steel from rain and condensation. If the frame has been blasted, remove residual media from boxed sections and drain paths before closing anything.
- Remove loose material until the boundary cannot be lifted with a suitable hand tool.
- Identify the full perimeter of the damaged steel, including the inner face.
- Check whether corrosion enters a boxed cavity or overlapping seam.
- Confirm that the replacement steel matches the intended geometry and thickness.
- Dry-fit the repair and verify clearance for suspension, brake, fuel, and exhaust components.
- Recheck dimensions after tacking and before completing welds.
Any numeric material thickness, bevel angle, weld size, or welding procedure should come from the vehicle’s repair information, a qualified welding procedure, or the responsible structural repair professional. Do not convert an illustrative shop rule into a safety specification. The adjustment signal is the actual frame design, steel condition, joint type, and load carried by the repaired area.
Rebuild the structure, verify it, and protect it
Fit the repair to restore geometry, not just coverage
A sound structural repair has a defined boundary, adequate access for welding, controlled heat input, and a shape that does not create a new stress concentration. Replacement sections should be aligned to the original frame centerline and mounting geometry. Brackets must return to their correct position and orientation, not merely sit close enough for the bolts to enter.
Use staged tacking and frequent measurement to control movement. A long, continuous weld can pull a rail or bracket out of alignment. The correct sequence depends on the section, joint, and welding process, so the person performing the work should select the procedure rather than copying a generic internet pattern.
Inspect the completed repair for:
- Incomplete fusion, undercut, porosity, arc strikes, and visible cracking.
- Gaps or trapped scale along a patch edge.
- Distortion that changes suspension, body, bumper, or exhaust clearance.
- Sharp edges and water-trapping ledges that were not present in the original design.
- Unsealed openings that allow saltwater into a boxed section.
- Missing drain paths or blocked factory holes.
Where appropriate, have a second qualified person review the repair before coating. A second look is especially valuable when the repair affects steering, spring, control-arm, shock, body-mount, or towing attachments. Keep before-and-after photographs, measurements, material information, and a description of what was removed and replaced. That documentation helps a future buyer, inspector, or repair shop understand what is inside the coating.
Protect repaired and surviving steel as one system
Protection starts with a dry, clean surface. Seal seams and edges where appropriate, restore drainage, and apply a compatible corrosion-control system to both repaired steel and surrounding sound areas. Do not coat over damp abrasive, active loose rust, uncured seam sealer, or contaminated metal.
Wax-based cavity protection is useful where it can reach and remain mobile, but it should not be used to fill a structural void or conceal a failed weld. Exterior coatings need enough durability for impact and abrasion, while cavities need coverage without blocked drainage. The right system depends on access, substrate preparation, future inspection, and whether the Jeep sees winter salt or off-road mud.
Central Massachusetts owners should also plan for seasonal maintenance. The Federal Highway Administration describes how winter maintenance uses chemical and abrasive materials to manage snow and ice on roads; its snow and ice control overview provides context for why winter-exposed chassis components require deliberate cleaning and inspection. The practical response is to rinse salt-bearing deposits from vulnerable areas when conditions allow, let cavities drain and dry, and inspect before applying additional protection.
Build a maintenance and resale record after the repair
Turn the finished frame into an inspectable asset
A repair is easier to trust when the next owner or technician can see what was done. Create a short record containing the original corrosion map, photographs before cleaning, photographs after cleaning, repair areas, replaced components, coating products, and the date of final inspection in 2026. Keep receipts and any applicable alignment or inspection documents with the vehicle file.
For a daily-driven Jeep, an illustrative starting policy might be to inspect the frame at the end of each winter and again before the next salt season. That schedule is not a universal interval. Shorten it for frequent highway travel during storms, coastal exposure, off-road mud, or a vehicle stored outdoors; lengthen it only when the vehicle is dry-stored and the inspection evidence supports doing so.
- Inspect drain holes and boxed-section openings for blockage.
- Look for new rust bleed at weld toes, seams, and bracket edges.
- Check that coating has not peeled from impact points.
- Examine spring, control-arm, steering, shock, and body-mount areas.
- Rinse salt and mud from the frame without forcing debris deeper into cavities.
- Photograph any change before cleaning it away.
Used-car buyers should ask for the same evidence. A thick black coating with no photographs is not proof of a sound frame. Ask what was removed, whether the repair involved a suspension attachment, how alignment was maintained, and whether the coating was applied before or after structural work. If the seller cannot explain the repair boundary, arrange an independent inspection before purchase.
Use the vehicle’s job to set the next decision
Fleet operators and repair shops should add frame condition to the vehicle’s existing service records. Track vehicle use, salt exposure, recurring repairs, and the locations where corrosion returns. A recurring failure at a bracket or seam may indicate trapped moisture, an inadequate drainage path, or a load change—not simply a need for another coat of material.
Repair the structure first, document the repair second, and protect the metal third. Reversing that order usually makes the next inspection more difficult and the next repair more expensive in time, access, or uncertainty.
What to do first on your Jeep
Do not order a patch plate or approve undercoating based on one visible hole. First, wash or carefully clean the accessible frame, photograph every rail and attachment, and make a corrosion map that distinguishes surface rust, scale, perforation, and structural attachment damage. Then arrange a professional assessment before cutting, blasting, or welding.
Bring the Jeep’s intended use, modification list, prior repair history, and photographs to that assessment. Ask for a written decision among clean-and-protect, localized repair, section replacement, or frame-off restoration, along with the alignment references and inspection steps that will verify the work. Bay State Rust Prevention serves Worcester and Central Massachusetts with rust removal, vehicle protection, frame-off cleaning, and automotive frame repair; baystaterustprevention.com is a sensible next step when the frame needs more than a cosmetic coating.